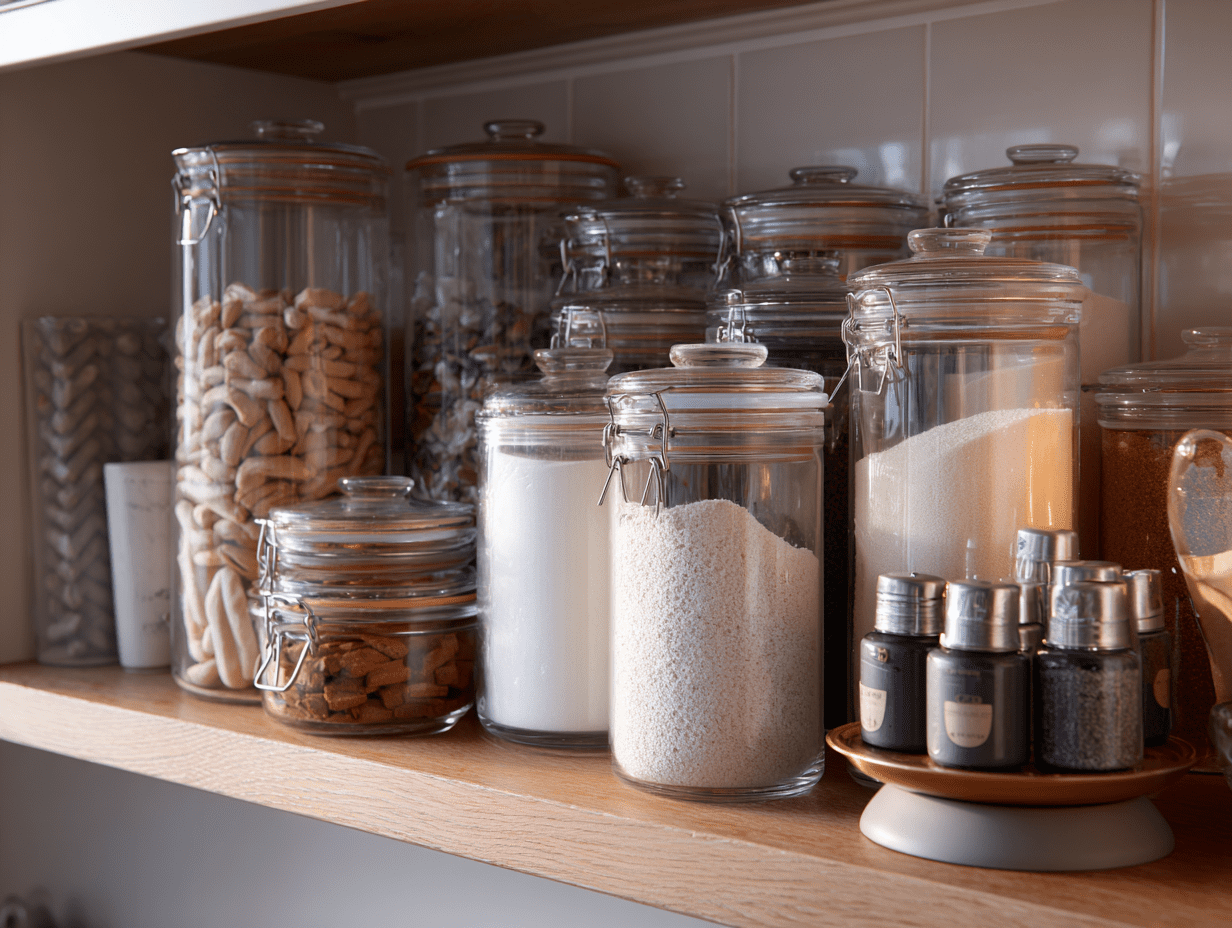
If your baking cupboard is a graveyard of half-used icing sugar bags and a tin you’ve never been able to identify, you’re in good company. The most effective way to organise baking supplies is to start by grouping everything into three categories – ingredients, tools, and tins – and give each one a fixed home, however small. That’s genuinely it. The rest is just the details.
I’ve been baking with my kids since they were small enough to eat more mixture than actually went into the bowl, and the state of my baking supplies has gone through about four different systems over the years. Some worked brilliantly, some lasted three weeks before descending into chaos. What I’ve landed on now is practical, maintainable, and doesn’t require a dedicated baking room or a matching set of anything.
Here’s what I actually do.
The clear-out comes first, always
Before you buy a single storage container, you need to know what you’re actually keeping. I know this sounds obvious, but most people skip it and end up just reorganising the mess rather than fixing it.
Pull everything out. Yes, everything. Check expiry dates properly – baking powder and bicarb go off faster than you’d think, and using stale leavening is the reason a lot of cakes don’t rise properly. Vanilla extract lasts well, but those little bottles of food colouring? Check them. And the sprinkles from 2021 that have fused into one solid mass? Into the bin.
Be honest about what you actually use. I had a bag of polenta and a jar of black sesame seeds that had been moving from shelf to shelf for about two years. Neither of them were going to be used. The space they were taking up was more valuable than the vague intention to make something interesting with them one day.
Once you know what you’re keeping, you can figure out how much space you actually need. It’s almost always less than you thought.
Organise by how you bake, not by category
Most advice tells you to group everything by type – all your flours together, all your sugars together, all your baking powders in a row. And that does work to some extent. But a slightly better approach is to organise around how you actually bake.
If you make a lot of biscuits, keep everything you need for biscuits together. If you bake bread every weekend, your yeast, bread flour, and proving basket should all live near each other. This sounds like a small distinction, but it really does make a difference when you’re mid-recipe and need to grab things quickly.
I keep a little “everyday baking” section that has self-raising flour, plain flour, caster sugar, baking powder, bicarb, and vanilla within easy reach. Because those are the things I’m reaching for nearly every time. Everything more specialist – different sugars, cocoa, ground almonds, food colouring – lives a bit further back.
Dry ingredients: the decanting question
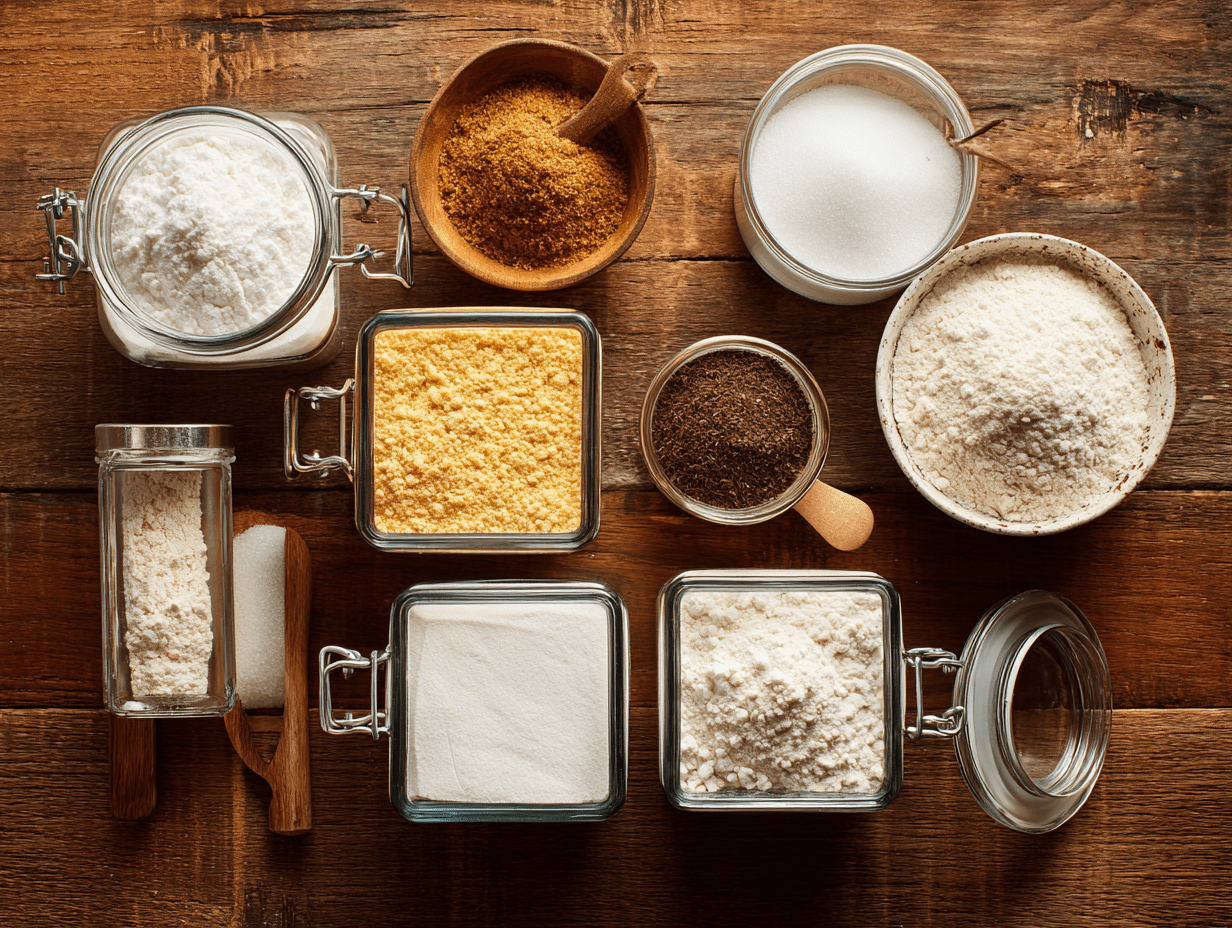
The great decanting debate. Every baking organisation post on the internet will tell you to transfer all your dry ingredients into matching glass or clear plastic containers and label them beautifully. And honestly? It does look brilliant and it does make things easier.
But it’s also expensive if you buy everything at once, and it’s only worth it if you actually bake regularly enough to go through those quantities. If you bake once a month, decanting your flour into a large airtight container is genuinely pointless and you’ll just end up with stale flour in a prettier vessel.
My realistic middle ground: I decant the things I use constantly. Plain flour and self-raising flour both live in large clip-top containers – mine are from IKEA and they’re not fancy, but they work perfectly. Caster sugar too, because the bag always tears awkwardly and goes everywhere. Everything else stays in its original packaging, sealed with a clip or an elastic band, stored upright in a deep drawer or a basket so I can see the labels.
The key thing with dry ingredients is to keep them cool and properly sealed. Brown sugar goes rock-hard if it’s not sealed properly, so that one definitely benefits from a good container. A piece of bread in the container keeps it soft if it’s already hardened – yes, this actually works.
For spices and extracts specifically, a small turntable on a shelf is genuinely one of the most useful things in my kitchen. It means I can spin it to find what I’m looking for rather than moving eleven things out of the way to find the mixed spice. You can find them in IKEA, Dunelm, and The Range for a few pounds.
The tin and tray problem
Baking tins are objectively the hardest thing to store well. They’re all different shapes and sizes, none of them stack neatly, and if you’re storing them horizontally they all slide around and fall out when you open the door.
The answer, which took me far too long to figure out, is to store them vertically. Upright, like records. You can buy adjustable tin dividers for this purpose – Lakeland sells a good one, and there are plenty on Amazon UK too – or you can just use a couple of sturdy bookends in a deep drawer or lower cupboard.
Baking sheets and flat trays do well stored upright this way. Loaf tins, round cake tins, and springform tins are slightly trickier because of the varying heights, but if you group by size it works. I have a whole standalone post on how to organise baking pans if you want to have a read.
Muffin trays are the enemy. I’ve made peace with the fact that mine live at the bottom of the tin stack and I have to lift everything else to get to them. They’re used less frequently, so I’ve decided this is acceptable.

Tools and small equipment
Whisks, spatulas, rolling pins, pastry brushes, cookie cutters, silicone cake cases – this lot has a habit of taking over an entire drawer and becoming completely unsearchable.

Cookie cutters, if you have a lot of them, do best in a tin or a lidded box grouped by type. One box for Christmassy shapes, one for general shapes. I also keep a small set of plain round cutters in a roll-up canvas case because I use them constantly and want them accessible. If you’ve only got a handful of cutters, a large jar or a tin on the worktop works just as well.
For tools like whisks and wooden spoons, a large jug or crock on the worktop is the classic solution for a reason – it works. What I’d say is to keep your baking tools separate from your cooking tools if you can. It’s much easier to grab your silicone spatula for folding in egg whites if it’s not buried under the pasta spoon and the slotted ladle.
Piping bags and nozzles get their own small box in my kitchen. A clear-lidded craft storage box works perfectly – the ones designed for beads or art supplies are ideal because they have little divided sections. Nozzles in the compartments, bags folded flat underneath. I can see everything at a glance without tipping the whole lot out.
What to do if you haven’t got a pantry
Most baking organisation content assumes you have a dedicated pantry, or at least a large kitchen with plenty of cupboard space. A lot of British kitchens, particularly in older houses and flats, don’t have either of those things.
If you’re working with limited space – and I’ve been there in previous houses – the most useful thing you can do is go vertical. A small freestanding shelving unit in a corner, the backs of cupboard doors fitted with inexpensive racks, a section of a bookshelf in a nearby room. It doesn’t have to be in the kitchen to be functional.
A rolling kitchen trolley is brilliant if you have somewhere to tuck it. You can wheel it out when you’re baking and put it away again afterwards, which means your main kitchen surfaces stay clear. IKEA’s RASKOG is a popular one and costs very little.
The other thing I’d say is to be ruthless about only keeping what you actually have space for. If your kitchen is small, you can’t have six types of flour and four different sugars all at once. Keep a core set of ingredients topped up and buy more specialist things as you need them, rather than trying to maintain a stock of everything.

A word on allergens
If anyone in your household or your regular baking circle has a food allergy, it’s worth thinking about how you store and label things properly. Separate, clearly-labelled containers for gluten-free or nut-free ingredients mean there’s no risk of cross-contamination from shared scoops or measuring cups. It’s a small bit of effort that makes baking for everyone a lot less stressful.
The bit nobody talks about: maintaining it
Getting organised is actually the easy part. Staying organised is where it all falls apart.
The reason most systems collapse is that putting things away properly takes slightly longer than just shoving them back wherever there’s space. The way to make maintenance actually work is to make the right place the easiest place. If the tin divider is fiddly to use, you won’t bother. If the container lids are annoying, you’ll stop using them. Make sure your system is genuinely easy to maintain, not just good to look at.
I do a quick check of the baking cupboard every couple of months – five minutes, not a whole project – to pull out anything that needs using up, check dates, and put anything that’s crept back to the wrong place back where it belongs. That’s it. The system mostly looks after itself.
FAQs
What’s the best way to store flour and sugar?
The best containers for flour and sugar are large, airtight, wide-mouthed containers – wide-mouthed so you can get a measuring cup in easily without making a mess. Clip-top glass or plastic containers both work well. Keep them at room temperature away from heat and direct sunlight. If you live somewhere humid or your kitchen gets warm, it’s worth checking flour occasionally for any signs of weevils – not common but not unheard of, and catching it early saves a lot of bother.
How do I store baking tins without them falling everywhere?
Store them vertically, upright, rather than stacking them horizontally. An adjustable bakeware divider does this neatly, or you can improvise with sturdy bookends in a deep drawer or cupboard. Group by size so similar tins sit together and it’s easy to pull out the one you want.
Where should I keep baking supplies if I don’t have much cupboard space?
Go vertical with a small freestanding shelf unit, use the backs of existing cupboard doors with stick-on or screw-in racks, or try a rolling kitchen trolley that you can store away when not in use. Being selective about what you actually keep is also key – a smaller, well-organised collection of supplies you genuinely use beats a large collection you can’t navigate.
Should I label everything?
Labelling is genuinely worth doing for anything you’ve decanted into a container – particularly things that look similar, like plain flour and self-raising flour, or caster sugar and icing sugar. You don’t need a label maker; a strip of masking tape and a marker pen works perfectly well. If you’re writing expiry dates on containers too, put them on the bottom or inside the lid rather than the front so they don’t make things look cluttered.
How often should I reorganise my baking supplies?
A quick tidy-up every couple of months is usually enough to keep things functional. A proper sort-out – pulling everything out, checking dates, reassessing what you’re keeping – once or twice a year is sensible. I do mine in January and around September when the urge to bake properly picks back up. If the system is working well, those sessions should only take twenty minutes or so.
Getting your baking supplies sorted genuinely does make baking more enjoyable – there’s something quietly satisfying about knowing exactly where everything is before you start. But it doesn’t have to be a big project or an expensive one. Start with the clear-out, give everything a logical home based on how you actually bake, and make sure whatever system you set up is easy enough to maintain that you’ll actually bother. The matching containers and the beautiful labels can come later if you want them. The functionality comes first.
See more home organisation posts here

Becky is the voice behind Life in Velvet, an organised, intentional living blog focused on practical food, calm homes, thoughtful projects, and everyday systems that make real life feel easier. A mum of 3 living in the UK, Becky writes from lived experience, sharing what works, what doesn’t, and the decisions that make family life run more smoothly.
With a background in marketing and content writing, and over a decade of blogging experience, she brings a thoughtful, structured approach to everything from baking and home projects to routines and decision-making. Life in Velvet is where planning meets creativity, with ideas designed for real homes and real life.