
Delia Smith’s pavlova works because of two specific things: the way she adds sugar and the way she handles heat. Preheat to 150C (300F, Gas Mark 2), drop the temperature immediately to 140C (275F, Gas Mark 1) once it goes in, bake for an hour, then leave it to cool completely in the oven with the door shut. Get those steps right and you’ll have a crisp shell with a marshmallow centre every single time. I’ve been making this recipe for years, and it’s still the one I reach for when I need a dessert that genuinely impresses.
Why I Keep Coming Back to Delia Smith’s Pavlova
My relationship with Delia Smith started about a decade ago. I’d confidently assumed I knew how to cook. British baking had other ideas.
I’ll never forget my first pavlova attempt. It was for my daughter’s birthday party, made from some random recipe online that promised it would be “easy.” Spoiler alert: it was not easy. The meringue wept sugary tears all over the baking tray, collapsed in the middle, and somehow managed to be both burnt and raw at the same time.
Then I found Delia’s pavlova recipe, and everything changed. As Delia herself says, pavlova is “very difficult to make if you don’t have the right recipe but dead easy if you do.” She’s absolutely right. I’ve not had a pavlova disaster since. Well, except for that one time I forgot it was in the oven and left it there for two days, but we don’t talk about that.
What Makes Pavlova So Special?
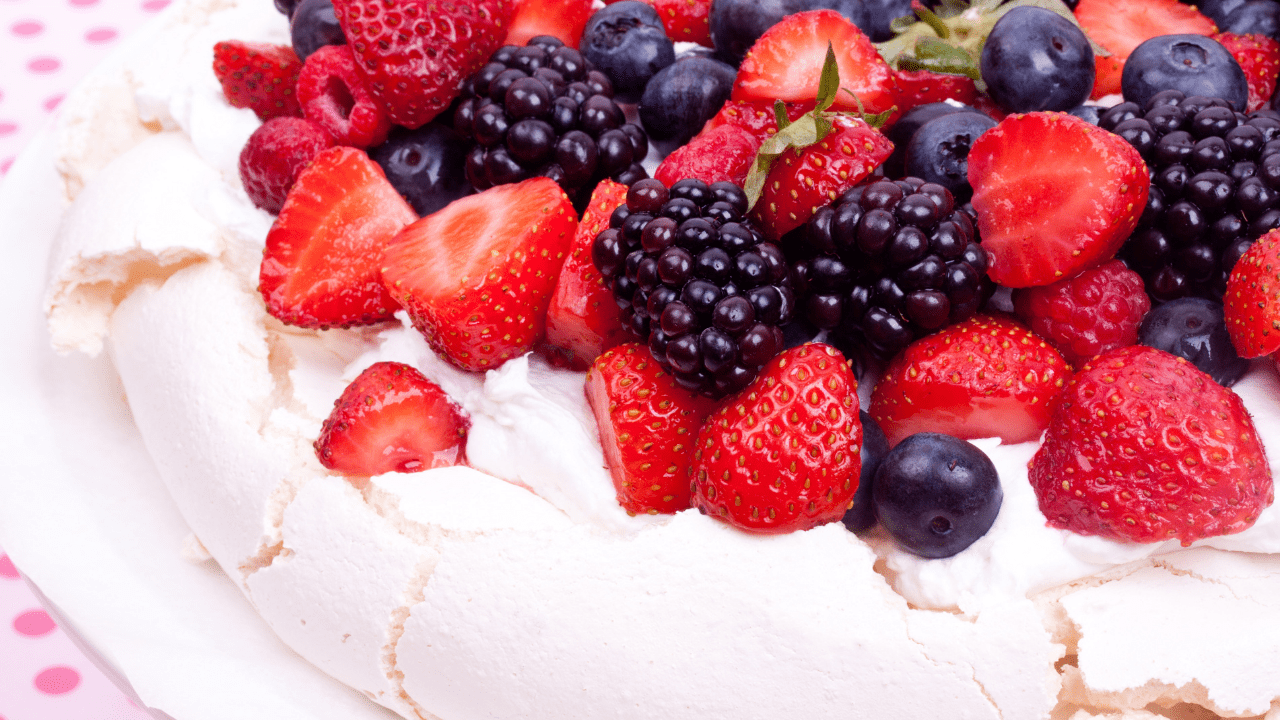
A proper pavlova has a delicate, crispy shell that shatters when you cut into it, revealing a soft, marshmallow interior that’s almost like eating a cloud. Piled with softly whipped cream and whatever fruit is in season, the contrast between the sweet meringue and sharp fruit is what makes it work. It’s one of those desserts that looks like you’ve made a serious effort, even when you haven’t.
The Fascinating History of Pavlova (And Why Two Countries Are Still Fighting About It)
Pavlova is named after Anna Pavlova, the famous Russian ballerina who toured Australia and New Zealand in 1926. Both countries claim they invented the dessert, and they are extremely serious about it. Decades-long disputes, national pride, and strongly worded newspaper articles serious.
The dessert was supposedly inspired by Anna Pavlova’s billowing tutu, which is a genuinely lovely origin story. More recent food historians have traced meringue cakes topped with cream and fruit back to 18th century Austria, with similar recipes arriving in the southern hemisphere via later migration routes. But where’s the fun in that version?
What’s certain is that by the late 1920s and early 1930s, pavlova recipes were appearing in both Australia and New Zealand, and the world became a considerably sweeter place for it.
Why Delia Smith’s Pavlova Recipe Is the One to Follow
I’ve worked through at least a dozen pavlova recipes over the years, and my family have been very willing test subjects. I keep coming back to Delia’s. Here’s what sets her method apart.
She Keeps It Simple
Delia’s recipe uses just egg whites and sugar for the meringue base. No cornflour, no vinegar, no cream of tartar. She notes you can add them if you want extra insurance, and there’s no judgment either way, but the point is that you don’t need them. Good technique beats extra ingredients every time.
The Temperature Technique Is Genius
Delia’s two-stage method starts the oven at 150C (300F) and drops immediately to 140C (275F) once the pavlova goes in. That initial heat starts setting the exterior quickly, creating the crispy shell. The lower temperature then gently handles the inside without drying it out. After an hour, the oven goes off and the pavlova stays inside until it’s completely cold. This gradual cooling is what prevents cracking.
Her Instructions Are Actually Foolproof
Delia tells you exactly what to look for at each stage, from stiff peaks to how the mixture should feel between your fingers. If you’ve ever made meringue and wondered whether you were doing it right, her method takes the guesswork out completely. If I can follow it reliably after a decade of making it, anyone can.
Delia Smith Pavlova Recipe: The Full Method
Ingredients
For the Meringue:
4 large egg whites (at room temperature) 225g (8 oz / 1 cup + 2 tablespoons) golden caster sugar Optional: 1 teaspoon white wine vinegar and 1 teaspoon cornflour
For the Topping:
300ml (10 fl oz / 1 and a quarter cups) double cream 450g (1 lb) fresh strawberries, or whatever fruit you fancy 1 teaspoon vanilla extract 1 to 2 tablespoons icing sugar (confectioner’s sugar)
Oven Temperatures
Conventional oven: Preheat to 150C / 300F / Gas Mark 2, reduce immediately to 140C / 275F / Gas Mark 1 when the pavlova goes in Fan oven: Preheat to 130C / 265F, reduce to 120C / 250F Baking time: 1 hour, then cool completely in the oven
Equipment You’ll Need
Large glass or metal mixing bowl, completely clean and dry Electric whisk (you can do this by hand, but life’s too short) Baking tray Baking parchment Metal spoon for shaping
Method
Step 1: Prepare Your Oven and Tray
Preheat your oven to 150C (300F / Gas Mark 2). Line a baking tray with baking parchment and draw a 20cm (8 inch) circle on it using a plate as a guide, then flip the paper over. You’ll see the circle through the paper and can use it as a shaping guide without getting pencil in your meringue.
Step 2: Separate Your Eggs
This step matters more than people think. Separate each egg individually into a small bowl before adding the white to your mixing bowl. If a yolk breaks, you’ve only lost one white, not the whole batch. Any trace of yolk in the whites and they won’t whisk up properly. I also wipe my bowl and whisk with a little white vinegar on kitchen paper before I start, then dry thoroughly. It sounds fussy, but invisible grease really can stop egg whites from whipping.
Step 3: Whisk the Egg Whites
Start whisking on medium-high speed. The whites will go through several stages: foamy and bubbly first, then white and more substantial, then soft peaks where the tips flop over when you lift the whisk, and finally stiff peaks where the tips stand up straight. You want stiff peaks. Stop there. Over-whisking makes the egg whites look grainy, and once that happens, they start to break down.
Step 4: Add the Sugar Gradually
This is where most pavlovas go wrong. Add the sugar about a tablespoon at a time, whisking well between each addition until it’s fully incorporated. The mixture should become thick, glossy, and smooth. To check the sugar has dissolved, rub a little between your fingers. Grainy means keep going. Smooth means you’re ready to move on.
If you’re adding vinegar and cornflour, fold them in gently now.
Step 5: Shape Your Pavlova
Spoon about a third of the meringue onto the centre of your marked circle and spread it out. Spoon the rest around the edge to create a raised border. This is the classic pavlova nest that holds all the cream and fruit. Use the back of your spoon to create swirls and peaks on the surface. Rustic and billowy is exactly right. Don’t try to make it look perfect.
Step 6: Bake
Put the pavlova in the oven and immediately reduce the temperature to 140C (275F / Gas Mark 1), or 120C (250F) for fan ovens. Bake for one hour without opening the oven door. Cold air causes cracks.
After an hour, turn the oven off completely and leave the pavlova inside to cool with the door closed. Minimum two hours, but overnight is ideal. I almost always make mine the evening before, which also removes any last-minute stress when you’re entertaining.
Step 7: Prepare the Topping
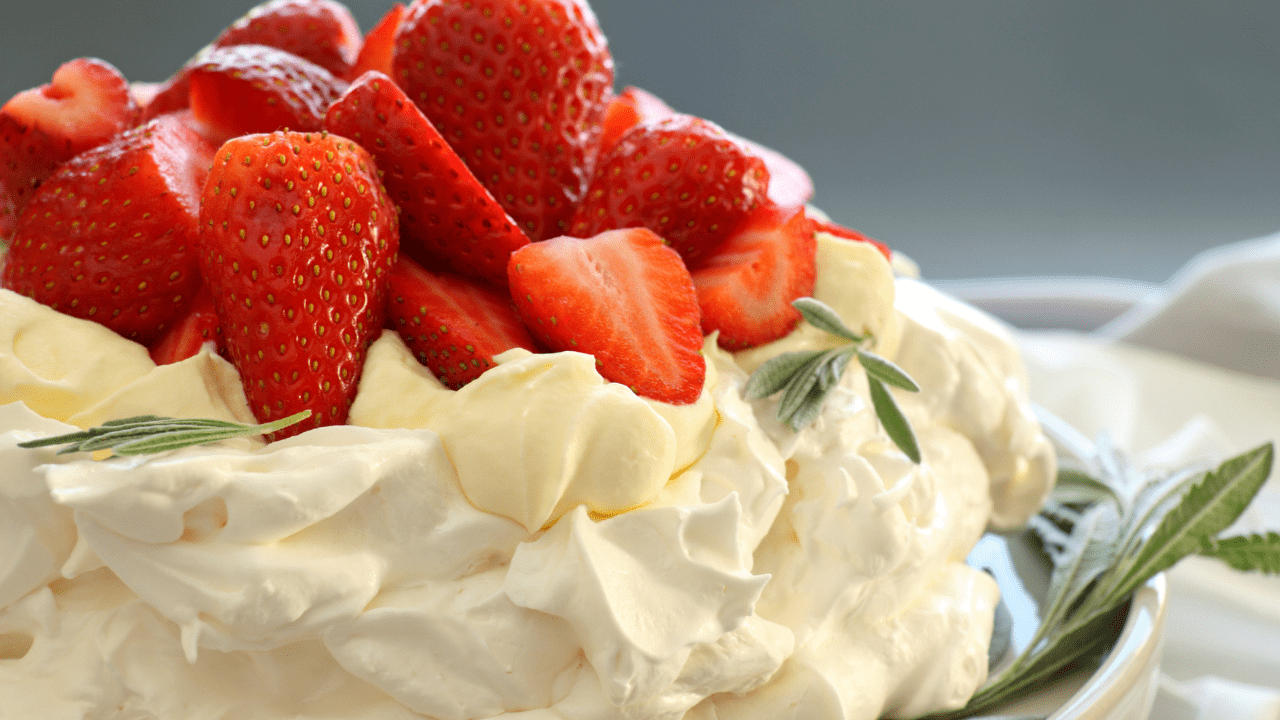
Whip the double cream with the vanilla extract and a tablespoon of icing sugar to soft peaks. Don’t over-whip or it’ll go grainy. Hull and halve your strawberries. For a finishing touch, take a third of the strawberries, mash them with a little sugar, and push through a sieve to make a simple fruit sauce. It takes five minutes and makes the finished pavlova look considerably more put-together.
Step 8: Assemble and Serve
Once the pavlova is completely cool, peel away the baking parchment and transfer carefully to a serving plate. Some cracking is completely normal and adds to the rustic charm. Spoon the cream generously into the centre, arrange the fruit on top, drizzle with your strawberry sauce if you’ve made it, and dust with a little icing sugar. Serve immediately in generous wedges.
My Top Tips for Pavlova Perfection
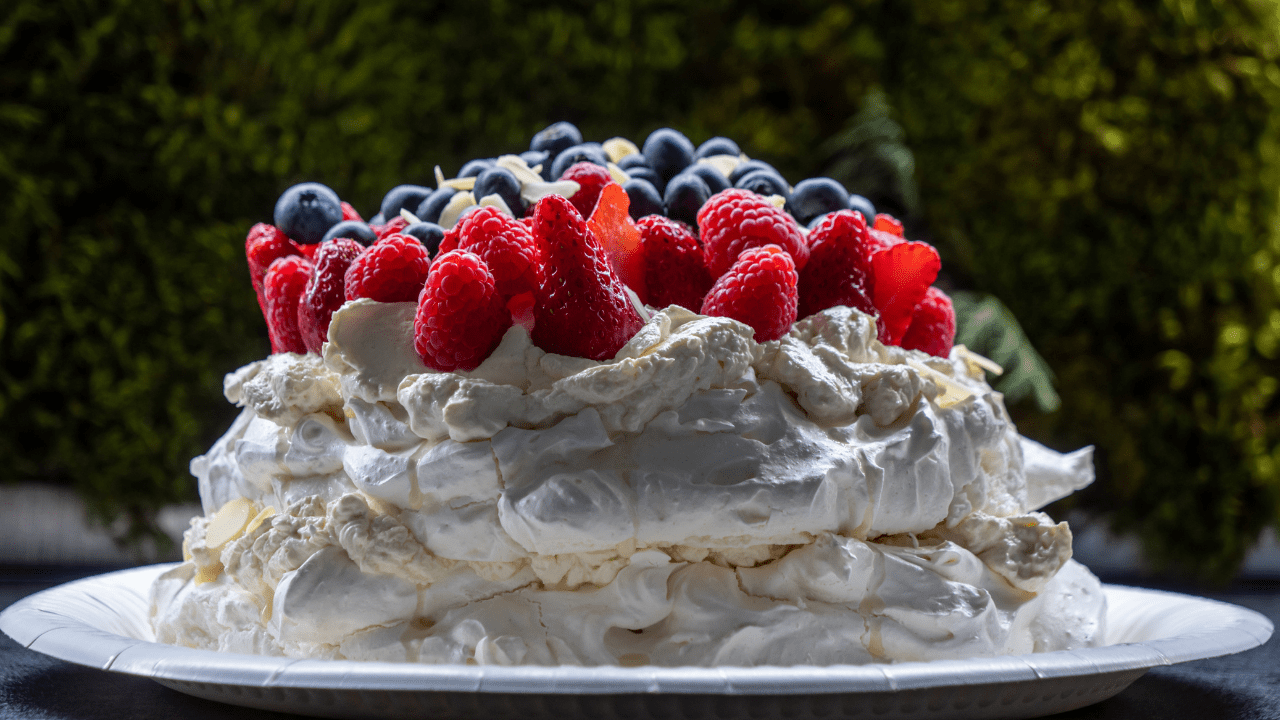
After making Delia’s pavlova dozens of times across birthday parties, Christmas dinners, summer BBQs, and the occasional Wednesday evening when my kids deserve something special, these are the tips that actually make a difference:
Aged eggs whip better. Egg whites from eggs that are about a week old whip up more reliably than very fresh eggs. The proteins have relaxed slightly, and the difference is noticeable.
Room temperature matters. Cold whites from the fridge won’t whisk as well. Take your eggs out 30 minutes before you start, or sit them in a bowl of warm water for five minutes if you’ve forgotten (which I always have).
Wipe your bowl with vinegar. Even invisible traces of grease stop egg whites from whipping properly. White vinegar on kitchen paper, then dry completely.
Use golden caster sugar if you can. Delia specifies it, and it does make a difference. Billington’s is widely available in most UK supermarkets and gives the pavlova a gently caramelly flavour and that beautiful ivory colour. Regular caster sugar works too, but golden is better.
The finger test is non-negotiable. Rub the meringue between your fingers. If it feels grainy, the sugar hasn’t dissolved. Keep whisking.
Make the base the night before. Once completely cool, store in an airtight container at room temperature for up to two days. Add the cream and fruit no more than an hour before serving.
Don’t refrigerate once assembled. The moisture turns the meringue soft and soggy. Keep it at room temperature and serve within the hour.
Troubleshooting Common Pavlova Problems
Why did my pavlova crack?
Some cracking is completely normal and adds rustic charm. Excessive cracking usually means the oven was too hot, the door was opened during baking, or the cooling was too rapid. Always cool in the oven with the door fully closed for at least two hours.
Why did my pavlova weep?
Beads of syrupy liquid on the meringue surface usually mean the sugar wasn’t fully dissolved before baking, the meringue was under-baked, or it was assembled too far in advance and the cream moisture got into the meringue. The finger test before baking prevents most weeping problems.
Why is my pavlova flat?
The egg whites weren’t whisked enough, the sugar was added too quickly, or there was a trace of grease or yolk in the bowl. Any one of these can prevent the egg whites from holding their structure. It only takes a very small amount of contamination to collapse the whole thing.
Why is it chewy instead of marshmallowy?
It was probably baked too long or at too high a temperature. Try adding the optional cornflour next time, which specifically helps create that squidgy, soft-centred texture.
Delia Smith Pavlova vs Other Methods: What Makes Hers Different?
Having made pavlovas using recipes from Nigella Lawson, Mary Berry, and various Australian food bloggers, Delia’s approach stands apart in a few specific ways.
The cornflour and vinegar question. Most pavlova recipes include both. The theory is that cornflour absorbs moisture and creates the marshmallow centre, while vinegar stabilises the egg whites. Delia’s recipe proves you don’t actually need either. Her technique achieves the same result through gradual sugar addition and precise temperature control.
The temperature approach. This is where Delia really differs. Many recipes use a single temperature throughout. Australian recipes often go lower, around 100C to 120C. Delia’s two-stage approach gives you the best of both: the initial heat sets the exterior quickly for that distinctive crispy shell, and the lower temperature handles the inside without drying it out.
The cooling method. All good pavlova recipes agree on slow cooling with a closed door. Some suggest leaving the door slightly ajar, but a fully closed door gives more consistent results.
| Method | Cornflour and Vinegar | Starting Temp | Baking Time |
|---|---|---|---|
| Delia Smith | Optional | 150C then 140C | 1 hour |
| Nigella Lawson | Yes | 180C then 150C | 1 hour 15 mins |
| Mary Berry | Yes | 150C | 1 hour |
| Australian Traditional | Yes | 100C to 120C | 1.5 to 2 hours |
For me, Delia’s method wins because it’s simpler, more forgiving, and consistently delivers. But if you have a tried and tested method that works for you, there’s no need to change. Pavlova making is personal.
Creative Variations on Delia Smith Pavlova
Once you’ve mastered the classic, these are the variations I keep coming back to:
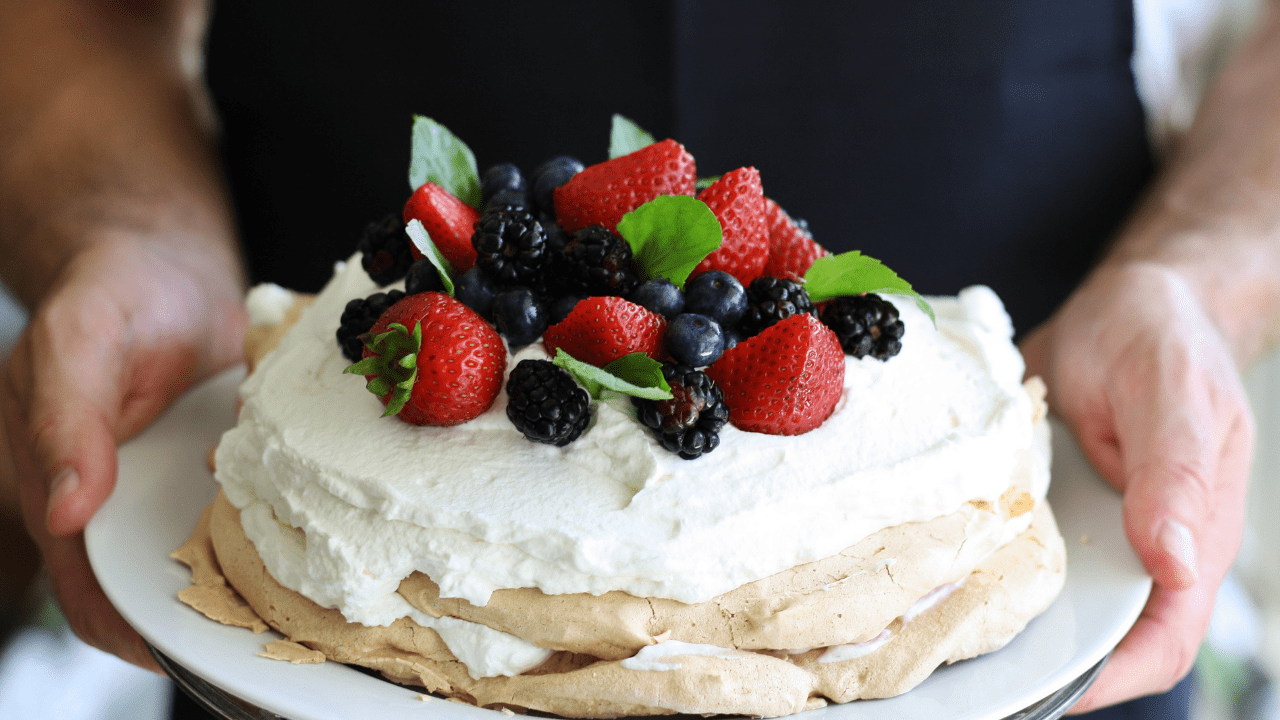
Summer Berry Pavlova. Use a mix of strawberries, raspberries, blueberries, and blackberries. The variety of colours looks stunning and the tartness of the raspberries is particularly good against the sweet meringue.
Passion Fruit Pavlova. Scoop out the pulp of four or five passion fruits and drizzle it straight over the cream. The sourness cuts through the sweetness perfectly. This is enormous in Australia and I completely understand why.
Lemon Curd Pavlova. Swirl good quality lemon curd through the whipped cream before topping with fresh berries. It’s one of those combinations that tastes better than it sounds.
Chocolate Pavlova. Add two tablespoons of good quality cocoa powder to the meringue mixture for a chocolate version. Top with cream and cherries for a Black Forest feel. My kids request this one regularly.
Autumn Pavlova. Roasted plums or poached pears with a sprinkle of toasted hazelnuts. Perfect for cosy autumn dinner parties.
Christmas Pavlova. Pomegranate seeds and fresh cranberries with a hint of orange zest stirred through the cream. It’s genuinely festive and a much lighter way to finish Christmas dinner than the traditional pudding.
When to Serve Delia Smith Pavlova
Pavlova is one of those rare desserts that fits almost every occasion:
Birthday parties. Kids love it, and you can let them choose their fruit toppings. It’s considerably easier than making a traditional birthday cake and looks just as impressive.
Summer BBQs. Light, fruity, and refreshing after grilled food. I sometimes make individual mini pavlovas so everyone gets their own.
Christmas dinner. A brilliant alternative if someone at the table isn’t keen on Christmas pudding. My three always vote pavlova.
Dinner parties. It looks genuinely impressive and takes less effort than most desserts that create the same reaction from guests.
Sunday roasts. We have pavlova for pudding fairly often now. It’s become one of those quiet family traditions.
Because it’s Tuesday. Sometimes you just need something a bit special mid-week, and pavlova delivers without requiring a special occasion.
Essential Tools and Ingredients
You don’t need much specialist kit, but a few things make a real difference:
Stand mixer or hand mixer. You can whisk by hand, but an electric mixer makes it considerably easier. A KitchenAid is brilliant if you bake regularly; a reliable hand mixer works well for occasional use.
Large glass or metal mixing bowl. Glass is ideal because it doesn’t retain grease.
Digital kitchen scales. British recipes use weights, and accurate scales are essential for consistent results.
Baking parchment. Non-stick paper makes removing the pavlova clean and stress-free.
Golden caster sugar. Billington’s is my go-to. Available in most major UK supermarkets.
Vanilla extract. Not vanilla essence. The flavour difference in the cream is noticeable.
Large serving platter or cake stand. A white cake stand makes any pavlova look considerably more impressive.
Frequently Asked Questions About Delia Smith Pavlova
What temperature do you cook Delia Smith pavlova?
Preheat to 150C (300F / Gas Mark 2), then reduce immediately to 140C (275F / Gas Mark 1) when the pavlova goes in. For fan ovens, start at 130C and reduce to 120C. Bake for exactly one hour, then turn the oven off and leave the pavlova inside to cool completely with the door closed.
Why does Delia Smith not use cornflour in her pavlova?
Delia’s method proves that technique matters more than extra stabilisers. Her gradual sugar addition and precise temperature control create the marshmallow centre without needing cornflour or vinegar. That said, she acknowledges you can add a teaspoon of each if you’d like extra insurance, and there’s no shame in it.
Can you make Delia Smith pavlova the day before?
Yes, and many bakers prefer it this way. Make the meringue base, let it cool completely in the oven, then store in an airtight container at room temperature for up to two days. Only add the cream and fruit within an hour of serving to keep the meringue crisp.
What is the secret to a perfect pavlova?
Four things: completely clean and dry equipment, room temperature egg whites, adding the sugar very gradually (about a tablespoon at a time), and letting the pavlova cool slowly in the turned-off oven with the door closed. Rushing any of these steps leads to cracks, weeping, or collapsed meringue.
Why did my Delia Smith pavlova crack?
Some cracking is normal and part of the charm. Excessive cracking usually means the oven was too hot, the door was opened during baking, or the pavlova cooled too quickly. Always cool in the oven with the door closed for at least two hours, preferably overnight.
What is the best fruit to put on pavlova?
Sharp, tangy fruits work best against the sweet meringue. Classic choices include strawberries, raspberries, passion fruit, and kiwi. In winter, pomegranate seeds or poached pears are brilliant. The key is choosing something that contrasts with the sweetness rather than adding more of it.
Why Delia Smith Is Still My Most-Reached-For Cookbook
Can I get a bit soppy for a moment? Delia Smith’s books have been on my kitchen shelf for years, and I still reach for them when I want to make something I know will work.
Her recipes are clear, thoroughly tested, and reassuring without being condescending. She never assumes you already know something, which is exactly what you need when you’re learning a new dish or tackling something with a reputation for being tricky.
Her pavlova is a perfect example of why she’s been so influential. Every time I make it, and I make it a lot because my three kids ask for it constantly, I think about how far I’ve come from that first birthday party disaster. I’ve even taught my eldest how to make it now. There’s something quietly lovely about that.
A note on this recipe in 2026: I revisited Delia’s method carefully at the start of this year. Nothing fundamental has changed. Her original technique remains the best approach I know. The one practical update worth noting is that golden caster sugar is now very widely stocked across UK supermarkets, including Tesco, Sainsbury’s, and Waitrose, so there’s no reason to substitute regular caster sugar if you can help it.
If you take one thing away from this: pavlova is not as scary as its reputation. Yes, meringue can be temperamental, but Delia’s method removes the guesswork at every stage.
Use room temperature eggs in a spotlessly clean bowl. Add the sugar gradually and keep whisking until it feels smooth between your fingers. Trust the oven temperature. Leave it alone to cool slowly.
I’ve made this recipe across countless birthday parties, Christmas dinners, summer BBQs, and the occasional Tuesday evening when everyone deserves something a bit special. It has never let me down, and I’m confident it won’t let you down either.
Now go on, crack those eggs and give it a go. Your family will thank you.
Have you tried Delia Smith’s pavlova? Did it work first time, or do you have a disaster story to share? Drop a comment below. And if this post helped you, please share it with your fellow dessert lovers.
Have you tried Delia Smith pavlova? Did it work perfectly for you, or do you have any disasters to share? Drop a comment below – I’d love to hear your pavlova stories! And if this post helped you, please share it with your fellow dessert lovers.
Got a sweet tooth? See more Sweet Treats here!
See more of my favourite Delia Smith Recipes:
Delia Smith Pancakes
Delia Smith Chocolate Torte
Delia Smith Meringue
Delia Smith Scones
Delia Smith Mince Pies
Delia Smith Lasagne
Delia Smith Plum Jam
Delia Smith Dundee Cake
Delia Smith Victoria Sponge
Delia Smith Trifle
Delia Smith Coronation Chicken
Delia Smith Christmas Cake

Becky is the voice behind Life in Velvet, an organised, intentional living blog focused on practical food, calm homes, thoughtful projects, and everyday systems that make real life feel easier. A mum of 3 living in the UK, Becky writes from lived experience, sharing what works, what doesn’t, and the decisions that make family life run more smoothly.
With a background in marketing and content writing, and over a decade of blogging experience, she brings a thoughtful, structured approach to everything from baking and home projects to routines and decision-making. Life in Velvet is where planning meets creativity, with ideas designed for real homes and real life.