
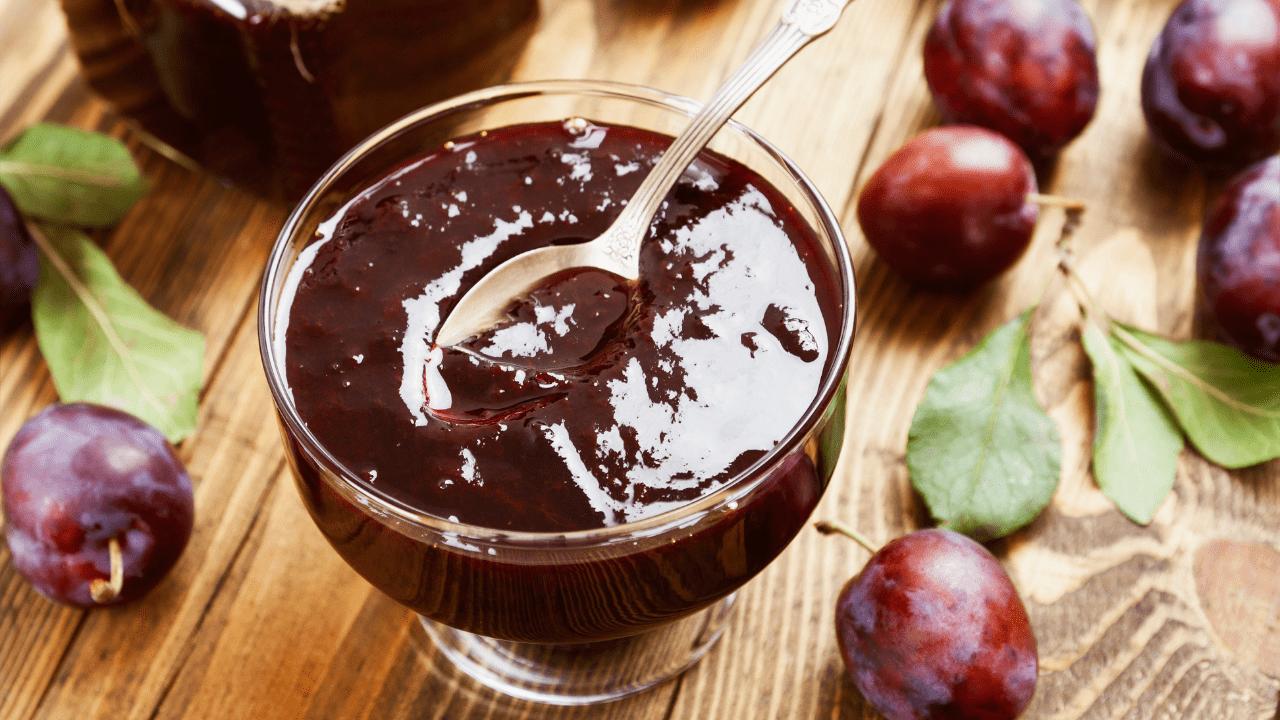
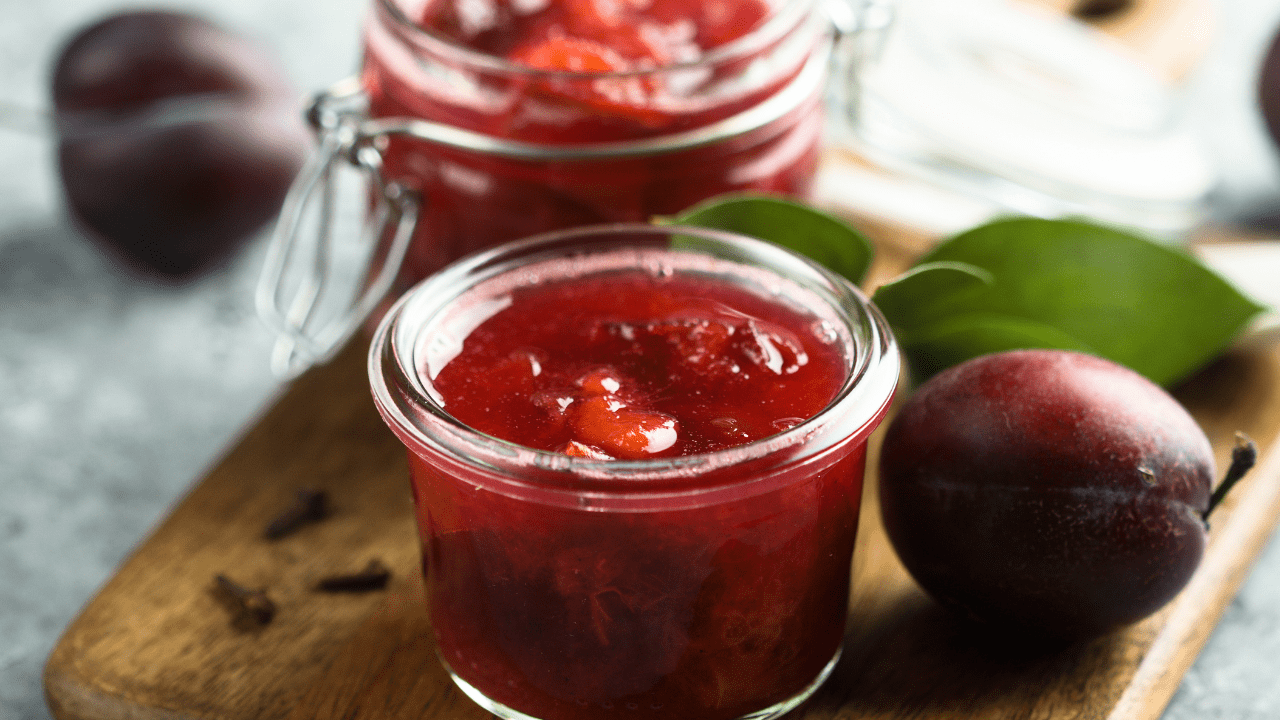
Delia Smith’s plum jam uses just four ingredients: plums, sugar, lemon juice, and water. No added pectin, no complicated technique. Plums are naturally high in pectin, which means they set reliably on their own, and the whole process takes around 90 minutes from start to sealed jars. If you follow Delia’s method properly, this is one of the most beginner-friendly preserves you can make.
I was convinced I’d mess it up the first time. I’d heard the horror stories about jam that refuses to set, or sets so hard you could grout tiles with it. But this recipe is about as foolproof as jam-making gets, and after making it more times than I can count (with three kids who get through jam at alarming speed), I can tell you it works every single time.
Why Delia Smith’s Plum Jam Recipe Is Absolutely Brilliant
There’s a reason this recipe has earned its place in British cooking folklore. Delia Smith isn’t just any cook. She’s the woman who taught Britain how to cook.
What makes her plum jam special? She keeps it traditional. No fancy additions (unless you want them – more on that later), no complicated techniques, just the pure, honest flavour of plums preserved in sugar. It’s the kind of jam your nan might have made, but with Delia’s characteristic attention to detail that ensures it works every single time.
The best bit? You genuinely don’t need any special pectin or jam sugar. Plums are naturally high in pectin, especially when they’re slightly underripe, which means they’ll set beautifully without any additives. Just fruit, sugar, a splash of lemon, and your patience.
The History of Jam-Making in Britain (And Why We’re Obsessed)
Quick history lesson, because I find this stuff fascinating: jam-making in Britain goes back centuries. Before refrigeration, preserving fruit in sugar was one of the only ways to enjoy summer flavours through the long, dark winter. During the Second World War, when sugar was rationed, making jam became both precious and patriotic.
Delia Smith, who grew up in the post-war era, has always championed these traditional preservation methods. Her recipes honour that heritage whilst making them accessible for modern cooks who might not have a pantry full of preserving jars and a fruit garden out back.
Today, with supermarkets full of cheap, mass-produced jam, making your own might seem unnecessary. But trust me – once you taste homemade plum jam, with its intense fruit flavour and that perfect balance of sweet and tart, shop-bought stuff tastes like sweet purple goo in comparison.
Plum Varieties for Jam: Quick Comparison
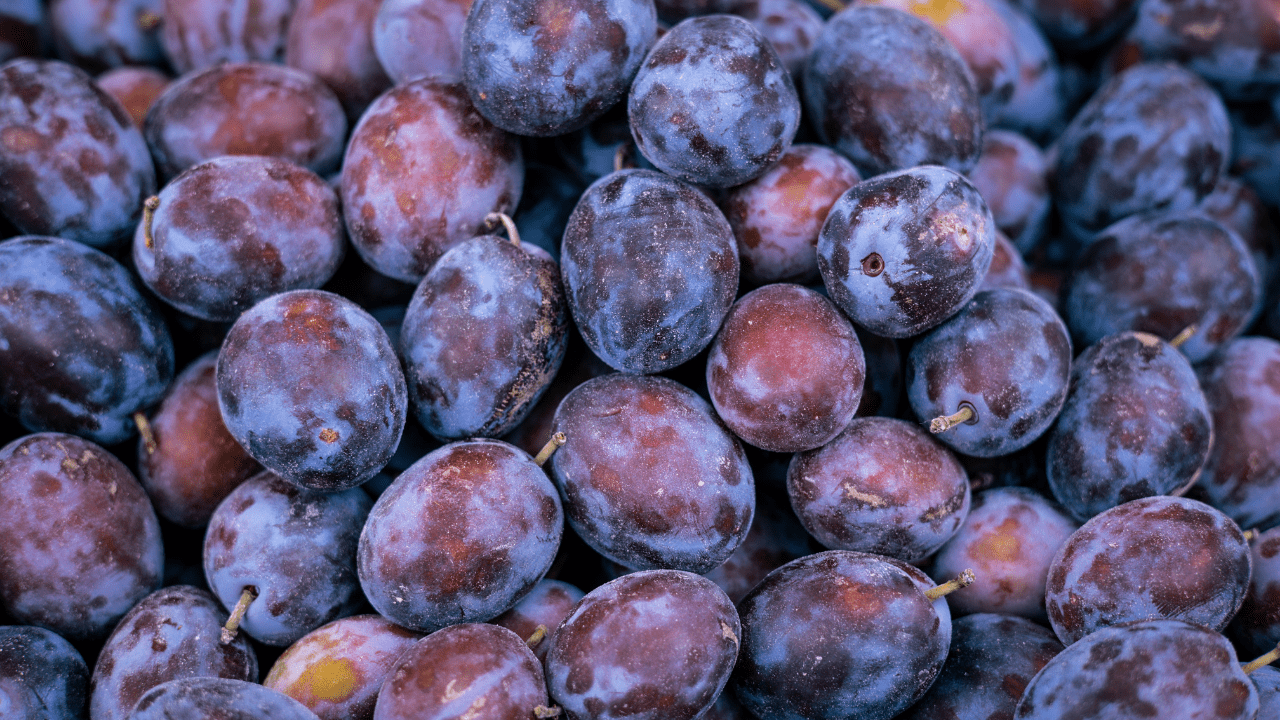
Not sure which plums to buy? Here’s how different varieties perform in jam-making (based on making this recipe 30+ times over the years):
| Plum Type | Flavour Profile | Setting Ability | Best For |
|---|---|---|---|
| Victoria Plums | Sweet, balanced, classic plum taste | Excellent (high pectin) | Beginners, all-purpose jam |
| Damsons | Tart, intense, wine-like | Excellent (very high pectin) | Cheese pairings, sophisticated gifts |
| Greengages | Honey-sweet, delicate | Good (medium pectin) | Special occasion jam, subtle flavour lovers |
| Mirabelle | Golden, aromatic, sweet | Good (medium pectin) | Luxury jam, hard to source in UK |
Pro tip from experience: Mix slightly underripe plums (firmer, more pectin) with ripe ones (better flavour) for the best results. A 60/40 ratio works brilliantly.
Understanding Your Plums: Varieties and Selection
Not all plums are created equal when it comes to jam-making. Here’s what you need to know:
Victoria Plums are the classic choice – they’re sweet, they have that gorgeous pinky-red colour, and they’re widely available in the UK from August to September. They make a jam that’s sweet and fruity without being cloying.
Damsons are smaller and much tarter, with an intense, almost wine-like flavour. Damson jam is absolutely gorgeous but quite different – sharper and darker. If you can get your hands on damsons (they’re often found at farmers’ markets or foraged from hedgerows), they make spectacular jam.
Greengages look unpromisingly green even when ripe, but don’t be fooled – they’re honey-sweet and make a beautifully delicate jam with a subtle, sophisticated flavour.
Mirabelle plums are tiny golden beauties originally from France. They’re quite hard to find in the UK, but if you spot them, grab them – they make exceptional jam.
For this recipe, I usually use Victoria plums because they’re reliable, affordable, and easy to find. But honestly? Use whatever plums you can get your hands on. The recipe is forgiving.
How to choose plums for jam:
- Look for fruit that’s ripe but still slightly firm
- Overly soft plums will give you less pectin and runnier jam
- A mix of ripe and slightly underripe is actually ideal
- If your plums are rock-hard, leave them in a bowl on your counter for a few days
- Avoid plums with brown spots or damage (unless you’re cutting those bits out)
Equipment You’ll Need
This is where I can help you avoid the mistakes I made. Proper equipment genuinely makes the difference between jam-making being enjoyable and being a sticky nightmare.
Essential:
- Large, heavy-bottomed preserving pan or stockpot (at least 8 litres/14 pints) – the heavy bottom prevents burning, and you need the depth because jam bubbles up violently. Amazon has brilliant preserving pans with helpful measurement marks
- Wooden spoon with a long handle – you’ll be stirring hot jam, so long handles = not burning yourself
- Jam jars (about 8-10 x 450g/1lb jars, sterilised) – I collect jars all year, but you can buy them new
- Jam funnel – makes filling jars SO much easier and less messy. These wide-mouth funnels are brilliant
- Small plates or saucers (for testing the set – pop them in the freezer now!)
- Sugar thermometer (optional but helpful) – digital ones are most accurate
- Ladle – for transferring jam to jars
- Clean tea towels – for handling hot jars
Nice to have:
- Jam labels and pretty ribbon – if you’re giving jars as gifts
- Jar lifter – for safely removing jars from boiling water
- Cherry pitter – speeds up stoning plums enormously
- Kitchen timer – because you will forget you’ve got jam on the hob (speaking from experience)
The Complete Delia Smith Plum Jam Recipe
Ingredients
British/Metric Measurements:
- 2 kg (4.4 lbs) plums, washed
- 1.5 kg (3.3 lbs) granulated white sugar
- Juice of 1½ lemons (about 3 tablespoons)
- 150 ml (⅔ cup) water
- 40g (1½ oz) butter (to reduce foaming)
US Measurements:
- 4.4 lbs plums, washed
- 7½ cups granulated white sugar
- Juice of 1½ lemons (about 3 tablespoons)
- ⅔ cup water
- 3 tablespoons butter (to reduce foaming)
Yield: Approximately 8-10 x 450g (1lb) jars
What to Expect: Your Jam-Making Timeline
Here’s realistically how long each stage takes (so you can plan your afternoon properly):
- Prep and sterilising jars (30 mins): Washing and stoning plums, getting jars in the oven
- First cook (15-20 mins): Softening fruit with water
- Dissolving sugar (5-10 mins): Stirring over low heat until no grittiness remains
- Rolling boil to setting point (10-20 mins): The bit where you stay close and test frequently
- Cooling and potting (15 mins): Letting jam settle, filling jars
- Total active time: About 1.5 hours from start to sealed jars
Honest Mom tip: I always give myself 2 hours total so I’m not stressed. Put on a podcast, pour yourself a cuppa, and enjoy the process rather than rushing it.
Step-by-Step Instructions
Step 1: Prepare Your Plums (The Meditative Bit)
Right, put on your favourite podcast or playlist because this takes a bit of time. Wash your plums, then cut them in half and remove the stones. If you’ve got a cherry pitter, it works brilliantly for this. Just pop each plum half through and the stone shoots out.
Some recipes tell you to cook the plums whole and fish out the stones later, but honestly? That’s messier and you lose more fruit. Taking 20 minutes to stone them properly at the start is worth it.
Don’t worry about being too neat – your plums are going to break down completely during cooking anyway. Just get the stones out.
Top tip: Keep a bowl for your plum stones and compost them later, or if you’re feeling fancy, some people dry them and use them in crafts. I usually just compost mine though.
Step 2: The First Cook – Softening the Fruit
Pop your stoned plums into your large preserving pan with the water. The water stops them catching on the bottom before they release their juice.
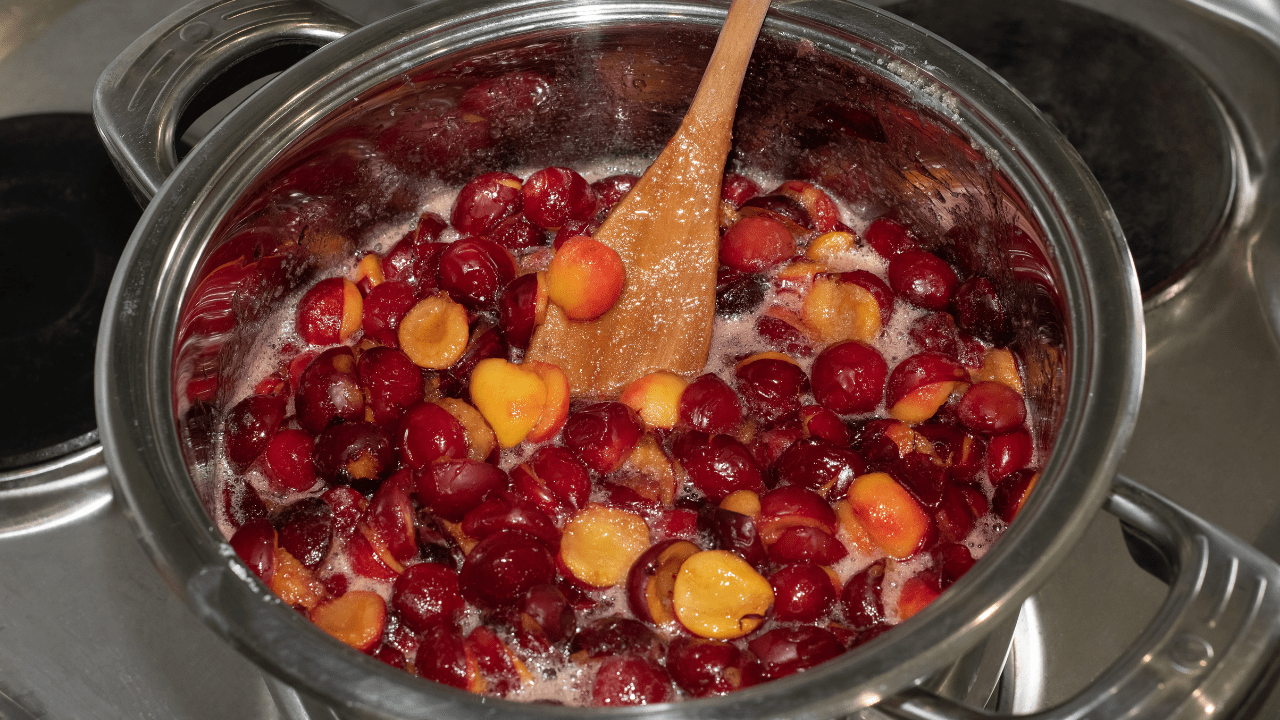
Bring everything to a gentle simmer over medium heat. You want the plums to cook down until they’re really soft and pulpy – this usually takes about 15-20 minutes. Stir occasionally to stop anything sticking.
You’ll notice the plums start to break down, the skins separate from the flesh, and everything becomes quite liquidy. This is exactly what you want. The fruit needs to be completely soft before you add the sugar, otherwise you’ll end up with tough plum skins in your jam (not pleasant).
Step 3: Add the Sugar (The Sweet Transformation)
Once your plums are soft and pulpy, add all the sugar and the lemon juice. Now, this might look like a shocking amount of sugar. It is a lot of sugar. But remember, this is jam – it’s meant to be a treat, not a health food. The sugar isn’t just for sweetness; it’s what preserves the fruit and helps it set.
The lemon juice is crucial too. It adds brightness to balance the sweetness, and more importantly, it provides acid which helps the jam set. Plums are fairly acidic already, but the lemon gives it extra insurance.
Stir the mixture over low heat until the sugar has completely dissolved. This is really important – you should rub a little of the mixture between your fingers (carefully, it’s hot) and you shouldn’t feel any grittiness. If you start boiling before the sugar’s dissolved, you can end up with crystallisation.
Step 4: The Rolling Boil (Don’t Leave It!)
Now, turn up the heat to high and bring your jam to what’s called a “rolling boil.” This is a vigorous, bubbling boil that you can’t stir down. The jam will foam up dramatically – this is why you need that big pan.
Stir frequently to prevent sticking and burning. I usually stay with my jam for this whole part because it can catch and burn quickly if you’re not watching it.
Add your butter at this point – it helps reduce the foaming and makes it easier to see what’s happening.
Boil for about 10-15 minutes, but don’t rely on time alone – you need to test for set.
Step 5: Testing for Setting Point (The Critical Bit)
This is where many people panic, but don’t worry – I’ll give you three different ways to test, so you’ll definitely know when your jam is ready.
The Wrinkle Test (Most Reliable): Remember those plates you put in the freezer? Take one out, drop a teaspoon of jam onto it, wait 30 seconds, then push it with your finger. If the surface wrinkles and the jam doesn’t immediately run back together, it’s set! If it’s still liquid, boil for another 2-3 minutes and test again.
The Temperature Test (If You Have a Thermometer): Jam sets at 104-105°C (220°F). If you have a sugar thermometer, clip it to the side of your pan (not touching the bottom) and wait until it hits this temperature.
The Spoon Test (Old-School Method): Dip a clean wooden spoon in the jam, lift it out and let the jam run off. At first, it will run off in a stream. As it cooks, it will start to form two separate drops that hang from the spoon edge. When these drops meet and fall off as one “flake” or “sheet,” your jam is set.
Don’t panic if it takes longer than expected – different plums have different pectin levels, humidity affects things, even your cooker can make a difference. Just keep testing every few minutes.
Setting Point: The Three-Test Method
After making this jam countless times, here’s what I’ve learned works best:
| Test Method | What You’re Looking For | Reliability |
|---|---|---|
| Wrinkle Test | Jam wrinkles when pushed on cold plate, doesn’t run back together | Most reliable – use this one |
| Temperature Test | Thermometer reads 104-105C (220F) | Very reliable if you have a thermometer |
| Spoon Test | Jam forms a sheet or flake when dripping from spoon | Takes practice to recognise |
Common mistake to avoid: Testing too early. I learned the hard way that testing before 10 minutes of boiling usually gives false negatives. Be patient!
Step 6: The Skim (Making It Pretty)
Once your jam has reached setting point, turn off the heat and use a large metal spoon to skim off any scum or foam from the surface. Most of this will be on the top, and you want to remove it because it looks unappetizing in your finished jars.
Let the jam sit for about 10-15 minutes. This cooling time helps prevent your fruit from floating to the top of the jars.
Step 7: Sterilising Jars (Cannot Be Skipped!)
Whilst your jam is doing its initial boil, you need to sterilise your jars. This is absolutely not optional – it’s what prevents bacteria growing in your jam.
Method 1: Oven Method (My Favourite) Wash jars in hot soapy water, rinse well, then place upside down on a baking tray. Put them in a 140°C (275°F) oven for 20 minutes. Leave them in there until you’re ready to fill them – they need to be warm when you add hot jam.
Method 2: Dishwasher Method Run jars through a hot cycle (without detergent), then leave them in the closed dishwasher until needed.
Method 3: Boiling Water Method Submerge jars in boiling water for 10 minutes. Fish them out with tongs when needed.
For lids, either boil them for 5 minutes in a pan of water, or pour boiling water over them in a bowl and leave them there.
Step 8: Filling Your Jars (The Satisfying Bit)
Place your warm jars on a clean tea towel (this stops them sliding around). Using your jam funnel and ladle, carefully fill each jar almost to the top, leaving about 5mm (¼ inch) headspace.
Wipe the rims with a clean, damp cloth to remove any drips – you want a clean seal.
Place the lids on whilst everything is still hot and screw them on firmly, but don’t go mad – you’re not trying to weld them shut.
Step 9: The Seal Check (The Pop!)
As your jars cool down over the next few hours, you should hear little “pop” sounds as the lids seal. This is the vacuum forming, which is what keeps your jam fresh.
After 24 hours, press the centre of each lid. If it stays down and doesn’t flex, it’s sealed properly. If it pops up and down, the jar hasn’t sealed – just pop that one in the fridge and use it within a month.
Troubleshooting: When Things Go Wonky
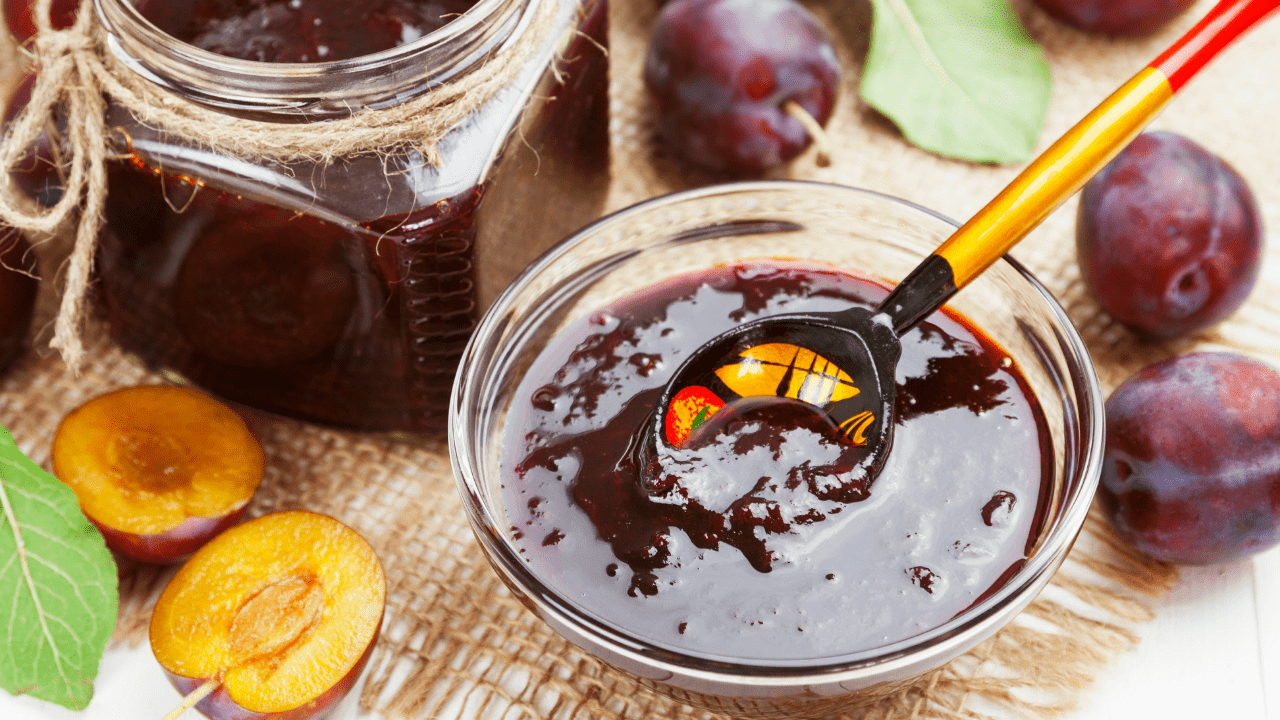
My jam is too runny! What now?
Don’t throw it away! You have options:
- Re-cook it: Empty the jars back into your pan, bring to a rolling boil again, and cook for longer until it passes the setting test
- Use it anyway: Runny jam makes a brilliant sauce for ice cream, pancakes, or yogurt
- Add pectin: If you’re really stuck, you can stir in some commercial pectin following packet instructions
Why did this happen?
- Plums weren’t ripe enough (not enough pectin)
- Didn’t boil long enough
- Too much water to start with
- Didn’t test for set properly
My jam is too thick/solid!
This usually means you overcooked it. The jam is still edible, just perhaps not spreadable.
Solutions:
- Gently warm it and stir in a tablespoon or two of boiling water
- Use it as a filling for cakes or tarts instead
- Warm small amounts in the microwave when you want to use it
My jam has crystallised!
This happens when sugar wasn’t fully dissolved before boiling, or if you’ve cooked it too long.
What to do:
- Gently reheat the jam with a splash of water
- The crystals should dissolve again
- It’s still safe to eat, just a bit crunchy
The fruit has all floated to the top!
This is just aesthetic, not a safety issue.
Why it happens:
- Didn’t let the jam cool before potting
- Fruit pieces were too large
- Jam wasn’t quite at setting point
Prevention next time:
- Let jam cool for 10-15 minutes before potting
- Stir gently just before potting to redistribute fruit
My jars didn’t seal!
Not the end of the world at all.
What to do:
- Pop unsealed jars straight in the fridge
- Use within 3-4 weeks
- The jam is perfectly fine, just not shelf-stable
Why it happened:
- Jars or lids weren’t clean enough
- Rim of jar had jam on it preventing seal
- Jam wasn’t hot enough when potted
- Lids were damaged or old
Creative Variations (Because Sometimes You Want to Jazz Things Up)
Once you’ve mastered the basic recipe, here are some gorgeous variations:
Vanilla Plum Jam
Add a split vanilla pod to the plums whilst they’re softening, then remove it before potting. The subtle vanilla fragrance is divine.
Spiced Plum Jam
Add 1 cinnamon stick, 3 star anise, and 4 cloves during the first cooking. Remove the whole spices before adding sugar. Perfect for Christmas gifts!
Plum and Orange Jam
Replace the lemon juice with the juice and zest of 2 oranges. The orange adds a lovely marmalade-like note.
Plum and Brandy Jam
Stir in 3-4 tablespoons of brandy just before potting. Very grown-up and sophisticated.
Cardamom Plum Jam
Crush 8-10 cardamom pods and add the seeds during cooking. Strain them out before potting. The flavour is subtle but gorgeous.
Plum and Ginger Jam
Add 2 tablespoons of freshly grated ginger when you add the sugar. The warmth works beautifully with the plums.
Storage and How Long It Keeps
Sealed jars: In a cool, dark cupboard (your pantry or under the stairs), properly sealed jam will last 12-18 months. The flavour is best in the first year though.
Once opened: Keep in the fridge and use within 4-6 weeks. Always use a clean spoon to avoid introducing bacteria.
Signs your jam has gone off:
- Mould on the surface (chuck it – don’t just scrape it off)
- Fizzing or fermentation smell
- Lid has popped up (broken seal)
- Off smell or taste
Freezing: You can freeze jam in plastic containers (leave headspace for expansion) for up to a year, though the texture might be slightly different when thawed.
What to Do With Your Gorgeous Jam
Beyond just spreading it on toast (though let’s be honest, toast is pretty perfect), here are some brilliant uses:
- Jam tarts – fill pastry cases and bake for 10 minutes at 180°C
- Victoria sponge filling – layer with buttercream
- Thumbprint cookies – the jam makes them extra special
- Porridge topping – stir through or dollop on top
- Yogurt swirl – especially nice with Greek yogurt
- Jam sauce – warm gently with a splash of water for ice cream
- Peanut butter on toast, outrageously good combination – obviously!
- Scone filling – with clotted cream, heaven
- Glaze for meat – works brilliantly with pork or duck
- Cake filling – between layers of sponge
- Cheesecake topping – swirl through before baking
Making Jam With Kids (A Mum’s Perspective)
As a Mum of three, I can tell you that jam-making is actually a brilliant activity for children, with the right supervision. Here’s how I involve mine:
For little ones (4-6 years):
- Washing the plums (in a bowl in the sink – they love this)
- Stirring the mixture when it’s just fruit and water (not when it’s boiling!)
- Counting jars
- Helping label jars with dates
For bigger kids (7-10 years):
- Halving plums (with a butter knife and supervision)
- Measuring sugar
- Stirring during the boiling phase (with a very long spoon and me right there)
- Testing the set on the cold plate
- Drawing pictures for homemade labels
For pre-teens/teens (11+):
- Pretty much the whole process with supervision during the boiling
- Creating their own flavour variations
- Designing labels and gift packaging
- Managing timing and temperatures
Safety tips:
- Never leave them alone with boiling jam
- Use back burners when possible
- Teach them about steam burns
- Have a damp cloth ready for spills
- Let them wear aprons (jam stains!)
Honestly, my kids are much more likely to eat jam they’ve helped make, and it’s a brilliant way to teach them about preserving, seasonal eating, and basic kitchen skills.
Seasonal Timing: When to Make This Jam
In the UK, plum season runs from late July through September, with August being the peak month. This is when you’ll find the best quality, ripest fruit at the best prices.
Early season (late July): Plums are just coming in, often slightly underripe which is actually ideal for jam-making
Peak season (August): Abundance! This is when I make most of my jam because the fruit is gorgeous and often cheaper
Late season (September): Still available but getting more expensive and sometimes a bit soft
Farmer’s markets usually have better prices and variety than supermarkets, plus you can often buy “seconds” (cosmetically imperfect fruit) very cheaply for jam.
Pick-your-own farms sometimes have plum trees, though they’re less common than strawberries or apples. Worth checking though – it’s a lovely day out.
Gifting Your Jam (Making It Look Gorgeous)
Homemade jam makes absolutely brilliant gifts. Here’s how to make it look special:
- Use matching jars if possible – even basic kilner jars look lovely
- Fabric toppers cut with pinking shears and tied with ribbon
- Handwritten labels with the flavour, date, and “made with love” or similar
- Gift sets – pair a jar with scones and clotted cream
- Seasonal timing – plum jam makes excellent Christmas presents
- Recipe cards – include a little card with serving suggestions
- Vintage styling – use brown paper tags and twine for a rustic look
Frequently Asked Questions About Delia Smith Plum Jam
How long does Delia Smith plum jam take to make?
Delia Smith’s plum jam takes approximately 1.5 to 2 hours total, including 30 minutes prep time for stoning plums and sterilising jars, plus 45-60 minutes cooking time. The actual hands-on time is about an hour, with the rest being passive waiting whilst jars sterilise.
Can you make plum jam without pectin?
Yes, plums contain natural pectin so you don’t need to add commercial pectin. Slightly underripe plums have the highest pectin levels. The lemon juice in Delia’s recipe provides additional acid to help the natural pectin set properly.
Why is my homemade plum jam runny?
Runny plum jam usually means it hasn’t reached setting point. This happens if the jam didn’t boil long enough, the plums were too ripe (lower pectin), or there was too much water. You can re-boil it until it passes the wrinkle test on a cold plate.
What is the best type of plum for making jam?
Victoria plums are the best all-purpose choice for jam-making in the UK. They’re widely available from August to September, have high natural pectin, and produce a sweet, balanced flavour. Damsons make excellent jam but with a sharper, more intense taste.
How do you know when plum jam is set?
Plum jam is set when it wrinkles on a cold plate (the most reliable test), reaches 104-105C (220F) on a sugar thermometer, or forms a sheet when dripping from a spoon. Always test after 10 minutes of rolling boil and re-test every 2-3 minutes.
Do you have to remove plum skins for jam?
No, you don’t need to remove plum skins for jam. The skins soften completely during cooking and add colour, flavour, and pectin to the finished jam. Delia Smith’s recipe leaves the skins on.
How long does homemade plum jam last?
Properly sealed homemade plum jam lasts 12-18 months in a cool, dark cupboard. Once opened, keep it refrigerated and use within 4-6 weeks. Jam that hasn’t sealed properly should be refrigerated immediately and used within 3-4 weeks.
Can I halve Delia Smith’s plum jam recipe?
Yes, you can halve the recipe whilst keeping the same proportions. Smaller batches may reach setting point slightly quicker, so start testing for set after 8-10 minutes of rolling boil rather than waiting the full 10-15 minutes.
What sugar is best for plum jam?
White granulated sugar is best for plum jam as it gives the clearest colour and purest fruit flavour. You can use golden caster sugar for a slightly richer taste, but avoid brown sugars which overpower the plum flavour and create very dark jam.
Can you use frozen plums for jam?
Yes, frozen plums work well for jam. Thaw them completely first and drain off any excess liquid before cooking. Frozen plums often have softer skins which break down easily, and the freezing process can actually help break down cell walls for better pectin release.
Final Thoughts: Why Homemade Plum Jam is Worth Every Sticky Minute
After making Delia Smith’s plum jam more times than I can count over the years (definitely 30+ batches, probably closer to 50), I can honestly say this recipe has earned its place as a kitchen staple in our house. It’s one of those rare recipes that delivers exactly what it promises: gorgeous, intensely flavoured jam with a perfect set, made from just four basic ingredients.
Yes, you can pick up a jar of plum jam from any supermarket for a couple of quid. But there’s something deeply satisfying about lining up jars of your own homemade jam on the shelf, knowing exactly what went into them, and having that little burst of achievement every time you open one. This post has been updated for 2026, with extra detail added on plum varieties, troubleshooting, and setting tests based on a fair few more batches since I first wrote it.
The best bit? This isn’t a fussy, temperamental recipe. Delia’s method is straightforward and forgiving. If you can stir, boil water, and test for a wrinkle on a cold plate, you can make this jam. I’ve made it with my kids helping (chaotic but lovely), I’ve made it whilst simultaneously dealing with a teething baby, and I’ve made it on peaceful Sunday afternoons when I just fancied pottering in the kitchen. It works every time.
So if you’ve got a bag of plums sitting on your worktop, or if plum season is just around the corner, give this a go. Clear an afternoon, get your biggest pot out, and make some jam. Your future self – the one eating it on hot buttered toast in February – will be absolutely delighted you did.
Have you made Delia Smith’s plum jam before? I’d love to hear how it turned out! Drop a comment below and let me know which plums you used, whether you added any fun variations, and most importantly, how long it lasted before you ate it all. (No judgment if it was gone within a week – I completely understand!)
See more of my favourite Delia Smith Recipes:
Delia Smith Pancakes
Delia Smith Pavlova
Delia Smith Scones
Delia Smith Chocolate Torte
Delia Smith Meringue
Delia Smith Red Cabbage
Delia Smith Lasagne
Delia Smith Dundee Cake
Delia Smith Victoria Sponge
Delia Smith Trifle
Delia Smith Coronation Chicken
Browse my full Delia Smith recipe collection here → Delia Smith Recipes

Becky is the voice behind Life in Velvet, an organised, intentional living blog focused on practical food, calm homes, thoughtful projects, and everyday systems that make real life feel easier. A mum of 3 living in the UK, Becky writes from lived experience, sharing what works, what doesn’t, and the decisions that make family life run more smoothly.
With a background in marketing and content writing, and over a decade of blogging experience, she brings a thoughtful, structured approach to everything from baking and home projects to routines and decision-making. Life in Velvet is where planning meets creativity, with ideas designed for real homes and real life.