Key Takeaways
- Pancake puffs come in two main styles: traditional pan-based aebleskiver (Danish) and oven-baked puff pancakes (Dutch baby style)
- You’ll need special equipment: An aebleskiver pan for the stovetop version, or just a regular baking dish for the oven method
- The secret to maximum puff: Whipped egg whites for pan versions, super hot pan and immediate baking for oven versions
- They’re incredibly versatile: Fill them with jam, chocolate, or make them savory with cheese and herbs
- Perfect for busy families: Both versions are easier than traditional pancakes and can feed a crowd quickly
What Are Pancake Puffs? (And Why Is My Family Obsessed?)
Okay, real talk. When I first heard about pancake puffs, I thought they were just another food trend that would fade faster than my kids’ interest in their latest toy. Boy, was I wrong.
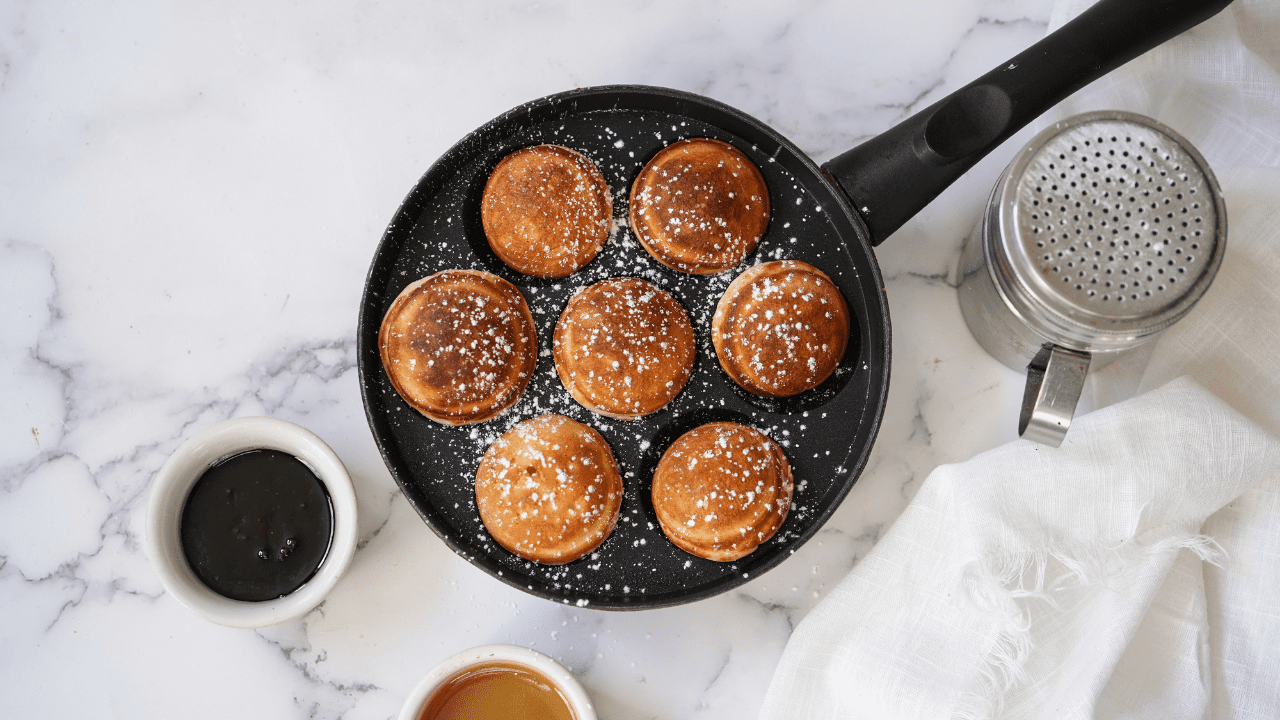
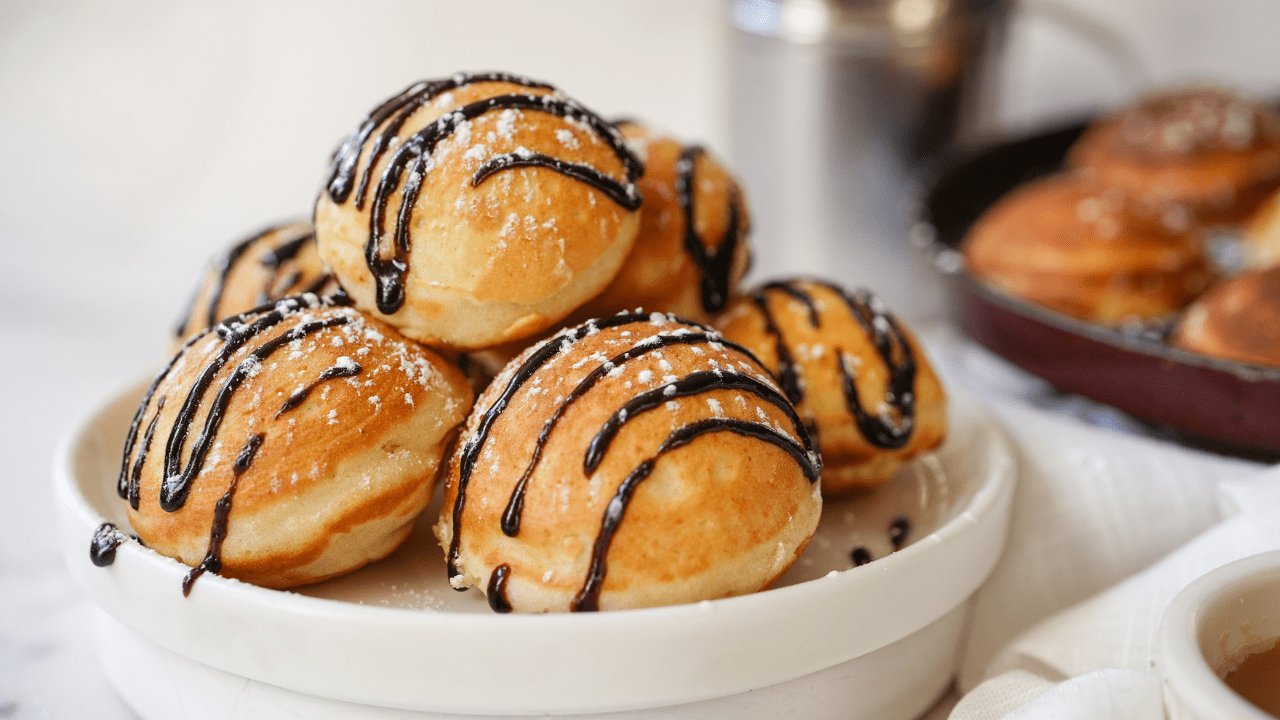
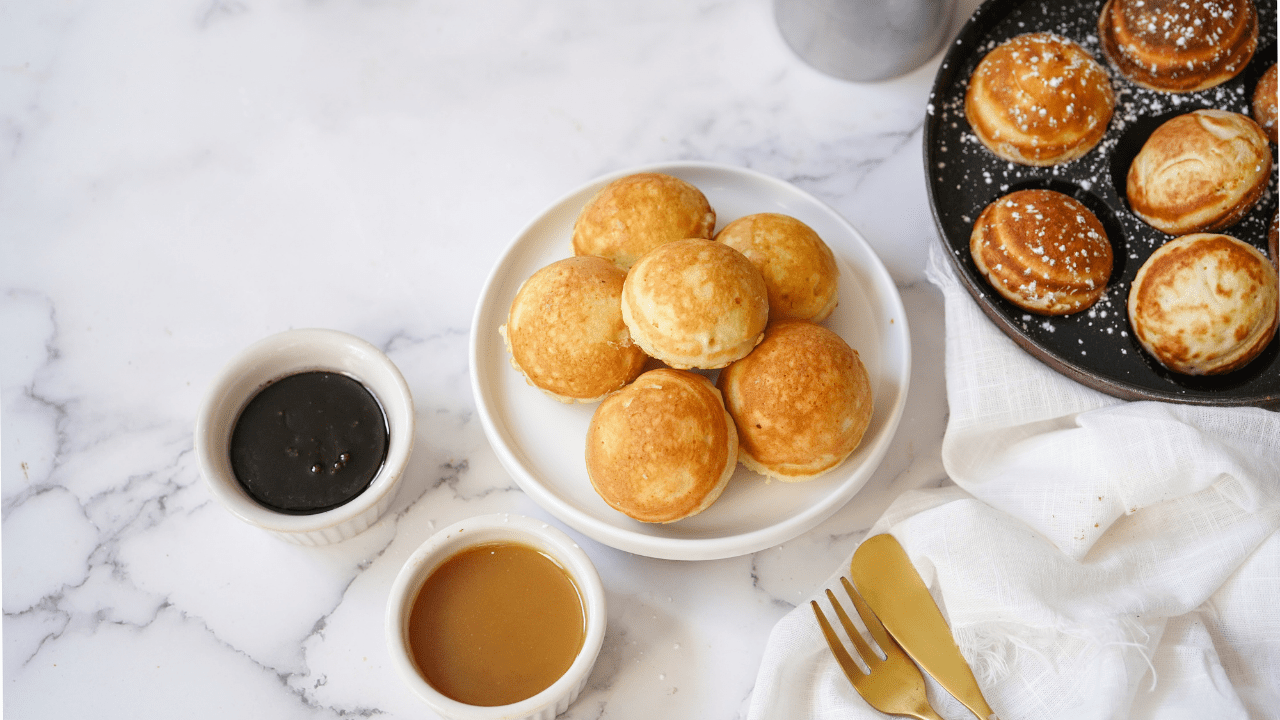
Pancake puffs are these adorable, spherical (or puffy) pancakes that are crispy on the outside, fluffy on the inside, and honestly? They’re like little breakfast pillows of joy. My four kids literally cheer when I announce it’s pancake puff morning, and considering how hard it is to get all of them to agree on anything, that’s saying something.
But here’s where it gets interesting. There are actually two totally different styles of pancake puffs, and both are amazing in their own way. You’ve got the traditional Danish aebleskiver (which literally means “apple slices,” though ironically nobody puts apples in them anymore), and then there’s the oven-baked puff pancake, which is more like a giant, dramatic Dutch baby that puffs up like magic.
The Two Types of Pancake Puffs Explained
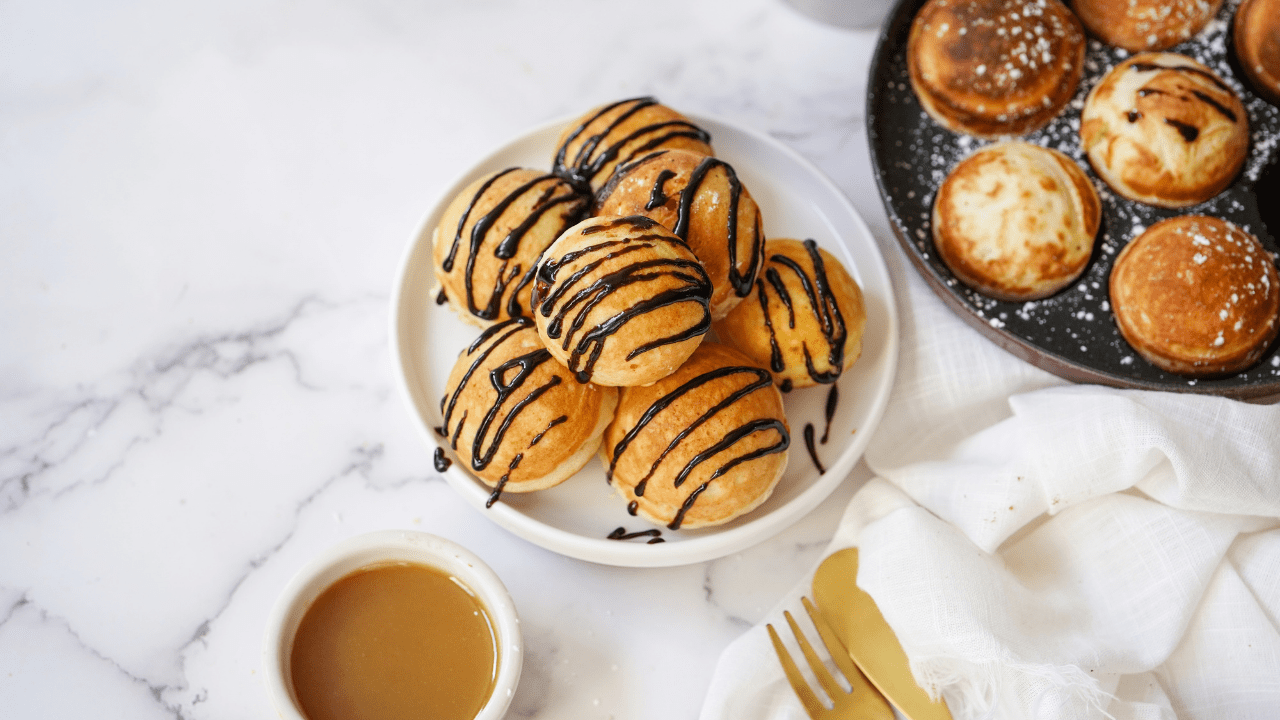
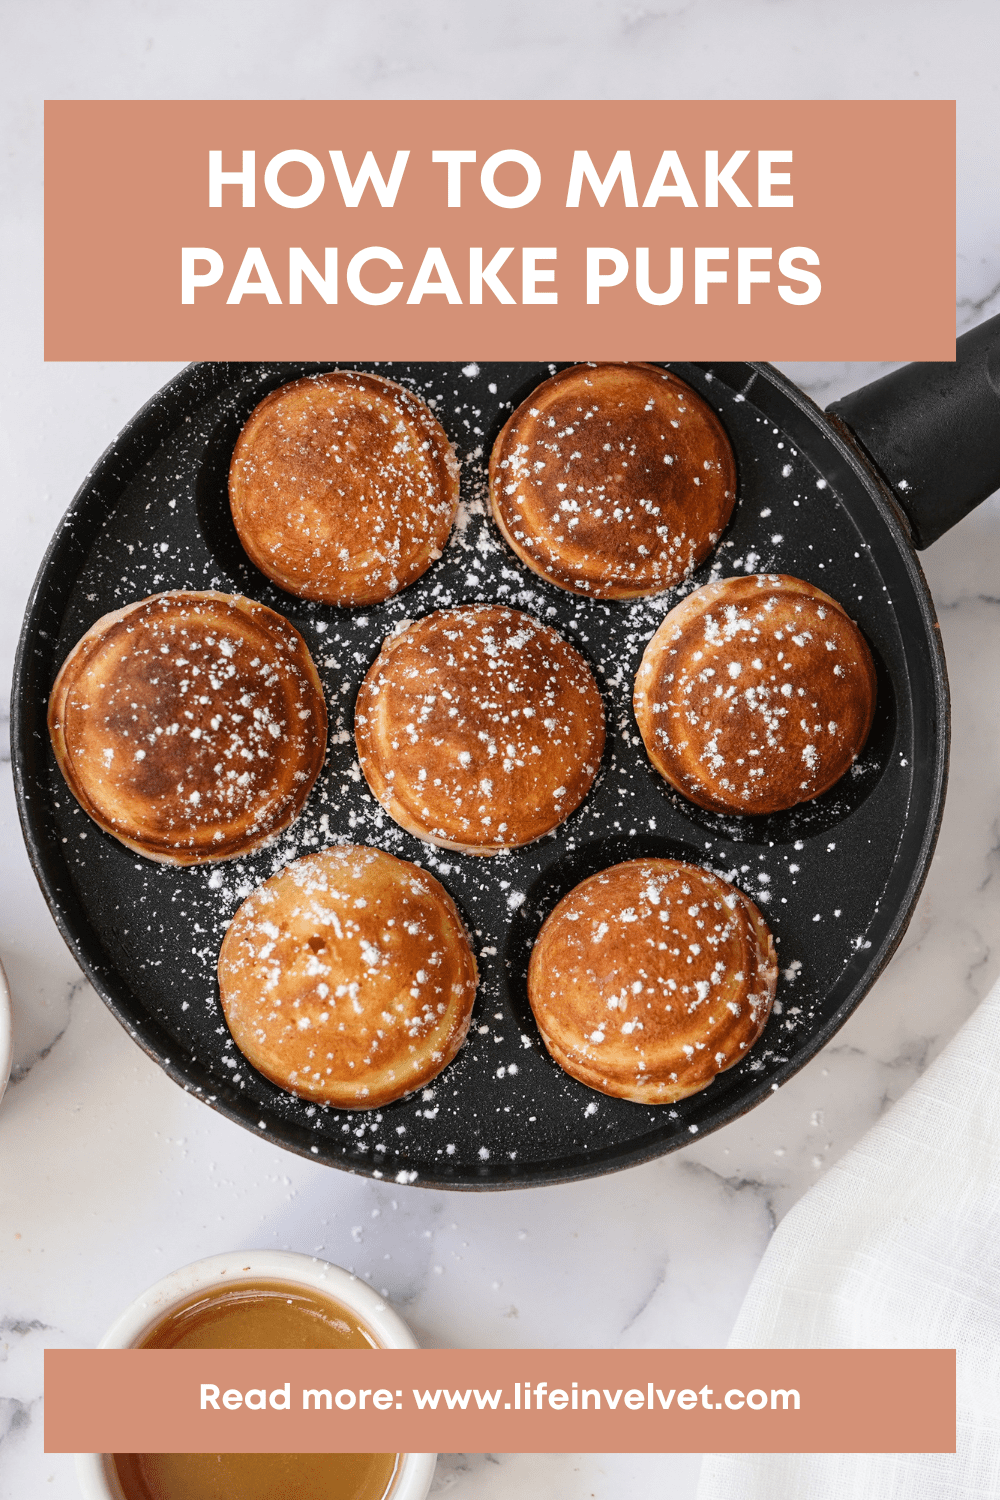
Pan-Based Aebleskiver (Traditional Danish Style) These are the ones you make in a special pan with round indentations. Think of them as fancy donut holes, but made with pancake batter. You pour batter into each little well, add a filling if you want, then use a skewer to flip them as they cook. The result? Perfect little spheres that are crispy-golden on the outside and tender on the inside.
Oven-Baked Puff Pancakes (Dutch Baby Style) This version is for those mornings when you can’t be bothered with individual flipping. You pour a thin batter into a smoking-hot pan (usually cast iron), slide it into a super hot oven, and watch it puff up dramatically around the edges. It deflates almost immediately when you take it out, but that’s totally normal and it still tastes incredible.
In this post, I’m going to walk you through both methods because honestly, they both deserve a spot in your breakfast rotation. Some mornings call for the fun, interactive process of making aebleskiver with the kids. Other mornings? I need that oven-baked version that requires zero babysitting.
A Quick History Lesson (Because Context Makes Food Tastier!)
I’m not usually the history nerd type, but the story behind pancake puffs is actually pretty cool.
The Danish Connection
Aebleskiver have been a staple of Danish cuisine for centuries. They’re traditionally eaten during the Christmas season, particularly on December 23rd, which Danes call “Lille Juleaften” or “Little Christmas Eve.” Families gather around, make huge batches, and serve them with jam and powdered sugar while drinking gløgg (Danish mulled wine).
The name “aebleskiver” literally translates to “apple slices,” and legend has it that way back in the Viking days, they actually did put apple slices in them. These days? Not so much. But the name stuck, probably because it sounds way cooler than “spherical pancake things.”
Here’s a fun fact: aebleskiver are so beloved in the U.S. that there’s actually an official eating competition to see who can devour the most of these little guys. They’ve also been featured on shows like The Great British Bake Off, which makes me feel a bit less dramatic about my obsession with them.
The Dutch Baby Twist
The oven-baked puff pancake, often called a Dutch baby, has a slightly different origin story. Despite the name, it’s actually an American creation that came from a family-owned restaurant in Seattle in the early 1900s. The owner’s daughter couldn’t pronounce “Deutsch” (German), so she called them “Dutch,” and the name stuck.
German pancakes and Dutch babies are essentially the same thing, but scaled differently. They’re related to German Pfannkuchen and are distant cousins to British Yorkshire pudding (which, by the way, uses almost the exact same batter).
Equipment You’ll Need (Don’t Panic, It’s Not Complicated)
Let me break down what you need for each style because this is probably the biggest question I get.
For Traditional Aebleskiver (Pan-Based Puffs)
The Pan (Essential) You absolutely need an aebleskiver pan. I’m not going to sugarcoat it, this is one of those times when you can’t really substitute. The good news? These pans aren’t crazy expensive, and they last forever.
- Cast Iron Aebleskiver Pan ($25-40) – Amazon has several great options. Cast iron holds heat beautifully and gives you that perfect golden crust. I’ve had mine for six years and it still works like new. Just remember you’ll need to season it occasionally.
- Non-Stick Aebleskiver Pan ($20-35) – If you’re nervous about cast iron maintenance, go for non-stick. It’s easier for beginners and requires less oil. Lodge and Nordic Ware both make excellent versions.
- Electric Aebleskiver Maker ($30-50) – For the gadget lovers out there, these exist! They’re basically the set-it-and-forget-it option. Great if you have limited stovetop space or want more consistent heat control.
Turning Tools (Essential) You’ll need wooden skewers, chopsticks, or special aebleskiver turning sticks to flip these guys. I just use bamboo skewers from the grocery store because I always have them on hand for kebabs anyway. Whatever you do, don’t use metal utensils because they’ll scratch your pan and make the puffs stick.
Other Helpful Tools:
- Stand mixer or hand mixer (for whipping egg whites)
- Filling injector (optional, for adding jam after cooking)
- Small ladle or tablespoon for portioning batter
For Oven-Baked Puff Pancakes
This method is way less equipment-intensive, which is one reason I love it for hectic weekday mornings.
Baking Dish (Essential)
- 9×13 inch baking dish – Glass or metal works great. This is probably already in your kitchen.
- Cast iron skillet (10-12 inch) – My personal favorite because it creates incredible crispy edges
- Individual ramekins or mini cast iron skillets – For single-serving portions
Blender (Recommended) While you can absolutely whisk this by hand, a blender makes the batter silky smooth in about 10 seconds. I use my regular blender, nothing fancy required.

The Ultimate Aebleskiver Recipe (Pan-Based Pancake Puffs)
Okay, let’s get cooking! This recipe makes about 20-24 puffs, which sounds like a lot until you realise they disappear in approximately 3.7 seconds.
Ingredients
For the Batter:
- 1 ¼ cups all-purpose flour
- 1 tablespoon granulated sugar
- 2 teaspoons baking powder (aluminium-free is best)
- ½ teaspoon salt
- 3 large eggs, separated (this is important!)
- 1 cup buttermilk (or make your own by mixing 1 cup milk with 1 tablespoon vinegar)
- ½ teaspoon vanilla extract
- 2 tablespoons melted butter or vegetable oil
- Butter for cooking (a lot of it)
For Serving:
- Jam (strawberry, raspberry, and apricot are my favourites)
- Powdered sugar for dusting
- Maple syrup
- Fresh berries
Optional Fillings:
- Nutella or chocolate chips
- Peanut butter
- Lemon curd
- Cream cheese
- Caramelized apples
- Blueberries
Instructions
Step 1: Prep Your Ingredients Let your eggs come to room temperature if you have time. This isn’t absolutely necessary, but it helps the egg whites whip better. Also, make sure your buttermilk isn’t ice cold.
Step 2: Mix the Dry Ingredients In a medium bowl, whisk together the flour, sugar, baking powder, and salt. Set this aside.
Step 3: Separate Those Eggs Here’s where things get important. Crack your eggs and carefully separate the whites from the yolks. Put the yolks in a large bowl and the whites in your stand mixer bowl (or a separate bowl if using a hand mixer).
Step 4: Mix the Wet Ingredients In the bowl with your egg yolks, whisk in the buttermilk, vanilla extract, and melted butter. Give it a good whisking until everything is combined.
Step 5: The Magic Step – Whip Those Egg Whites Using a stand mixer or hand mixer, beat the egg whites until they form soft peaks. This takes about 2-3 minutes. They should look foamy and white, and when you lift the beaters, the peaks should fold over gently. Don’t skip this step! This is what makes your puffs super light and fluffy.
Step 6: Combine Wet and Dry Pour your dry ingredients into the yolk mixture and stir until just combined. It’s okay if there are a few small lumps. Don’t overmix or your puffs will be tough.
Step 7: Fold in the Egg Whites Gently fold the whipped egg whites into your batter using a rubber spatula. Use a gentle folding motion (like you’re giving the batter a hug, not beating it up). You want to keep as much air in there as possible.
Step 8: Heat Your Pan Place your aebleskiver pan over medium-low heat. This is important—not too hot or the outside will burn before the inside cooks. Let it heat for about 2-3 minutes.
Step 9: Butter Time Add about ½ teaspoon of butter to each well. Let it melt and coat the bottom and sides.
Step 10: Fill and Flip Using a tablespoon, add batter to each well, filling it about ¾ of the way. If you want to add a filling, now’s the time! Add about ½ teaspoon of jam or Nutella to the center, then cover with a tiny bit more batter.
Let them cook for about 1-2 minutes. You’ll see the edges start to look cooked and set. Now comes the fun part—using your wooden skewer, gently start to lift one edge of the puff and rotate it about 90 degrees. Let the uncooked batter flow into the well. Continue turning until you’ve made a complete ball. Don’t worry if they’re not perfect spheres—mine never are, and they still taste amazing.
Step 11: Finish Cooking Keep turning them occasionally until they’re golden brown all over. This usually takes about 4-5 minutes total. To test if they’re done, pierce one with your skewer. If it comes out clean (or with just a tiny bit of filling), they’re ready!
Step 12: Serve Immediately Transfer to a plate and serve warm with powdered sugar, jam, or syrup. These are best eaten right away while they’re crispy on the outside.
Pro Tips from My Kitchen
- Keep the heat low. The number one mistake I see (and made myself about a million times) is cooking these too hot. They need time to cook through.
- Don’t fill the wells completely. The batter puffs up, so if you overfill, you’ll get overflow and weird shapes.
- Practice makes perfect. Your first batch might look weird. That’s totally normal. By your second batch, you’ll be flipping like a pro.
- Use fresh baking powder. If your baking powder is old, your puffs won’t rise properly. Test it by adding a teaspoon to hot water—it should fizz immediately.
- Keep them warm. If you’re making a big batch, keep finished puffs warm in a 200°F oven while you finish cooking.
The No-Flip Oven-Baked Puff Pancake Recipe
For those mornings when I just can’t even with the individual flipping, this oven-baked version is my hero. It serves 4-6 people and comes together in literally 10 minutes of active work.
Ingredients
- ¼ cup (½ stick) salted butter
- 1 cup whole milk (room temperature is ideal)
- 1 cup all-purpose flour
- 6 large eggs (room temperature if possible)
- 1 tablespoon granulated sugar
- 1 teaspoon vanilla extract
- ½ teaspoon cinnamon (optional)
- Pinch of salt
For Serving:
- Fresh berries
- Powdered sugar
- Maple syrup
- Whipped cream
- Lemon wedges
Instructions
Step 1: Start with a Cold Oven Put your butter in a 9×13 inch baking dish (or cast iron skillet). Place the dish in your cold oven, then preheat to 425°F. The butter will melt as the oven heats up, which is perfect.
Step 2: Blend the Batter While the oven is heating, add the milk, flour, eggs, sugar, vanilla, cinnamon, and salt to your blender. Blend for just 3-5 quick pulses until smooth. Don’t overblend or you’ll deflate it. A few tiny lumps are totally fine.
Step 3: Pour and Bake Once your oven reaches 425°F and the butter is completely melted (it might even start browning slightly, which is great), carefully remove the pan. Pour the batter directly over the melted butter. Do NOT stir.
Slide the pan back into the oven and bake for 20-25 minutes. Don’t open the door to peek! The pancake will puff up dramatically around the edges and get golden brown.
Step 4: Serve Immediately As soon as it comes out of the oven, dust with powdered sugar and serve. The puff will deflate within a minute or two, which is totally normal. It’s still delicious!
Why This Version Rocks for Busy Moms
- No flipping: You literally pour and walk away
- One pan: Less cleanup means more coffee time
- Feeds everyone at once: No standing at the stove making pancakes one by one
- Dramatic presentation: The kids lose their minds when they see it puff up
- Works with frozen fruit: If you’re out of fresh berries, frozen work great
Creative Filling Ideas (Because Plain is Never Our Style)
After making pancake puffs literally hundreds of times, here are my family’s favorite combinations:
Sweet Fillings
- Classic Strawberry Jam – Can’t go wrong with the basics. We use Smucker’s Natural because it has less sugar.
- Nutella + Banana – Slice a banana super thin, add a disc to the batter with a small dollop of Nutella. This is my teenagers’ favorite.
- Lemon Curd + Blueberry – Sophisticated and not too sweet. Great for brunch with friends.
- Peanut Butter + Chocolate Chips – For my chocolate-obsessed middle child. Use natural peanut butter for less sugar.
- Cream Cheese + Raspberry – Mix softened cream cheese with a bit of powdered sugar, then add a small spoonful with a raspberry or two.
- Caramel Apple – Dice apples super small, toss with cinnamon, and add with a tiny drizzle of caramel sauce.
- S’mores Style – Mini marshmallows + chocolate chips. These are messy but worth it.
Savory Options (Yes, Really!)
Don’t sleep on savory pancake puffs! They’re amazing for brunch or even a light dinner.
- Cheddar + Chive – Reduce sugar to 1 teaspoon in the batter, add shredded sharp cheddar and fresh chives.
- Ham + Gruyere – Fancy but so good. Dice ham super small.
- Spinach + Feta – Use cooked, squeezed-dry spinach and crumbled feta.
- Bacon + Maple – Cooked, crumbled bacon with a tiny drizzle of maple syrup.
- Everything Bagel – Use everything bagel seasoning in the batter, fill with cream cheese.
Troubleshooting: When Pancake Puffs Go Wrong
Let me share the most common problems I’ve encountered (usually while juggling four kids and two dogs who think dropped puffs are their birthright).
Problem: My Puffs Are Raw in the Middle
Solution: Lower your heat! This is the number 1 issue. The outside cooks too fast, leaving the inside gooey. Cook them on medium-low heat and be patient. It should take 4-5 minutes total.
Problem: They’re Sticking to the Pan
Solution:
- Use more butter in each well
- Make sure your pan is properly seasoned (for cast iron)
- Don’t try to turn them too early—let a crust form first
- Check if your pan has scratches (damaged non-stick won’t work well)
Problem: They Won’t Stay Round
Solution: Turn them more frequently in smaller increments. Instead of flipping them all at once, turn them 45 degrees at a time, letting batter flow and cook between each turn.
Problem: They’re Flat and Dense
Solution:
- Make sure you whipped the egg whites properly (should have soft peaks)
- Don’t overmix after adding the egg whites
- Check that your baking powder is fresh
- Let your batter rest for 5 minutes before cooking
Problem: The Oven-Baked Version Didn’t Puff
Solution:
- Your pan wasn’t hot enough – make sure butter is melted and sizzling
- Ingredients were too cold – let eggs and milk come to room temperature
- Oven wasn’t fully preheated
- You opened the oven door too early
Problem: They Taste Eggy
Solution: This usually means you didn’t whip the egg whites enough or you’re using too much egg. Follow the recipe measurements exactly and make sure those whites are foamy with soft peaks.
Make-Ahead and Storage Tips (For the Organised Mom I Aspire to Be)
Can You Make Pancake Puffs Ahead?
Batter: You can mix the dry ingredients up to a week in advance. Store in an airtight container. Mix the wet ingredients (except egg whites) the night before and refrigerate. Whip egg whites and combine everything right before cooking.
Cooked Puffs: They’re definitely best fresh, but you can make them ahead and reheat. Let them cool completely, then store in an airtight container in the fridge for up to 3 days.
Reheating:
- Oven: 350°F for 5-7 minutes (best method)
- Toaster oven: 350°F for 3-5 minutes
- Microwave: 15-20 seconds (they’ll be soft, not crispy)
- Air fryer: 350°F for 3-4 minutes (surprisingly great!)
Can You Freeze Them?
Yes! Cooked pancake puffs freeze beautifully for up to 3 months.
To freeze: Let them cool completely, arrange on a baking sheet in a single layer, freeze until solid (about 2 hours), then transfer to a freezer bag.
To reheat from frozen: Microwave for 30 seconds, then finish in a 350°F oven for 5 minutes to crisp up. Or air fry at 350°F for 5-7 minutes.
Dietary Modifications (Because We All Have That One Kid)
Gluten-Free Pancake Puffs
Replace the all-purpose flour with a 1:1 gluten-free flour blend. The texture will be slightly different but still delicious.
Dairy-Free Version
- Use almond milk, oat milk, or soy milk instead of regular milk
- Replace buttermilk with plant-based milk + 1 tablespoon lemon juice (let sit 5 minutes)
- Use coconut oil or vegan butter instead of regular butter
Lower Sugar Options
- Reduce sugar to 1 teaspoon in the batter
- Use sugar-free jam for filling
- Top with fresh fruit instead of syrup
- Try a squeeze of fresh lemon juice instead of powdered sugar
Whole Wheat Version
Replace half the all-purpose flour with whole wheat flour. Don’t go all whole wheat or they’ll be dense.
Frequently Asked Questions About Pancake Puffs
Do I really need a special pan for aebleskiver?
Yes, unfortunately you do. The spherical shape requires the specially designed pan. However, they’re affordable ($20-40) and last for years. Think of it as an investment in weekend breakfast happiness. You can find them easily on Amazon or at stores like Williams Sonoma or Bed Bath & Beyond.
What’s the difference between aebleskiver and poffertjes?
Great question! They’re similar but not identical. Poffertjes are Dutch mini pancakes that are smaller, fluffier, and traditionally made with yeast. Aebleskiver are Danish, larger, don’t use yeast, and are more spherical. Both are delicious, but aebleskiver are closer to what most Americans think of as “pancake puffs.”
Can I use regular pancake mix instead of making batter from scratch?
You can, but the results won’t be as good. Pancake mix doesn’t have separated egg whites, which is what gives aebleskiver their light, puffy texture. For the oven-baked version, pancake mix won’t work at all because you need the high egg content for the dramatic puff. Trust me, making it from scratch is worth it.
Why do I need to separate the eggs?
The whipped egg whites incorporate air into the batter, which makes the puffs incredibly light and fluffy. Without whipping the whites separately, you’ll get dense, heavy puffs. I’ve tested this both ways multiple times, and the separated eggs make a huge difference.
How do I prevent them from burning on the outside before cooking through?
This is all about temperature control. Use medium-low to low heat and be patient. Cast iron pans retain heat really well, so you might need to go even lower. If you’re burning multiple batches, your heat is definitely too high.
Can I make these without a blender?
For the oven-baked version, yes! Just whisk everything together by hand. Make sure there are no flour lumps. For the pan-based aebleskiver, you’ll need at least a hand mixer to whip the egg whites properly.
Are pancake puffs suitable for kids?
Absolutely! My kids love them. They’re fun to make together (older kids can help flip them with supervision), fun to eat, and you can sneak in some fruit for filling. Just make sure they’re cooked all the way through, and let them cool for a minute before serving to little ones.
What other pans can I use if I don’t have cast iron?
For aebleskiver, cast iron or non-stick are your only real options—you need those spherical wells. For the oven-baked puff pancake, any oven-safe dish works: glass baking dish, metal pan, ceramic baker, or even individual ramekins for personal-sized portions.
Seasonal Variations Throughout the Year
One thing I love about pancake puffs is how easily they adapt to different seasons. Here’s how we switch things up:
Fall Favorites
- Pumpkin Spice: Add ¼ cup pumpkin puree and 1 teaspoon pumpkin pie spice to the batter
- Apple Cinnamon: Fill with sautéed cinnamon apples
- Maple Pecan: Reduce sugar, add chopped pecans and real maple syrup to batter
Winter Warmers
- Hot Chocolate Style: Add cocoa powder to batter, fill with mini marshmallows
- Gingerbread: Add molasses and ginger to batter
- Eggnog: Replace some of the milk with eggnog during the holidays
Spring & Summer
- Lemon Blueberry: Add lemon zest to batter, fill with fresh blueberries
- Strawberry Shortcake: Fill with diced strawberries and whipped cream
- Peach Cobbler: Use diced peaches as filling, dust with cinnamon sugar
Serving Suggestions for Different Occasions
Weekend Family Breakfast
Set up a toppings bar with jams, syrup, powdered sugar, fresh fruit, and whipped cream. Let everyone customize their own. The kids love this!
Brunch with Friends
Make savory versions alongside sweet ones. Serve with mimosas or coffee. The oven-baked version is perfect here because you can feed everyone at once.
Holiday Mornings
Follow the Danish tradition on Christmas Eve. Make a huge batch, serve with gløgg (or hot cider for kids), and let it become your new family tradition.
Weekday Breakfast Hack
Make a big batch on Sunday, freeze them, then reheat throughout the week. Pair with yogurt and fruit for a balanced meal.
The Bottom Line
If you’ve made it this far, you’re basically a pancake puff expert now! Here’s what you need to remember:
Pancake puffs are actually easy once you get the hang of them. Yes, you need a special pan for aebleskiver, but they’re affordable and last forever. The oven-baked version requires zero special equipment.
The key to success is proper heat control (low and slow for pan version, super hot oven for baked version) and whipped egg whites for the fluffiest texture.
They’re incredibly versatile, working for quick weekday breakfasts, special weekend brunches, or holiday traditions. Fill them with anything from jam to Nutella to cheese.
Your family will love them. I promise. Even my pickiest eater (who exists on approximately three foods) devours these.
Pin this recipe so you can find it when you need it, and share it with your breakfast-loving friends! Trust me, once you introduce someone to pancake puffs, you’ll be their hero.
P.S. If you try the savory bacon and maple version, report back. That one is dangerously good.
See some more of my food posts here!
Best Pumpkin Spice Syrup Recipe
Ultimate Coffee Smoothie Recipe
Air Fryer Carrot Cake with Cream Cheese Frosting
Delia Smith Pancakes
Gluten-Free American Pancakes

Becky is the voice behind Life in Velvet, an organised, intentional living blog focused on practical food, calm homes, thoughtful projects, and everyday systems that make real life feel easier. A mum of 3 living in the UK, Becky writes from lived experience, sharing what works, what doesn’t, and the decisions that make family life run more smoothly.
With a background in marketing and content writing, and over a decade of blogging experience, she brings a thoughtful, structured approach to everything from baking and home projects to routines and decision-making. Life in Velvet is where planning meets creativity, with ideas designed for real homes and real life.