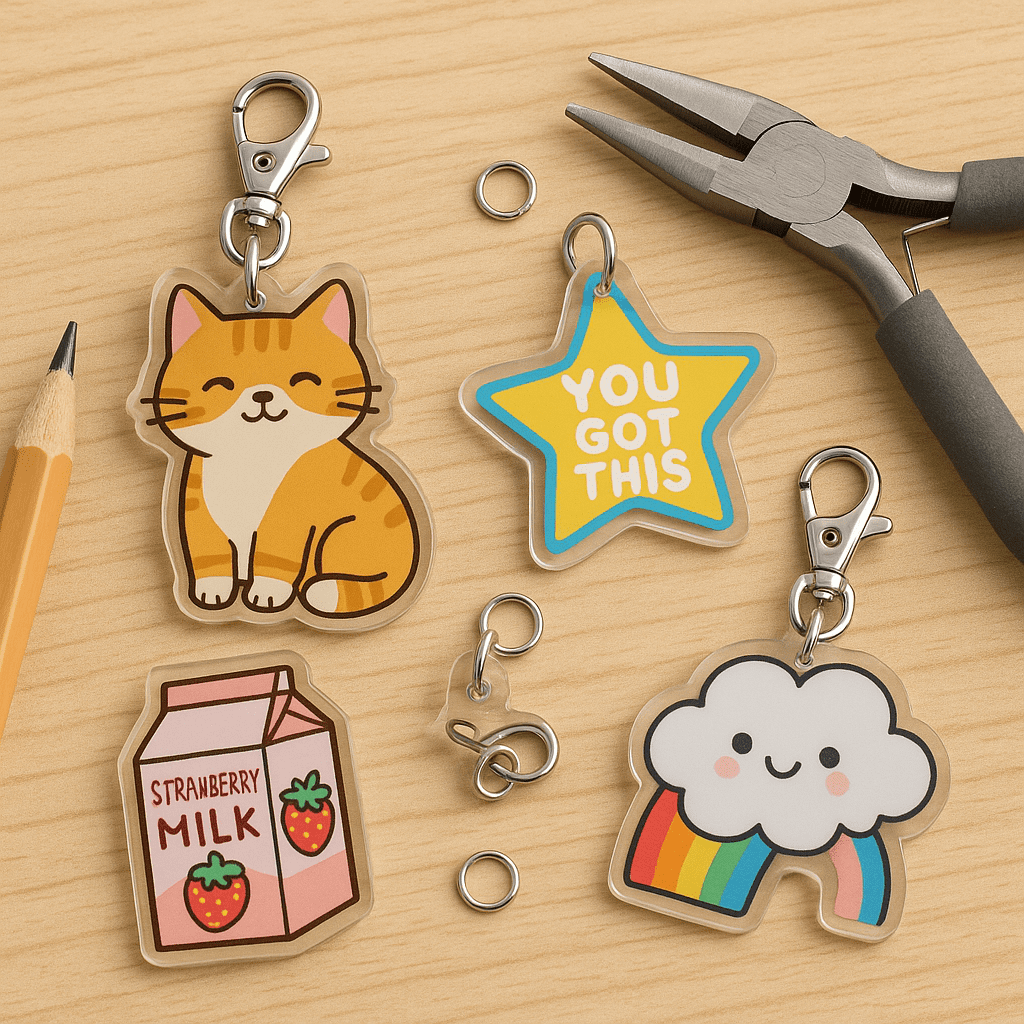
You know those adorable acrylic charms you see dangling from keychains, phone grips, backpacks, or even earrings? The ones with cute animals, quirky quotes, or fan art that makes you go “OMG I need that”? Well, what if I told you that you can totally make them yourself?
Yep. You. Can.
Whether you’re a craft queen, a small biz dreamer, or just someone who loves cute DIY projects on a rainy Sunday, learning how to make acrylic charms is honestly way more doable than it looks. And trust me – once you get started, you’ll be hooked. I’m talking late-night charm design sessions, your cat judging you from the corner, and you proudly showing off your latest sparkly snack-shaped charm to everyone who even vaguely makes eye contact with you.
Let’s dive in and I’ll walk you through how to make your own acrylic charms from scratch – including how to make double-sided acrylic charms if you’re feeling fancy. We’ll cover everything from design to production, plus all the extra little tips that I wish I’d known when I started.
First Things First: What Are Acrylic Charms?
In case you’re totally new here – welcome! Acrylic charms are basically printed designs sandwiched in clear or coloured acrylic plastic. They’re durable, shiny, and super versatile. You can add glitter epoxy, pop them into resin keychains, or hang them from lanyards. Some are single-sided (just one image), and some are double-sided (art on both sides!).
Whether you want to make charms of your own artwork, cute characters, quotes, pets, or personalised gifts, acrylic charms are chef’s kiss perfect.
Step 1: Design Your Charm
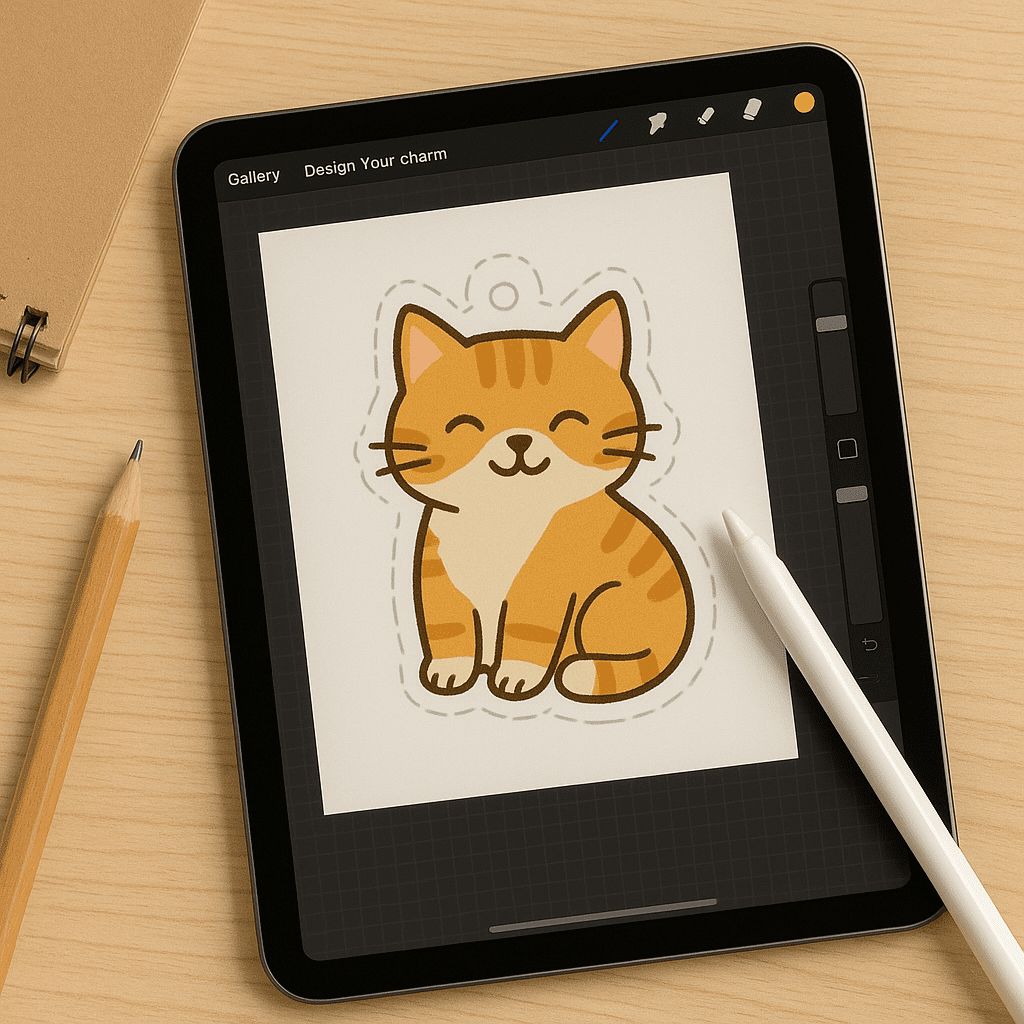
So, how do you make your own acrylic charms? It all starts with a design.
If you’re an artist, illustrator, or designer – fabulous! Use your own art. If not, don’t panic. You can still create beautiful charms using free design tools like:
-
Canva (great for text-based or graphic designs, this is what I tend to use)
-
Procreate (if you’re working on an iPad)
-
Krita or Photoshop (for the digital art crew)
Make sure your design is high resolution (300 DPI is ideal) and saved as a PNG file with a transparent background. This makes it easy to cut out the shape for printing.
Hot tip: Think about the charm’s shape when designing – is it going to be a circle? Star? Cat head? Outline your design with a clear “cut line” so you know where the charm will be trimmed.
Step 2: Choose Single or Double Sided

Before printing anything, decide if you want a single-sided or double-sided charm.
-
Single-sided: Your design is printed on one side only. This is the easiest option when you’re just learning how to make an acrylic charm.
-
Double-sided: Your design appears on both sides – either as a mirror image or with different designs on the front and back. This is ideal if the charm might flip around when worn (like on keys or bags).
Learning how to make double sided acrylic charms takes a tiny bit more effort in design – you’ll need two files (one for each side), and you must make sure everything lines up perfectly. But once you get the hang of it? Game-changer.
Step 3: Print + Production Options
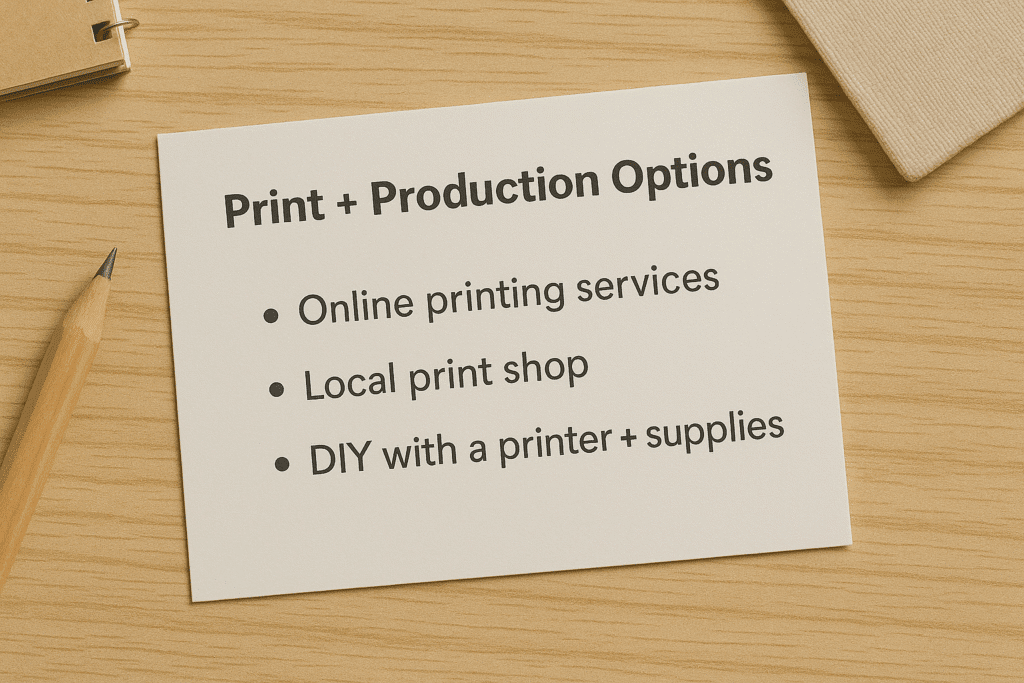
So, here’s the deal. Unless you have a laser cutter, UV printer, and acrylic sheets lying around (jealous, if so), you’re probably going to want to outsource the printing and cutting. The good news? There are tons of amazing companies that do this for you.
Popular options:
-
Zap Creatives (UK-based, eco options!)
-
Vograce (lots of customisation – glitter, epoxy, holographic!)
-
Alibaba (more bulk ordering, but cheaper per unit)
You simply upload your design files, choose your acrylic thickness, size, finish (matte, glossy, glitter), and they’ll take care of the rest.
Pro tip: Make sure to include a bleed area, safe zone, and cut line in your file. Most suppliers offer templates – use them!
Step 4: Pick Your Hardware

Want to turn your acrylic charms into keyrings? Earrings? Zipper pulls? Here’s what you’ll need:
-
Keychain rings or lobster clasps
-
Jump rings
-
Pliers to open/close the rings
Vograce and similar suppliers often give you hardware options during the order process. If you’re DIY-ing the final touches at home, Amazon and Etsy have loads of hardware options – think stars, hearts, gold-tone, rainbow metal.
Step 5: Add Extra Magic

Once your acrylic charms arrive, you might want to jazz them up even more.
-
Add epoxy resin: A shiny, domed coating that makes colours pop and adds durability.
-
Attach beads or tassels: Personalise with extras!
-
Make shaker charms: If you’re brave and want to try resin layering with little sprinkles or glitter floating inside.
If you’re into resin crafts, combining those with your acrylic charms can be super satisfying. Just remember to work in a ventilated space, and maybe don’t do it while your toddler’s on the rampage.
Why I’m Obsessed with Making Acrylic Charms
Honestly, learning how to make acrylic charms unlocked a whole new creative obsession for me. It’s the perfect balance of art, design, and physical product creation – and there’s something magical about holding your own little charm in your hand like: “I made this. This is MINE.”
They also make incredible gifts, additions to packaging if you run a small business, or merch if you have an online presence. And once you’ve figured out how to make your own acrylic charms, you can batch design seasonal sets, fandom themes, or create personal commissions.
And yes, it’s addictive. You’ve been warned.
Common Mistakes to Avoid
-
Forgetting the bleed: That little extra around the edge ensures your art isn’t chopped weirdly when cut.
-
Misaligning double-sided designs: Make sure both sides line up, or your charm will look… wonky.
-
Using low-res files: Blurry charms = sad times.
-
Not testing sizes: Print a paper version of your charm at 100% size before ordering to check if it’s too small or awkwardly shaped.
How Much Does It Cost?
Here’s a rough idea of costs if you’re outsourcing:
-
Per charm (small batch): £1.50–£4 each depending on supplier and size
-
Hardware + packaging: £0.50–£1 per piece
-
Selling price (if you’re making to sell): Often £5–£12 depending on size and customisation
If you’re learning how to make your own acrylic charms as a hobby – go wild with your budget. If you’re doing it as a biz, calculate your costs and don’t undersell!
Whether you’re designing them for your art business, your fandom friends, your stationery addiction, or your own weird little gremlin OC (no judgment), there’s just something SO joyful about acrylic charms. You get to make tiny, tangible versions of your ideas – and the process is way more accessible than you think.
If you’ve been curious about how to make an acrylic charm or how to make double sided acrylic charms, I hope this post gives you the confidence to give it a go. Start simple, experiment a bit, and don’t stress about getting it “perfect” on your first try. Honestly, once that first charm arrives in the post, you’re going to be squealing like it’s Christmas morning.

FAQs About Making Acrylic Charms
How do I make my own acrylic charms at home?
If you have the right tools (UV printer, laser cutter, acrylic sheets), you can technically make them yourself. But most people design digitally and use charm production companies like Zap Creatives or Vograce to print and cut them.
Can I make acrylic charms without drawing?
Absolutely! You can use text-based designs, Canva graphics, or purchase commercial-use clipart. As long as your design is high quality and original (or licensed), you’re good to go.
What size should acrylic charms be?
Most charms range from 1.5 to 3 inches (around 4–7 cm). Too small and details can get lost, too big and they might be bulky.
How to make double sided acrylic charms without messing it up?
Use two perfectly aligned designs (front and back), and test it in the supplier’s template. Double check alignment by flipping one design horizontally and overlaying it in your design software.
What’s the best place to get acrylic charms made?
Top faves include:
-
Zap Creatives (UK, eco-friendly options)
-
Vograce (tons of customisation)
-
Sticker Mule (super quick)
Check reviews and minimum order quantities before ordering.
Can I sell acrylic charms I make?
Yes – as long as your artwork is original or you have a license to sell the design. They’re a popular product on Etsy, Instagram shops, and conventions!
See more of my crafting posts here

Becky is the voice behind Life in Velvet, an organised, intentional living blog focused on practical food, calm homes, thoughtful projects, and everyday systems that make real life feel easier. A mum of 3 living in the UK, Becky writes from lived experience, sharing what works, what doesn’t, and the decisions that make family life run more smoothly.
With a background in marketing and content writing, and over a decade of blogging experience, she brings a thoughtful, structured approach to everything from baking and home projects to routines and decision-making. Life in Velvet is where planning meets creativity, with ideas designed for real homes and real life.