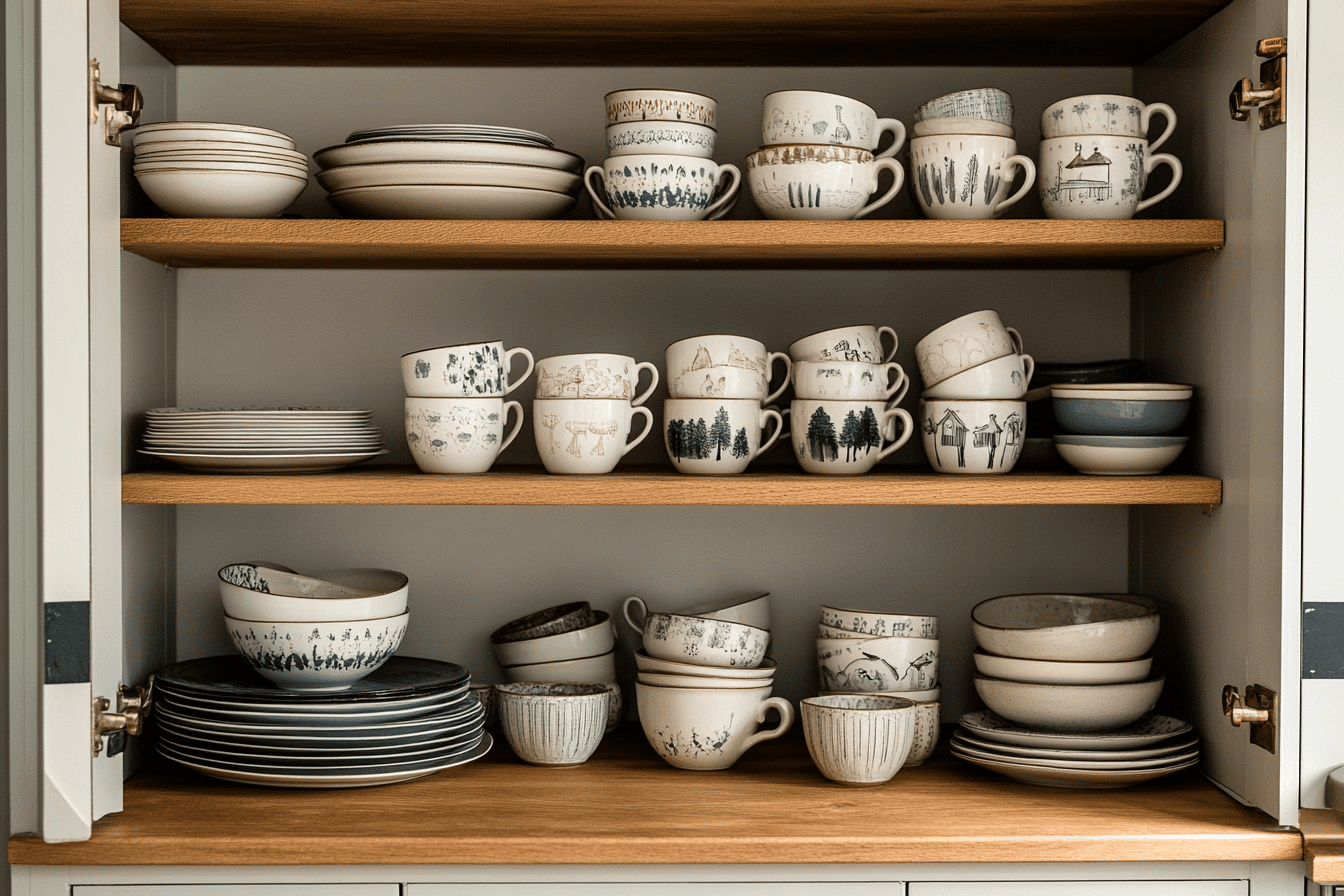
The most effective way to organise kitchen cupboards is to sort by zone before you buy a single basket. Group everything by how your household actually uses the kitchen, assign each category a fixed home, then fit out the storage around that logic. Do it the other way round and…
Category: Home that Works
A home should support the way you actually live.
This section focuses on functional, lived-in homes – from bedrooms and storage to indoor plants and outdoor spaces – with an emphasis on decisions that make everyday life easier.
Here you’ll find guidance, experience, and thoughtful choices that help your home feel calm, practical, and genuinely usable, rather than just nice to look at.
Automotive

Read more

How to Clean Bird Poop Off a Car (Without Ruining Your Paintwork)
The safest way to remove bird poop from your car without damaging the paint is to soften it before you touch it. Spray warm water onto the dropping, lay a damp microfibre cloth over it for two or three minutes, then lift it away in one gentle motion. That’s the…
Gardening
Read more
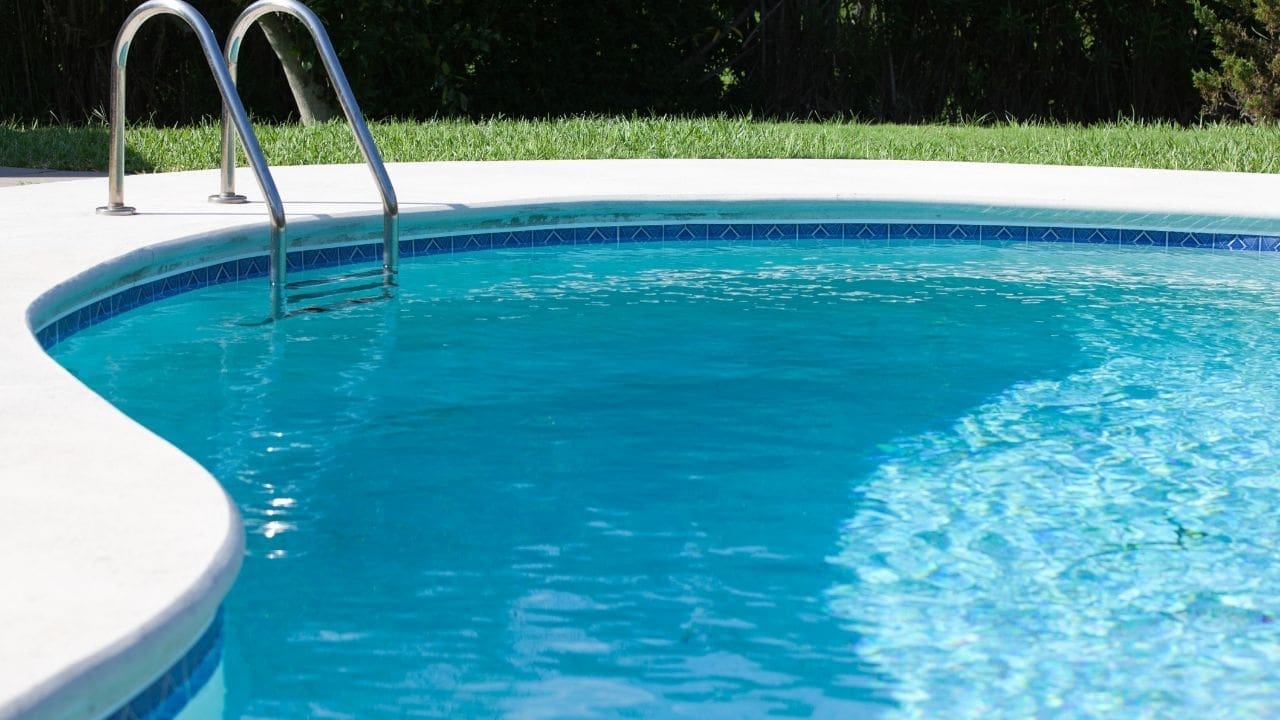
5 Signs Your Pool Equipment is Working Harder Than It Should
When pool equipment starts to develop a fault, there are often some early warning signs. The difficulty is that these signs are typically easy to ignore. Or, if it’s a “silent sign” like a slow drop-in performance, you may get used to the slow decline over weeks or months and…
DIY

Read more

DIY Vintage Storage Boxes
You can make a set of distressed, stencilled vintage storage boxes that look like Anthropologie-quality pieces for a fraction of the cost, using unfinished wooden boxes from Amazon UK and a single tin of Rustoleum Hammered Silver spray paint from B&Q. The whole project takes an afternoon, dries overnight, and…
DIY
Read more

The Rise of Reversible Upgrades in Modern Home Improvement
Home improvement is undergoing a quiet but powerful shift. Instead of permanent renovations that lock homeowners into long-term decisions, today’s trends favor flexibility, adaptability, and future-proof design. This shift has given rise to a new concept: reversible upgrades. Reversible home improvements allow homeowners to enhance comfort, safety, and style without…
DIY
Read more
Essential Home Maintenance Tasks Every New Homeowner Should Master
Many home repair nightmares could have been avoided if they were addressed early on. The key is to act like a property manager, who is responsible for the upkeep and maintenance of the property, rather than a tenant who just lives there. Know your home’s bones before anything breaks The…
Home that Works
Read more

How to Organise Under the Kitchen Sink (and Actually Keep It That Way)
The under-sink cupboard might be the most chaotic spot in the entire kitchen, and if yours looks like mine did six months ago, you already know what I mean. Sponges with no fixed address. A bottle of Flash that’s been on its side since 2022. Some sort of mystery cloth…
Home that Works

Read more

How to Organise Tupperware and Lids (Without Losing Your Mind Every Time You Open the Cupboard)
If your food storage situation has turned into a Tuesday-morning scrabble for a matching lid while your pasta’s going cold on the hob, you’re not alone. The best way to organise Tupperware and lids is to separate them completely, reduce to one brand if you can, and give each category…