
Key Takeaways
- Quick and Easy: Creamed peas come together in just 15 minutes using basic pantry ingredients
- Perfect Texture: Using frozen peas (not canned) ensures tender, not mushy results
- Versatile Side Dish: Works for holiday dinners, weeknight meals, and everything in between
- Crowd Pleaser: Even picky eaters love peas when they’re coated in a rich, savory cream sauce
- Make Ahead Friendly: Can be prepared in advance and reheated without losing quality
Okay, real talk. I never thought I’d be the person raving about peas. Growing up, those mushy canned peas at school lunch? Hard pass. But then I discovered creamed peas, and suddenly I got it. I understood why my grandmother insisted on making them for every single holiday meal.
Now with four kids running around our home (and yes, all the pets that come with that chaos), I need side dishes that are easy, delicious, and actually get eaten. This creamed peas recipe checks every single box. It’s become such a staple in our house that my youngest literally requests “the peas with the yummy sauce” at least twice a week.
The best part? You probably have everything you need in your kitchen right now. No fancy ingredients, no complicated techniques, just good old-fashioned comfort food that happens to be ready in about 15 minutes. And honestly, that’s the kind of recipe that saves my sanity on busy weeknights.
What Are Creamed Peas?
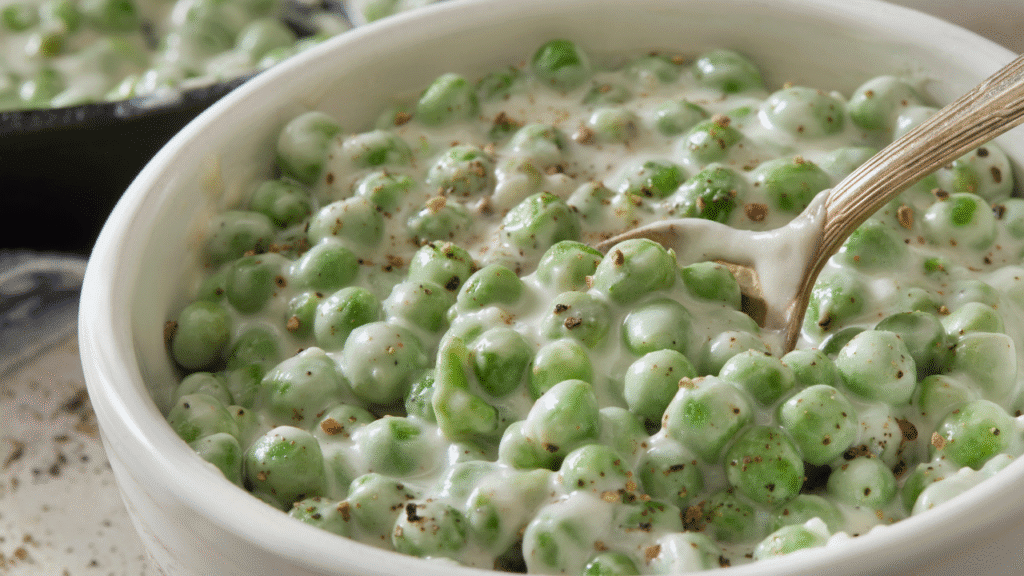
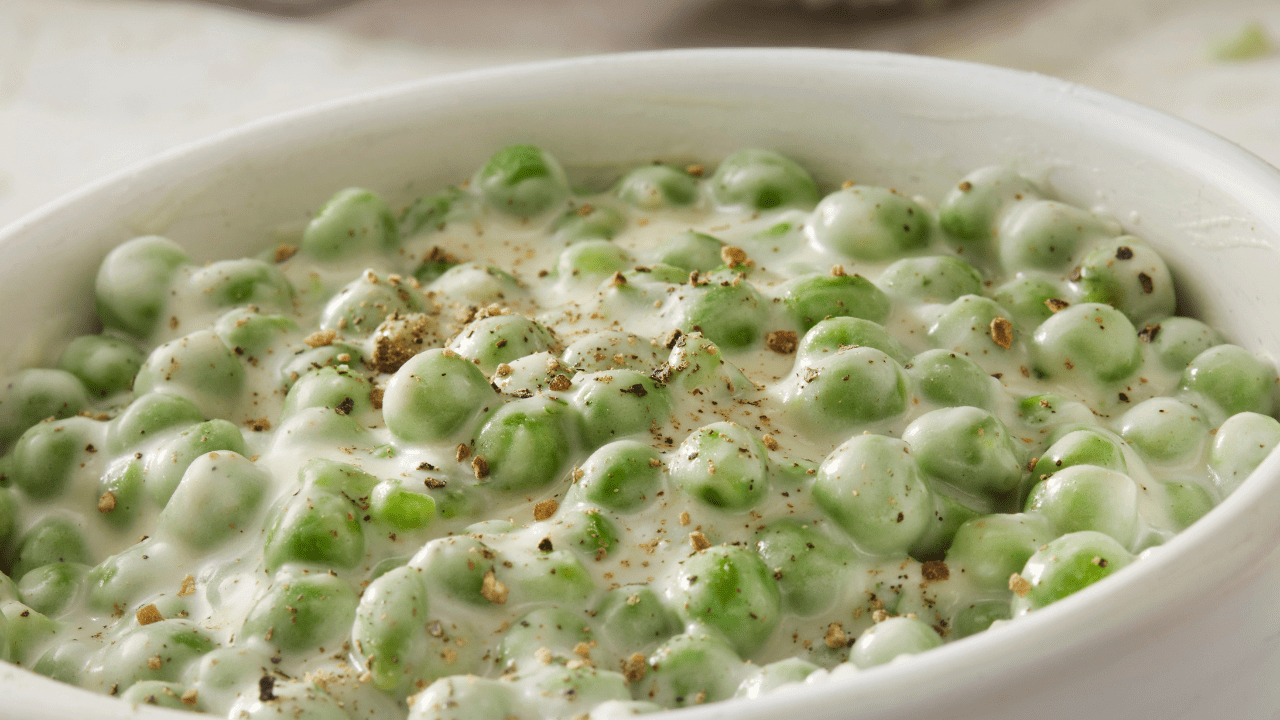
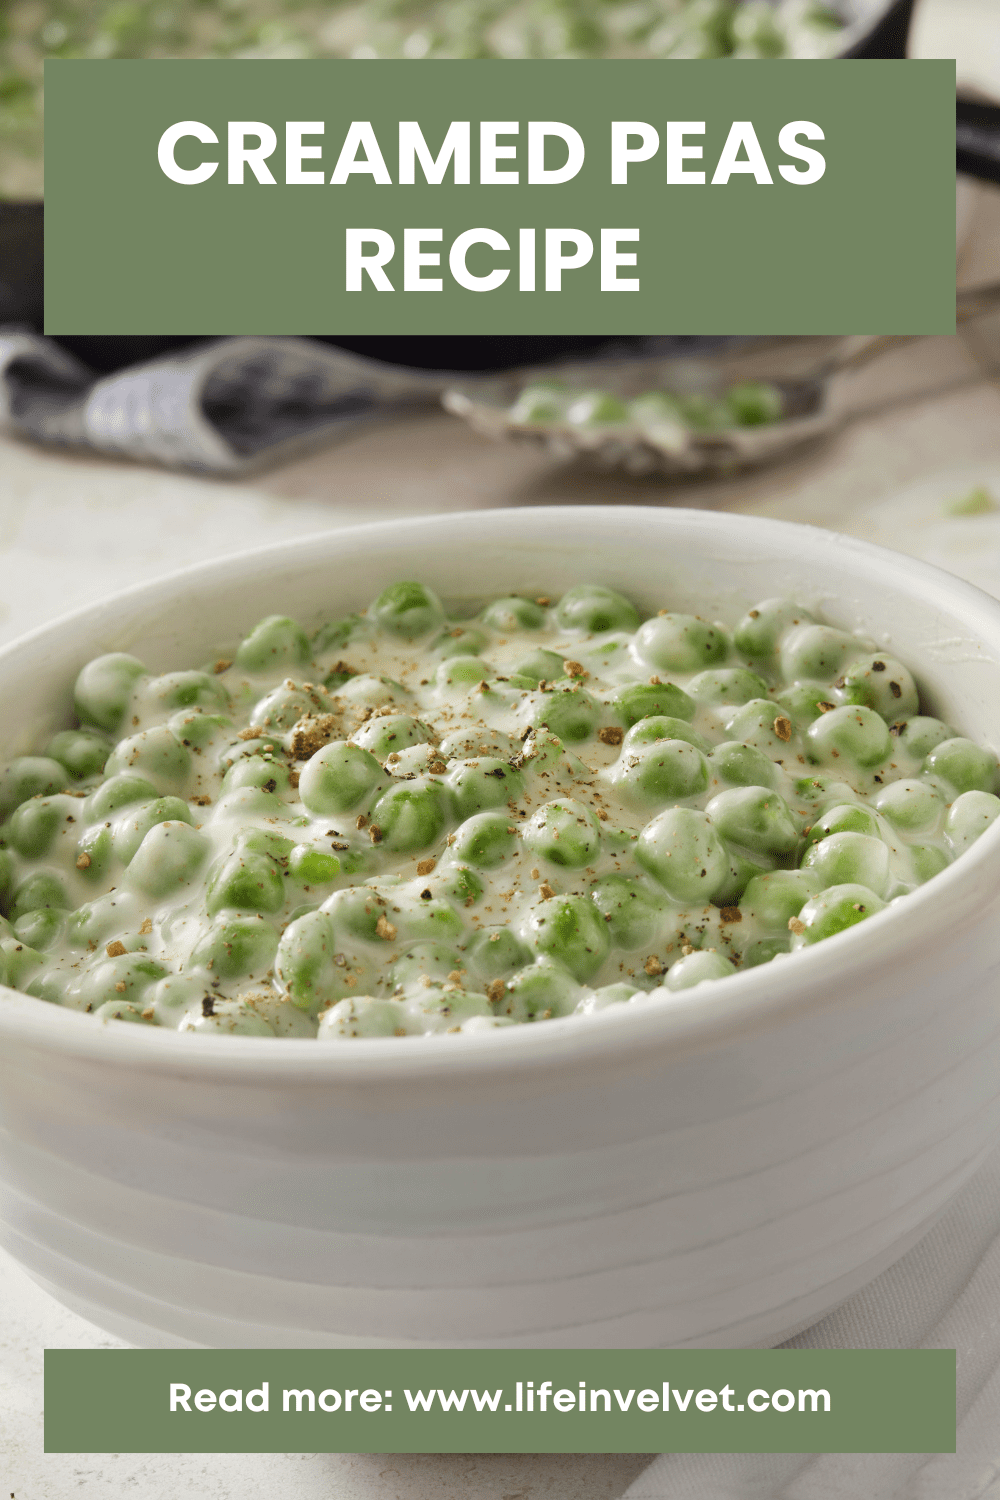
Creamed peas are exactly what they sound like: tender sweet peas swimming in a luscious, velvety cream sauce. Think of it as the fancy cousin of regular buttered peas. The sauce is technically a béchamel (which sounds intimidating but is literally just butter, flour, and milk whisked together), and it transforms humble peas into something you’d actually be excited to eat.
This isn’t some newfangled food blogger invention, either. Creamed peas have been gracing American dinner tables since the early 1900s, especially in the Midwest and South. Our grandmothers knew what they were doing when they added this to their repertoire. It’s comfort food at its finest, the kind of dish that makes you feel like you’re wrapped in a warm hug.
The beauty of this recipe is its simplicity. You’re starting with a basic roux (butter and flour cooked together), adding milk to create that silky sauce, then folding in the peas. That’s it. No weird ingredients you can only find at specialty stores, no complicated techniques that require culinary school.
Why This Creamed Peas Recipe Works
After making this recipe probably a hundred times (seriously, we eat a lot of peas in this house), I’ve figured out what makes the difference between meh creamed peas and ones that make everyone ask for seconds.
The Right Peas Matter: I’m team frozen peas all the way. Fresh peas are lovely if you happen to have them, but frozen peas are picked and frozen at peak ripeness, which means they’re actually sweeter and more tender than most “fresh” peas you’ll find at the grocery store. Plus, they’re available year-round and don’t require any shelling or prep work. Win-win.
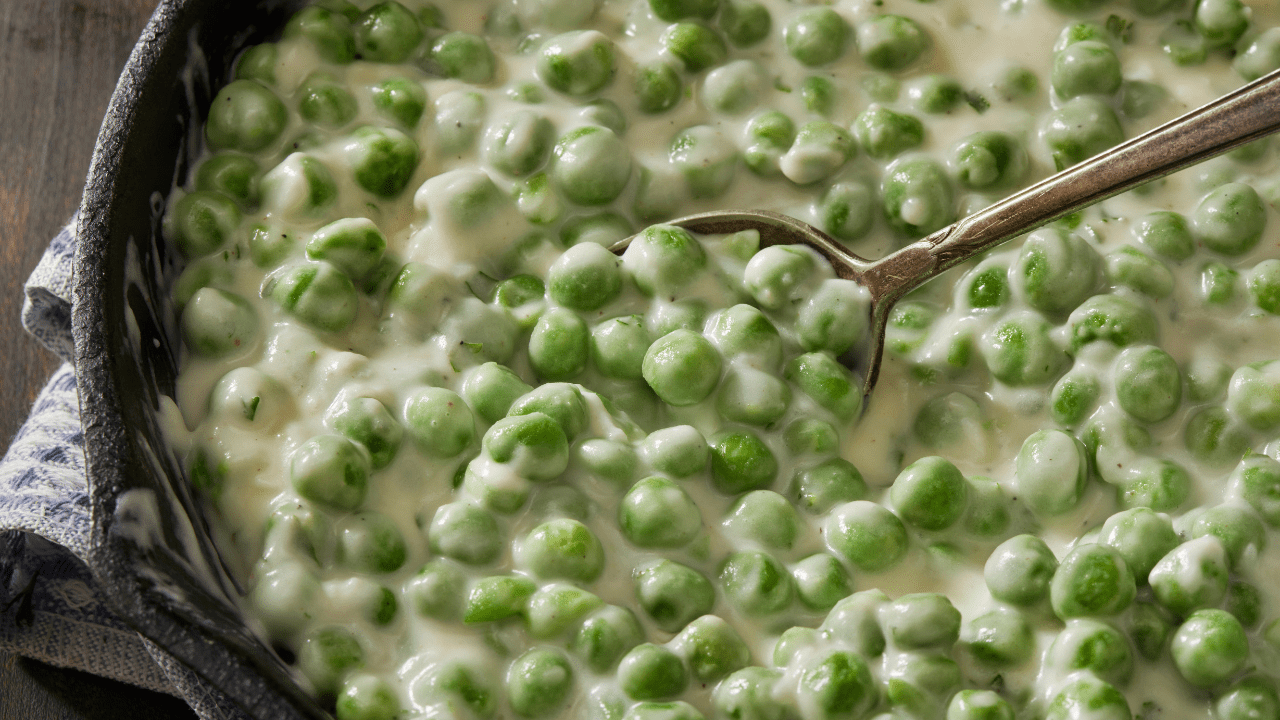
Proper Sauce Thickness: The sauce should be thick enough to coat the back of a spoon but not so thick that it’s gloppy. Getting this balance right means your peas are nicely coated without drowning in sauce. We want creamed peas, not pea soup.
Don’t Skip the Seasonings: While salt and pepper might seem basic, they’re crucial here. The sweetness of the peas needs that savory balance. I also love adding a pinch of garlic powder or a hint of nutmeg (trust me on this one).
Temperature Control: Medium heat is your friend. Too high and your sauce will break or burn. Too low and you’ll be standing there forever waiting for it to thicken. Medium heat gives you that Goldilocks zone where everything comes together beautifully.
Ingredients You’ll Need
Here’s the beautiful thing about this recipe: you probably don’t need to go shopping. These are staples that most of us already have hanging out in the fridge and freezer.
For the Creamed Peas:
- 4 cups frozen peas (about 1 pound or one standard bag) – Sweet petite peas work beautifully here
- 3 tablespoons unsalted butter – I prefer unsalted so I can control the salt level
- 3 tablespoons all-purpose flour – This is your thickening agent
- 2 cups whole milk – Don’t skimp and use skim; the fat is important for texture and flavor
- 1 teaspoon salt – Start here and adjust to taste
- ½ teaspoon white or black pepper – White pepper keeps the sauce looking pristine, but black works fine
- ¼ teaspoon garlic powder (optional but recommended) – Adds depth without overpowering
- ¼ cup heavy cream (optional) – For extra richness and a silkier sauce
What You Can Substitute:
Look, I get it. Sometimes you’re missing an ingredient or have dietary restrictions. Here’s what actually works:
Milk Options: If you don’t have whole milk, you can use 2% (though the sauce will be slightly thinner) or half-and-half (which makes it even richer). For dairy-free options, unsweetened oat milk or cashew cream work surprisingly well. I’ve tried almond milk and it’s fine but leaves a slightly nutty taste that some people love and others find weird.
Butter Alternatives: Vegan butter works great for dairy-free versions. In a pinch, you could use olive oil, though you’ll lose some of that buttery richness.
Flour Substitutes: For gluten-free creamed peas, cornstarch or arrowroot powder work as thickeners. Use half the amount (1.5 tablespoons instead of 3) and mix it with cold milk before adding to prevent lumps.
How to Make Creamed Peas (Step by Step)
Alright, let’s do this! I’m walking you through every step so even if you’ve never made a roux in your life, you’ll nail this.
Step 1: Prep Your Peas
If you’re using frozen peas (which, again, I highly recommend), you don’t need to thaw them first. However, some people prefer to run them under warm water for a minute to take the chill off. Totally your call. Just make sure to drain them well so you’re not adding extra water to your sauce.
Step 2: Make the Roux
In a medium saucepan, melt your butter over medium heat. Once it’s fully melted and just starting to foam, whisk in the flour. Keep whisking for about 1-2 minutes until the mixture is smooth and just barely starting to turn a very light golden color. This is your roux, and it’s the foundation of your sauce.
Don’t rush this step. That cooking time helps eliminate the raw flour taste and lets the flour and butter combine properly. You want it to look like a thick paste and smell slightly nutty, not like raw flour.
Step 3: Add the Milk
This is where people sometimes panic, but don’t worry. Slowly pour in your milk while whisking constantly. Start with about a quarter of the milk, whisk it in really well, then add the rest gradually. This gradual addition helps prevent lumps.
Keep whisking over medium heat. The mixture will seem really thin at first, and that’s totally normal. As it heats up, it’ll start to thicken. This usually takes about 5-7 minutes. You’ll know it’s ready when it coats the back of a spoon and doesn’t immediately run off.
Step 4: Season Your Sauce
Once your sauce has thickened, add your salt, pepper, and garlic powder (if using). Taste it! This is important. Every brand of butter and milk tastes slightly different, so adjust the seasonings to your preference. Don’t be shy about adding more salt if it needs it.
Step 5: Add the Peas
Stir in your peas and cook for another 3-4 minutes, stirring occasionally, until they’re heated through. The peas will continue to cook slightly in the hot sauce, so don’t overdo it here. You want them tender but still bright green and with a little texture.
Step 6: Finish and Serve
If you’re using heavy cream for extra richness, stir it in now. Give everything one last taste and adjust seasonings if needed. Some people like to add a pat of butter on top right before serving, and honestly, it makes everything look and taste even better.
Serve immediately while hot. I love garnishing with a sprinkle of fresh dill, chives, or even a tiny pinch of paprika for color.
Tips for Perfect Creamed Peas Every Time
After years of making this recipe (and occasionally messing it up), here are the things I’ve learned:
Don’t Let the Sauce Break: If your sauce looks grainy or separated, it’s because the heat got too high or you added the milk too quickly. If this happens, remove from heat immediately and whisk in a tablespoon of cold milk. Sometimes you can save it!
Thickness Troubleshooting: Sauce too thick? Whisk in milk a tablespoon at a time until it reaches your desired consistency. Too thin? Mix a teaspoon of cornstarch with a tablespoon of cold milk, then whisk it in and cook for another minute.
Keep Them Green: Overcooked peas turn that sad olive-drab color. To keep them bright and beautiful, don’t cook them longer than necessary once they’re in the sauce. They should still have a little pop when you bite into them.
Batch Cooking: This recipe doubles or triples beautifully if you’re feeding a crowd. Just use a bigger pot and maybe add an extra minute or two to the cooking time.
Make It Your Own: Once you’ve mastered the basic recipe, play around! Add crispy bacon bits, sautéed mushrooms, pearl onions, or a squeeze of lemon juice. This is comfort food, so make it work for you.
Variations to Try
One of the things I love about this recipe is how adaptable it is. Here are some of my family’s favorite twists:
Creamed Peas and Potatoes: Add 1-2 cups of cooked, diced potatoes (baby potatoes work great) in the last few minutes of cooking. This makes it almost substantial enough to be a light meal.
With Bacon or Ham: Stir in ½ cup of cooked, crumbled bacon or diced ham. The smoky, salty flavor is incredible with the sweet peas.
Pearl Onion Addition: About a cup of cooked pearl onions (you can buy them frozen) adds a fancy touch that’s perfect for holidays.
Herbed Version: Fresh herbs change everything. Try adding fresh dill, thyme, or tarragon at the end. My personal favorite is dill, which gives it almost a Scandinavian vibe.
Cheesy Creamed Peas: Stir in ½ cup of grated Parmesan or white cheddar after the peas are added. Let it melt into the sauce. Completely indulgent and completely worth it.
Lemon Butter Version: Add a tablespoon of lemon juice and some lemon zest for a brighter, fresher take. This is especially good in spring and summer.
What to Serve with Creamed Peas
Creamed peas are the ultimate team player side dish. They go with pretty much everything, which is why they show up at so many holiday tables. Here’s what we typically pair them with at our house:
For Holidays: Roast turkey, honey-glazed ham, prime rib, or beef tenderloin. The creamy richness balances the meat beautifully.
Weeknight Dinners: Baked chicken, pork chops (especially these simple pan-fried pork chops), meatloaf, or salmon patties. Actually, creamed peas served over salmon patties is a classic combination that my husband’s family swears by.
Carb Companions: They’re excellent alongside mashed potatoes, dinner rolls, or even over rice. Some people (including my grandmother) loved serving them over toast for a quick, comforting meal.
Other Sides: Round out your meal with a crisp salad, roasted carrots, or green beans. For holidays, they’re perfect with classics like stuffing and cranberry sauce.
Storage, Reheating, and Make-Ahead Tips
Storing Leftovers: Transfer cooled creamed peas to an airtight container and refrigerate for up to 3 days. The sauce might thicken up in the fridge, which is totally normal.
Reheating: The microwave works fine. Heat at 50% power in 30-second intervals, stirring between each, until warmed through. Or reheat gently on the stovetop over low heat, stirring frequently. Add a splash of milk if the sauce seems too thick.
Can You Freeze Them? Yes, but with a caveat. Cream sauces can sometimes separate when frozen and thawed. If you want to freeze them, cool completely, transfer to a freezer-safe container or bag, and freeze for up to 3 months. Thaw overnight in the fridge and reheat gently, whisking in a little extra milk or cream to bring the sauce back together.
Make-Ahead Option: You can make the cream sauce up to a day ahead. Store it in the fridge, then reheat gently and add the peas when you’re ready to serve. This is a lifesaver during holiday cooking when oven and stovetop space is at a premium.
Nutritional Information
While I’m not going to pretend creamed peas are a superfood, they’re actually pretty nutritious for comfort food. Peas are packed with protein (yes, protein!), fiber, vitamins A and C, and various B vitamins. The cream sauce adds richness and calcium from the dairy.
A typical serving (about ¾ cup) contains approximately:
- 180-200 calories
- 6g protein
- 10-12g fat
- 18-20g carbohydrates
- 4-5g fiber
Of course, this varies depending on exactly how much cream and butter you use. If you’re watching calories, you can use all 2% milk instead of adding cream, and it’ll still taste great, just slightly less rich.
Common Questions About Creamed Peas (FAQs)
Can I use canned peas instead of frozen?
You can, but I really don’t recommend it. Canned peas are already fully cooked (actually, they’re overcooked) and will turn to mush when you heat them in the sauce. If canned peas are your only option, add them at the very end and just warm them through for about 1-2 minutes max. But honestly, frozen peas are usually cheaper and definitely taste better.
What if my sauce is lumpy?
Lumps usually happen when the flour isn’t whisked in thoroughly or when the milk is added too quickly. If you end up with lumps, pour the sauce through a fine-mesh strainer into a clean pot, then continue cooking. An immersion blender also works in a pinch.
Can I make this dairy-free?
Absolutely! Use vegan butter (or olive oil in a pinch) and replace the milk with a creamy dairy-free alternative. I’ve had great success with oat milk and cashew cream. Coconut cream works too, though it gives the dish a subtle coconut flavor that some people love.
How do I prevent my peas from turning gray?
That sad gray-green color happens when peas are overcooked. Keep the cooking time short once the peas are in the sauce (no more than 4-5 minutes), and serve immediately. The peas should still have a bright green color and a slight snap to them.
Why does the sauce separate or look curdled?
This usually happens if the heat is too high or if you’re using low-fat or skim milk, which doesn’t have enough fat to stabilize properly. Stick to whole milk or higher fat options, and keep your heat at medium. If it does start to separate, immediately remove from heat and whisk vigorously, or blend with an immersion blender.
Can I add other vegetables?
Yes! Carrots, mushrooms, and pearl onions are all classic additions. Just make sure any additional vegetables are pre-cooked before adding them to the sauce, since they won’t have time to cook through in the short time the peas are heating.
The Cultural Significance of Creamed Peas
I know, I know, this sounds overly dramatic for a side dish. But hear me out! Creamed peas have been a staple of American home cooking for over a century, particularly in the Midwest and South. According to the USDA’s historical food documents, creamed vegetables became popular in the early 1900s as a way to make vegetables more appealing and to use up cream from home dairies.
During the post-World War II era, when convenience foods were exploding in popularity, creamed peas (often from frozen or canned peas with canned cream soups) became synonymous with comfort and nostalgia. They represented home, family dinners, and a simpler time. That’s why so many of us have memories of our grandmothers making them.
The dish has seen a bit of a revival lately as people rediscover old-fashioned recipes and realize that making things from scratch isn’t actually that hard and tastes so much better. Plus, there’s something deeply satisfying about continuing family food traditions with your own kids.
Shopping Tips and Product Recommendations
Best Frozen Peas: Look for bags labeled “petite” or “baby sweet” peas. They’re harvested younger and tend to be more tender and sweeter. Brands like Birds Eye and 365 Whole Foods are consistently good quality.
Butter: I use Kerrygold or Land O’Lakes unsalted butter. The better quality your butter, the better your sauce will taste.
Flour: Any standard all-purpose flour works great. I always have King Arthur on hand because it’s consistent and works well for both baking and cooking.
Heavy Cream: If you’re going for maximum richness, Organic Valley makes an excellent heavy cream that’s worth the splurge for special occasions.
Garlic Powder: Simply Organic garlic powder is my go-to because it doesn’t have any anti-caking agents and tastes fresher.
My Final Thoughts on Creamed Peas
Look, I’m not going to lie and say creamed peas will change your life. But they might change your dinner. Or at least make it a whole lot easier and tastier.
In our house, this recipe has become one of those keeper recipes that gets made over and over, that gets requested by the kids, that makes me feel like I’m doing this whole cooking thing right. And honestly, isn’t that what we’re all looking for? Recipes that actually work, that don’t require a culinary degree, and that make everyone happy?
Whether you’re making creamed peas for Thanksgiving, a random Tuesday night, or just because you found a bag of peas in the back of your freezer and need to use them up, I hope you love this recipe as much as we do.
And if you make this recipe, please come back and let me know how it went! Did your kids eat them? Did you add bacon? Did you burn the roux the first time? (It happens to the best of us.) I love hearing about your cooking adventures.
Now get in that kitchen and make some creamed peas. Your dinner table will thank you.
Pin this recipe for later! Save this creamed peas recipe to your Pinterest boards so you can find it when you need an easy, delicious side dish.
Nutrition (per serving, approximate)
Calories: 185 | Protein: 6g | Fat: 11g | Carbohydrates: 16g | Fiber: 4g | Sugar: 7g | Sodium: 325mg
Did you make this recipe? Leave a comment below and let me know how it turned out! And don’t forget to rate the recipe!
See more of my food recipes over here
Liked this post? You might like these!
Ultimate Pomodoro Sauce Recipe
Rotel Cheese Dip
Pineapple Cucumber Salad
Enoki Mushrooms
Delia Smith Red Cabbage
Parmentier Potatoes
Air Fryer Roast Potatoes

Becky is the voice behind Life in Velvet, an organised, intentional living blog focused on practical food, calm homes, thoughtful projects, and everyday systems that make real life feel easier. A mum of 3 living in the UK, Becky writes from lived experience, sharing what works, what doesn’t, and the decisions that make family life run more smoothly.
With a background in marketing and content writing, and over a decade of blogging experience, she brings a thoughtful, structured approach to everything from baking and home projects to routines and decision-making. Life in Velvet is where planning meets creativity, with ideas designed for real homes and real life.