
If you’re anything like me, your outdoor pots have seen better days. Maybe you found the perfect ceramic beauty at a car boot sale or salvaged a classic terracotta number from the back of the shed—but it’s got a hole or two (and not the kind at the bottom for drainage). Whether it’s a hairline crack or a gaping chip, don’t throw it out just yet!
Let’s talk about how to actually fix those holes in your outdoor pots—without turning your garden into a DIY disaster zone. Here I show you how to plug holes in an outside pot, and cover everything from quick patch-up jobs to more permanent solutions, so you can keep your plants happy and your patio or decking looking lush.
First things first: Why plug a hole in a pot?
Before we get our hands dirty (quite literally), let’s clear something up. Some holes are meant to be there—like the ones in the bottom of plant pots for drainage. If you’re trying to block those up, maybe to turn a pot into a water feature or decorative piece, that’s one thing. But cracks and chips from wear and tear, frost, or just enthusiastic trowel work? Those can spell trouble for your plants and the pot itself.
Plugging a hole can:
-
Prevent soil leakage.
-
Stop water from draining too fast (or leaking altogether).
-
Reinforce the structural integrity of the pot.
-
Help upcycle old, leaky pots into planters, storage containers, or even fairy garden features.
How to plug holes in an outside pot: What you’ll need
Here’s a basic shopping list, most of which you can find at B&Q, Wilko, or even your local garden centre (or in the garage if you’re lucky):
-
Waterproof silicone sealant or epoxy resin
-
Sandpaper or wire brush
-
Sponge and soapy water
-
Plastic or rubber gloves
-
Pot repair mesh or fibreglass patch (optional, for big holes)
-
Masking tape (always handy!)
-
Pebbles or broken crockery (for base reinforcement)
-
A good cuppa (for morale)
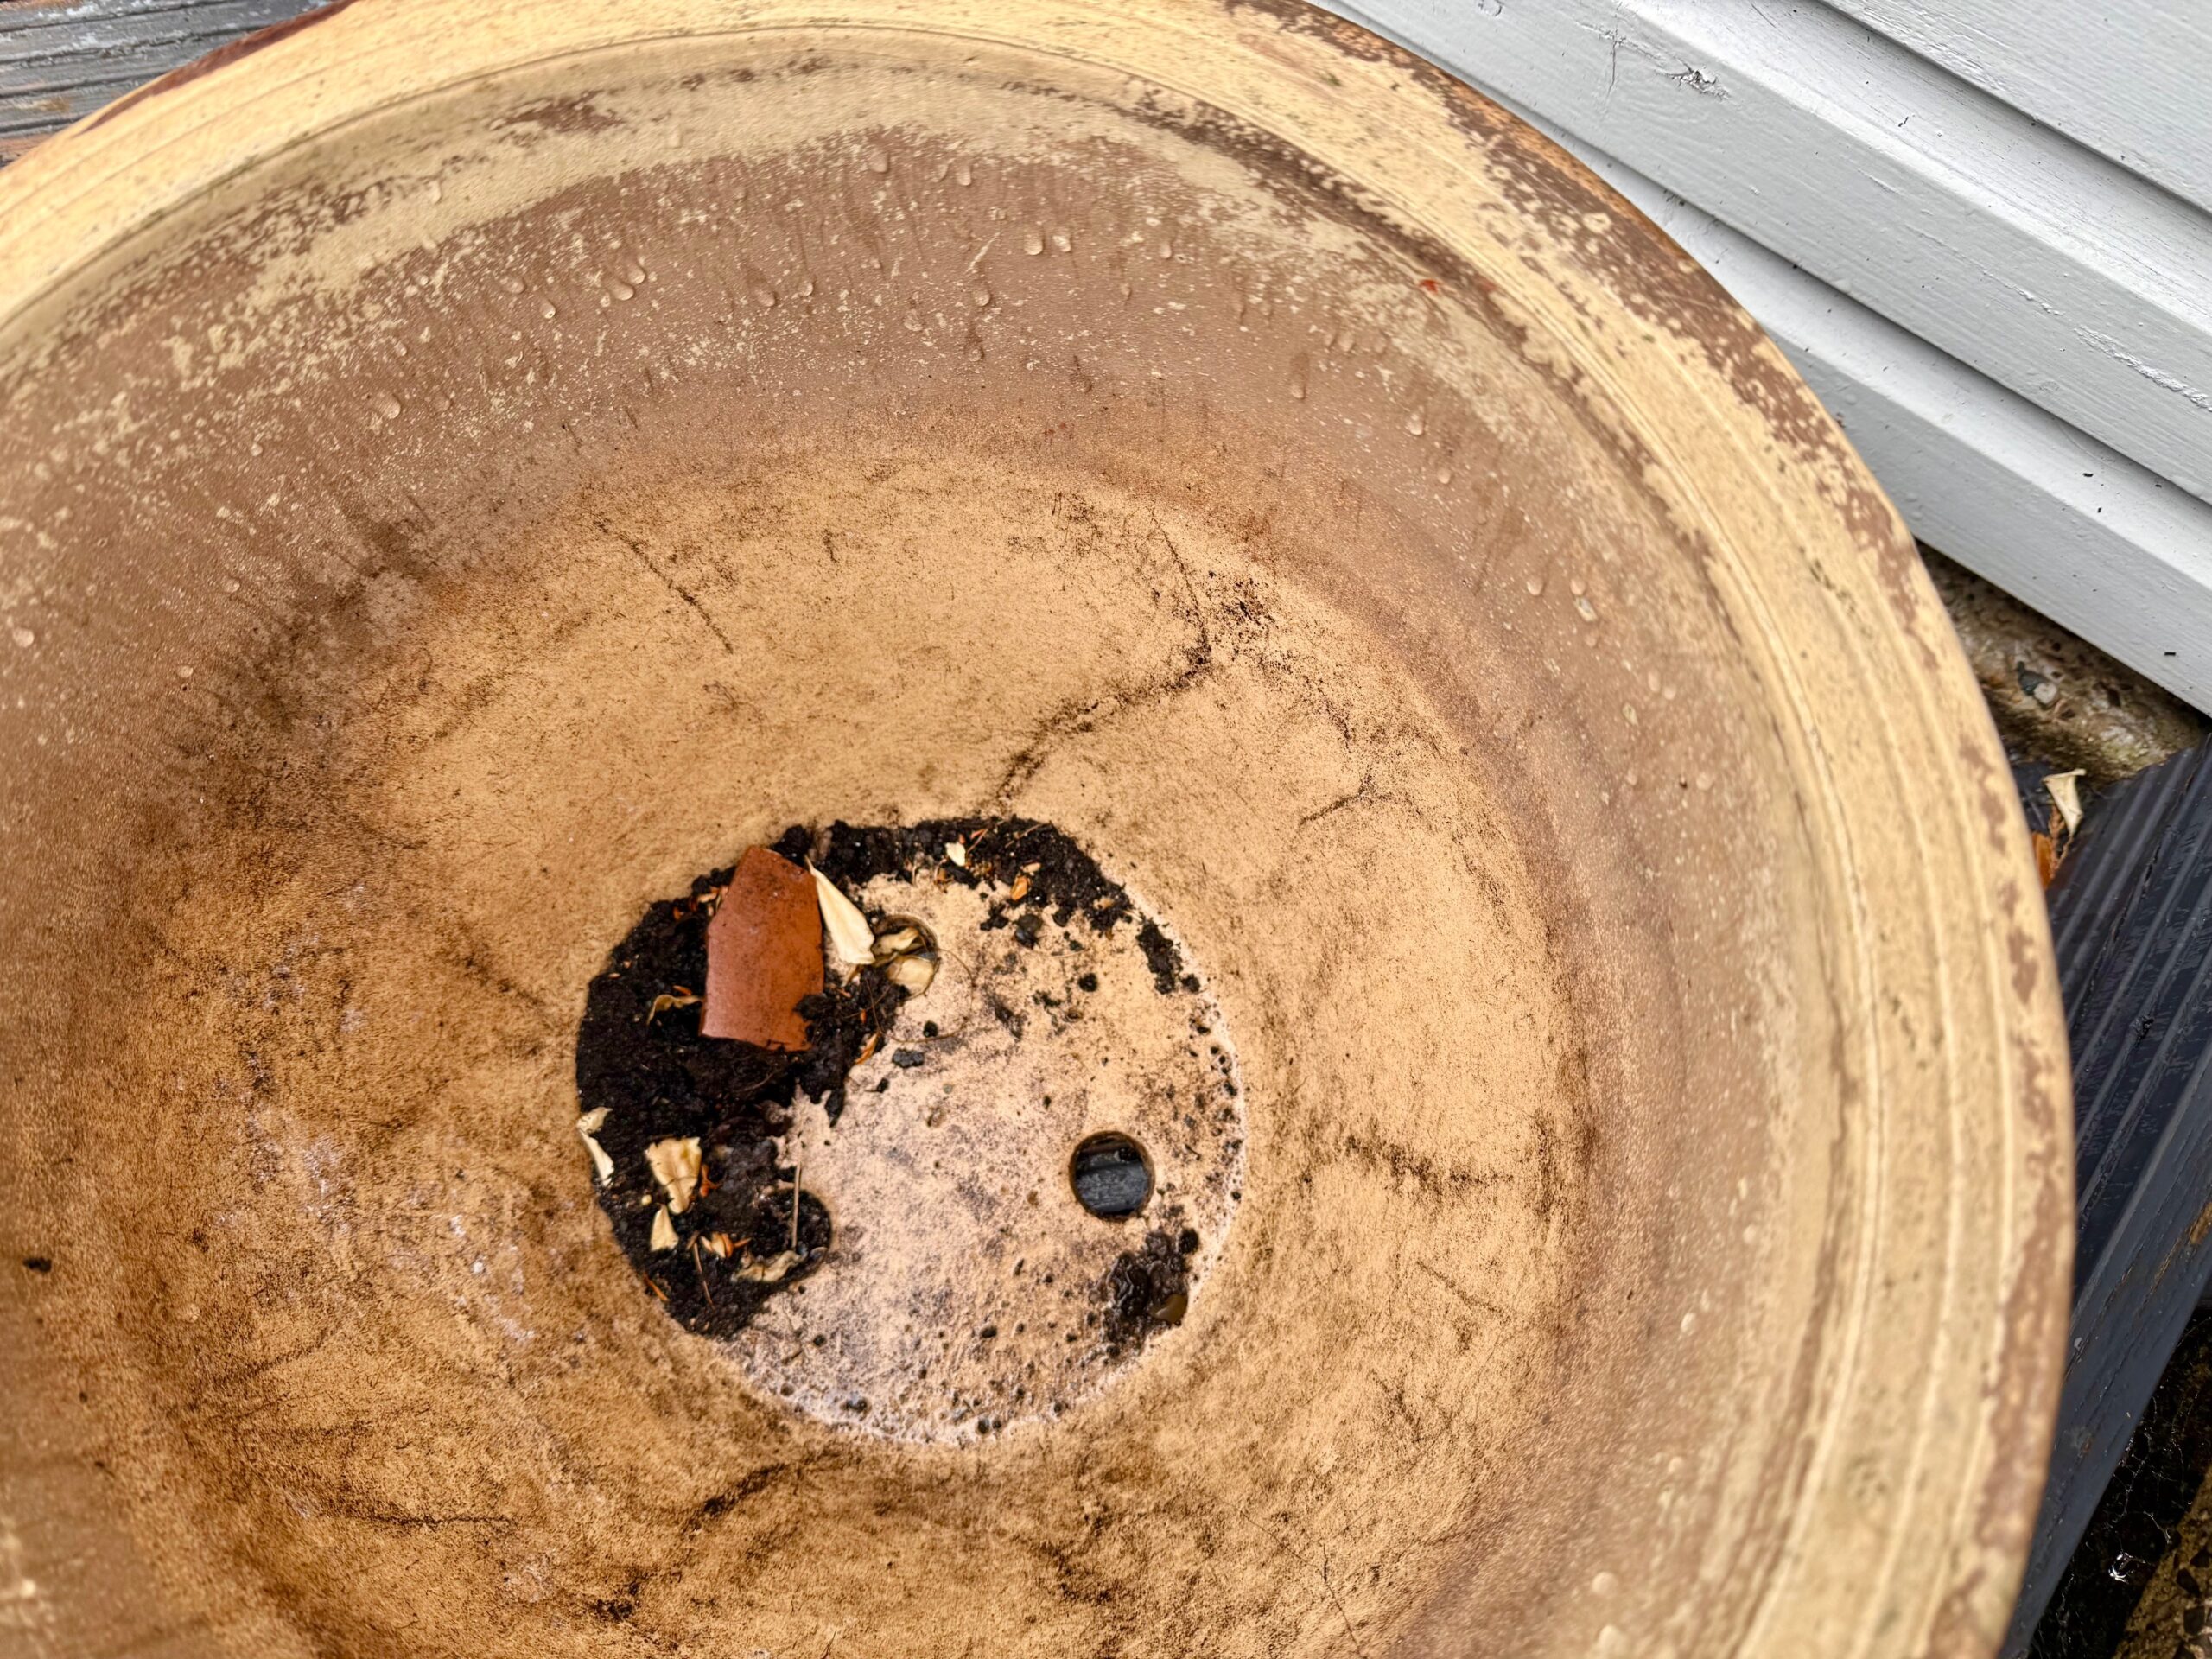
Step-by-step: How to plug a hole in an outdoor pot
1. Clean the pot
Start by giving the pot a good scrub. You want to remove dirt, moss, and loose bits so the sealant or patching material sticks properly. Warm soapy water and a stiff brush work wonders. Let the pot dry fully before moving on—this is not the time for shortcuts. Damp surfaces will stop adhesives from bonding properly.
2. Assess the damage
If the hole is tiny—think pinhole or hairline crack—silicone sealant should be plenty. For anything larger (say, a chip the size of a 50p coin or more), you might want to reinforce the repair with a fibreglass patch or repair mesh.
Top tip: Hold the pot up to the light to spot hairline cracks you might otherwise miss.
3. Rough it up
Use sandpaper or a wire brush to gently rough up the area around the hole. This helps the sealant or epoxy resin grip better. Wipe away any dust with a dry cloth.
4. Apply the sealant or patch
For small holes or cracks:
-
Use a waterproof silicone sealant—clear is best unless you fancy a colour clash.
-
Squeeze it into the hole and smooth it over with a gloved finger or a lollipop stick.
-
Let it cure for at least 24 hours.
For larger holes or chips:
-
Mix up an epoxy resin or use a pre-mixed outdoor pot repair compound (available at most DIY shops).
-
Apply the compound over the hole and press a mesh patch into it if needed.
-
Smooth it over and leave to cure according to the product instructions.
You can also try Sugru (available at Robert Dyas or Amazon)—a mouldable silicone glue that’s great for plugging weirdly shaped gaps.
5. Test for leaks
Once your repair is dry and set, fill the pot with water to see if anything seeps through. If it’s all dry underneath, you’re good to go!
Bonus idea: Want to block drainage holes for a decorative pot?
If you’ve found a pot you love but want to use it indoors or as a water-tight planter, here’s a shortcut:
-
Stick a circle of waterproof gaffer tape on the bottom.
-
Reinforce it from the inside with silicone sealant.
-
Add a layer of gravel or pebbles to the base to avoid soggy soil.
Boom—instant waterproofing. Just remember to go easy on watering or your plants will end up swimming.
Painting over the repair
Worried about your pot looking like it’s had a dodgy patch-up job? Don’t be! Once the sealant or resin has cured, you can sand it smooth and paint over it with outdoor-safe paint—check out Cuprinol Garden Shades or Ronseal for colour options that pop.
For terracotta pots, use a terracotta-coloured paint or mix a few acrylic shades to get a match.
Upcycling ideas for cracked pots
Sometimes, a pot is just too far gone to hold water or soil anymore—but that doesn’t mean it’s destined for landfill. Here are some creative ideas, below, and you can find some more of my ideas for upcycling cracked posts here.
-
Fairy garden: Broken side? Turn it into a magical layered planter with moss and miniature doors.
-
Succulent garden: Cracked terracotta is great for dry-loving succulents.
-
Bird bath or bee watering station: Block the drainage hole and fill with clean water and stones.
-
Pot feet: Smash the pot into chunks and use them to prop up other containers for better drainage.
Where to buy supplies (UK links)
-
B&Q – Great for sealants, epoxy kits, and outdoor paint.
-
Wilko – Budget-friendly tools, plant care, and adhesives.
-
Robert Dyas – Stockists of Sugru and general garden gear.
-
Amazon UK – Handy for last-minute bits if you need them next day.
Your local independent garden centre might also stock smaller brands and eco-friendly options—plus, it’s a lovely excuse for a mooch and a coffee.
FAQs for how to plug holes in an outside pot
Can I use superglue to fix a pot?
You can use superglue for decorative pots or very small chips, but it’s not always waterproof or flexible. Silicone sealant or outdoor epoxy resin is a much better long-term option for outdoor pots.
What’s the best way to seal a terracotta pot?
Terracotta is porous, so sealing it with a terracotta sealant inside and out can help prevent future damage. You’ll find this at most DIY or garden centres. Don’t forget to reapply annually if the pot is outdoors all year.
Can I fix a cracked pot from the inside?
Yes! If you want to keep the outside looking tidy, apply your sealant or resin to the inside. Just make sure it’s watertight and cured fully before use. You can always line the inside with a plastic pot to hide the repair.
Should I drill new drainage holes if I’m sealing the old ones?
You can! Use a masonry drill bit (for ceramic or terracotta) and go slowly. Drill new holes higher up or on the sides if needed, but remember: always wear safety goggles and go gently.
Can I still use a cracked pot in the winter?
Cracked pots, especially terracotta ones, don’t love frost. Water can get in the cracks, freeze, and make things worse. Seal it up and consider moving pots to a sheltered spot during frosty months—or wrap them in bubble wrap or fleece.
There’s something very British about not giving up on things too quickly—whether it’s a teabag or a battered old flowerpot. With a little patience and a bit of DIY magic, you can how to plug holes in an outside pot and give your pot a new lease of life!
Have a pot-repair success story or your own tip? Share it in the comments—or tag us on Instagram with your garden glow-ups!
Check out my post about how to make DIY Concrete Planters here!
See some more of my gardening posts here

Becky is the voice behind Life in Velvet, an organised, intentional living blog focused on practical food, calm homes, thoughtful projects, and everyday systems that make real life feel easier. A mum of 3 living in the UK, Becky writes from lived experience, sharing what works, what doesn’t, and the decisions that make family life run more smoothly.
With a background in marketing and content writing, and over a decade of blogging experience, she brings a thoughtful, structured approach to everything from baking and home projects to routines and decision-making. Life in Velvet is where planning meets creativity, with ideas designed for real homes and real life.