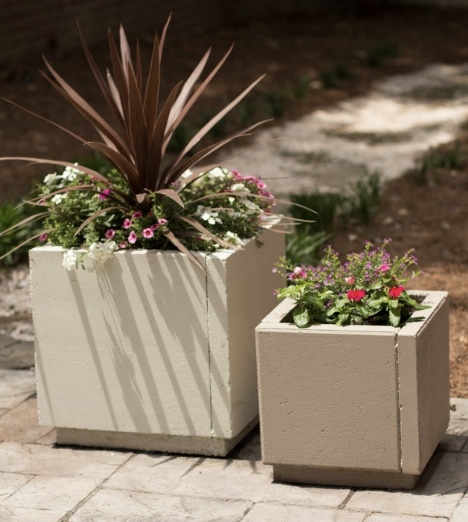
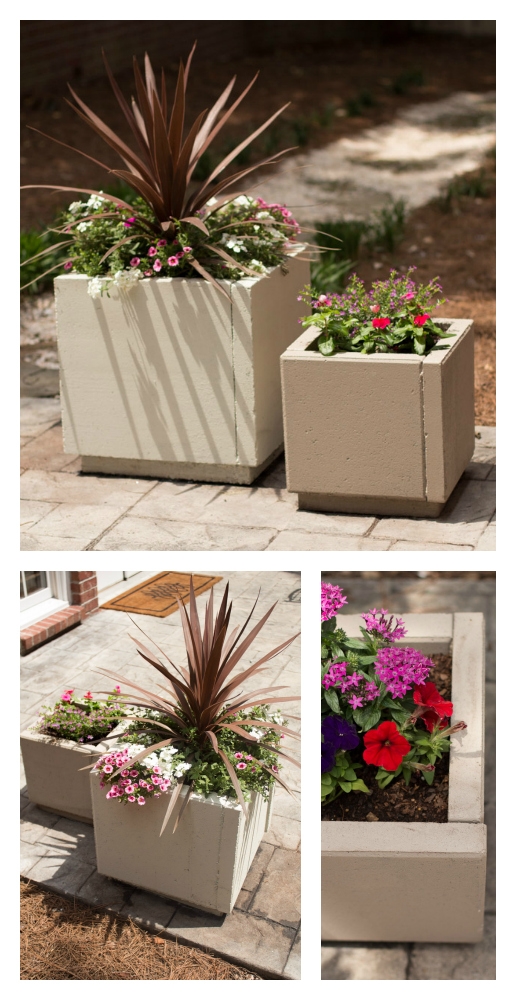
The original idea for this project came from the very talented Stephanie Lynn. You can find her excellent tutorial here. These gorgeous planters are very simple and inexpensive to make, but they have a major visual impact.
Supplies:
- Five 16X16 patio pavers {per large planter}
- Five 12X12 Patio Pavers {per small planter}
- Gorilla Glue
- Clamps {I used pipe clamps (borrowed from my dad), but you can use extra pavers or anything heavy to rest against the sides and act as clamps}
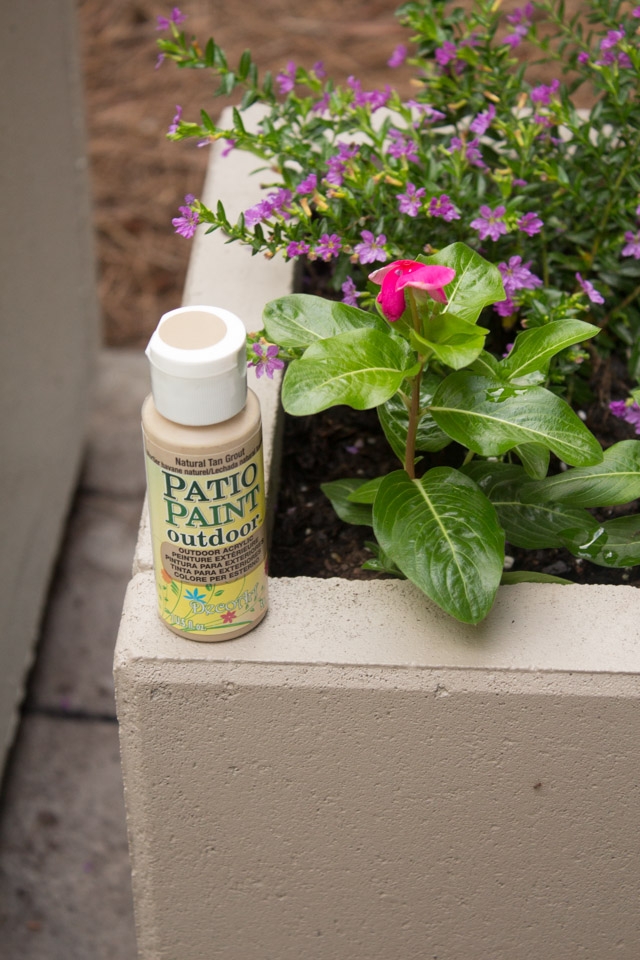
- Patio Paint {I used DecoArt Patio Paint in Natural Tan Grout for the small planters, available here and Valspar Latex Porch & Floor Paint in Shell for the large planters}
Make sure you build these close to where you want them to ultimately live. They are really heavy.
One thing to note… Although I followed the same steps as Stephanie, I used Gorilla Glue instead of construction adhesive and I clamped my pavers as the glue set. I recommend this approach if you are making the larger planters. I very sadly came home to find one side of my planter collapsed after just using the adhesive without clamps. Did I mention these are heavy?! The Gorilla glue and clamps worked great though.
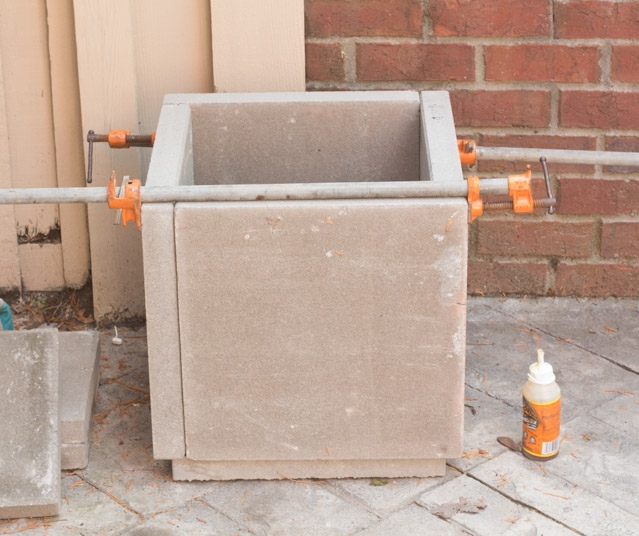
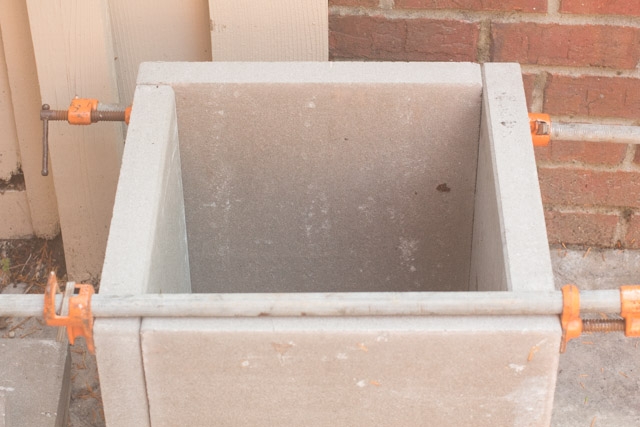
You can see that each side overlaps the next, and the fifth paver is used as the base. The only thing to be afraid of with Gorilla Glue is that it expands about 3x, so use thin lines of glue between pavers, and use small dots to adhere the sides to the base to allow for drainage.
Here are my planters pre paint and plants.
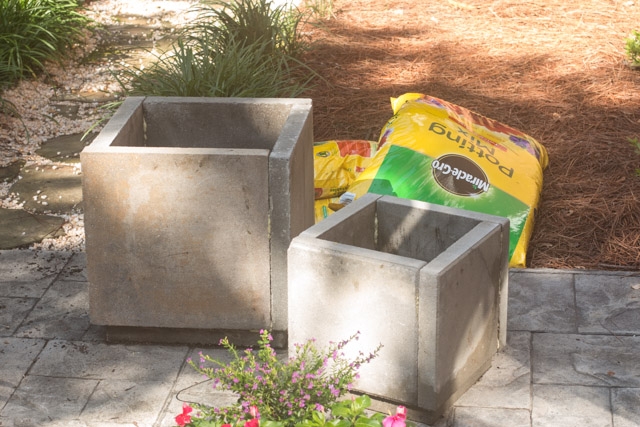
I loved the first pair so much that I ended up making six of these bad boys. We have a very small back yard, so I’m using each of these as a mini raised garden. I planted a variety of shrubs and flowers in shades of purple, pink and red to keep everything interesting and cohesive.
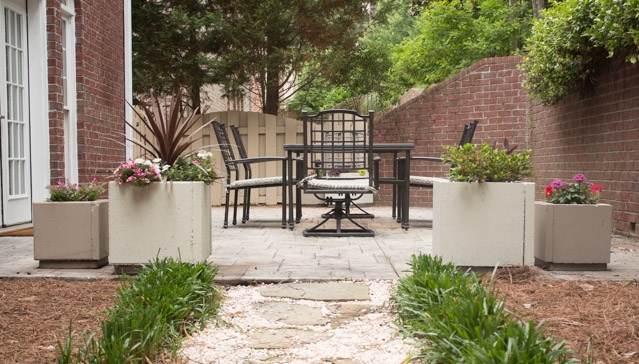
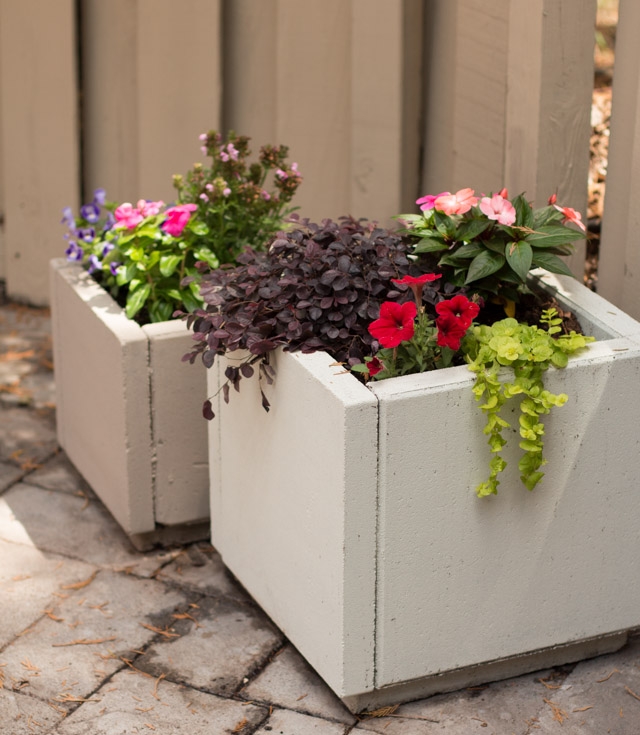
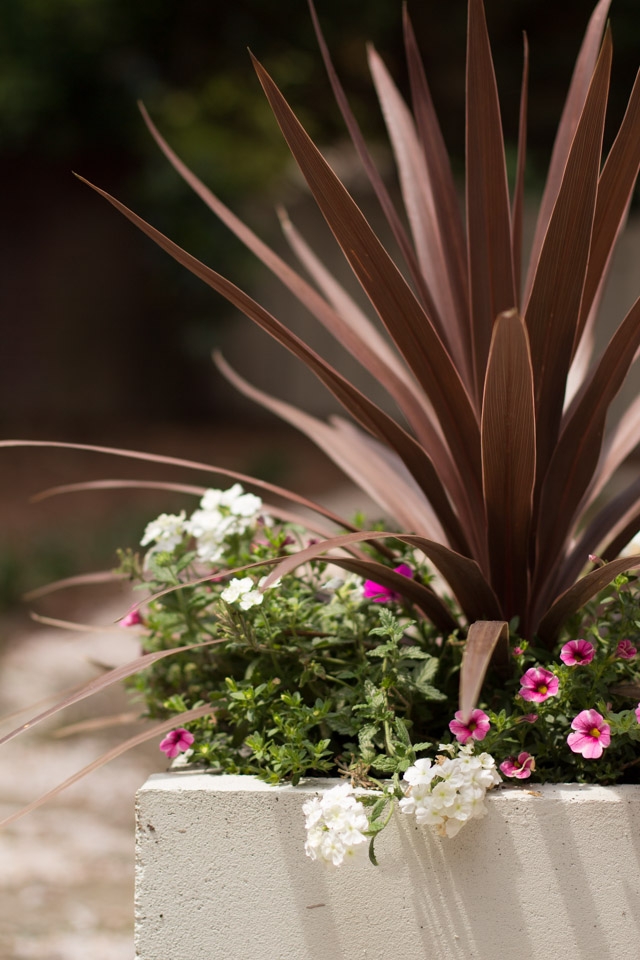
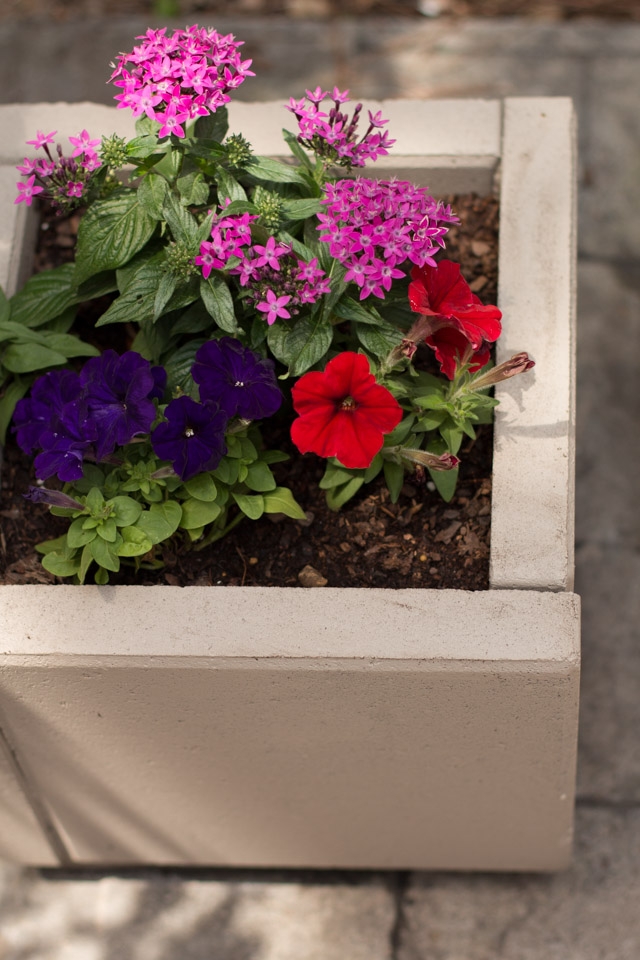
Fingers crossed that I don’t manage to kill all of my lovely flowers any time soon! Happy gardening!
FAQs for Making DIY Concrete Planters with Paving Slabs:
Q1: How do I secure the paving slabs when building a planter?
A1: Use a strong adhesive or mortar designed for outdoor use to bond the slabs together. Apply the adhesive to the edges of the slabs before stacking them. Make sure the slabs are level and stable as you go.
Q2: Can I use thin paving slabs for my planter?
A2: It’s best to use thick paving slabs to ensure your planter is sturdy and durable. Thin slabs might crack or bow under the weight of the concrete and soil over time.
Q3: Do I need to reinforce the inside of my planter?
A3: Yes, reinforcing the planter with rebar or wire mesh is highly recommended, especially for larger planters. This provides structural support and helps prevent cracking.
Q4: How can I make drainage holes for my planter made of paving slabs?
A4: Create drainage by lifting the slab base slightly or by placing a few small stones or pieces of broken tile under the slab to allow water to flow through. Alternatively, you can drill small holes in the bottom of the planter if the slabs allow for it.
Q5: Can I make a large planter using multiple paving slabs?
A5: Yes, you can use multiple paving slabs to create a larger planter. Just make sure to securely bond the slabs together with adhesive and reinforce the structure as needed. You can stack them vertically to create the desired height.
Q6: How do I add texture or design to my concrete planter?
A6: You can add texture by pressing stones, shells, or other materials into the concrete surface while it’s still wet. Alternatively, you can paint the planter or apply a decorative finish once it’s fully cured.
Q7: How long should I wait before using the planter after it’s completed?
A7: It’s important to allow the concrete to fully cure before using the planter. This can take up to 7 days, depending on the weather. During the curing process, keep the planter moist to prevent cracking.
Q8: How do I maintain a concrete planter made from paving slabs?
A8: To maintain your planter, clean it regularly and apply a concrete sealer every few years to protect it from water damage and stains. Ensure the drainage holes remain clear to avoid waterlogging.
See more DIY posts here, and more outdoor space posts here!

Becky is the voice behind Life in Velvet, an organised, intentional living blog focused on practical food, calm homes, thoughtful projects, and everyday systems that make real life feel easier. A mum of 3 living in the UK, Becky writes from lived experience, sharing what works, what doesn’t, and the decisions that make family life run more smoothly.
With a background in marketing and content writing, and over a decade of blogging experience, she brings a thoughtful, structured approach to everything from baking and home projects to routines and decision-making. Life in Velvet is where planning meets creativity, with ideas designed for real homes and real life.