If you’re lucky enough to have a cellar in your home, the chances are you’ve either thought about turning it into a usable space—or you’ve already ventured down the slightly musty stairs and wondered what on earth to do about the damp smell. Well, we’ve been there. In our old home, we had a cellar that we eventually decided to tank—and it was one of the best decisions we made.
So, what exactly is cellar tanking? Why might you need it? How much does it cost, and can you do it yourself with a weekend trip to Wickes? Let’s break it all down.
What Is Cellar Tanking?
Cellar tanking, or basement tanking is the process of waterproofing a cellar or basement to make it resistant to damp, water ingress, and in many cases, that distinctive earthy smell that seems to cling to anything stored down there.
The term “tanking” comes from the idea of creating a tank-like seal around your cellar walls and floor—essentially stopping water from getting in. This is particularly important in the UK, where older homes (we’re looking at you, Victorian terraces and Edwardian semis) often have cellars that were never intended for modern-day use.
Why We Had to Tank Our Cellar
In our previous home—a red-brick Victorian terrace in South London—we had one of those “we’ll use it for wine and Christmas decorations” sort of cellars. In reality, it became the home of mystery boxes, broken furniture and, eventually, mould.
After one particularly soggy winter, we noticed a couple of walls were permanently damp. The smell never went away, and anything stored in a cardboard box came out smelling like wet socks. We decided it was time to sort it once and for all and tank the cellar.

The Two Main Types of Cellar Tanking
1. Tanking Slurry (Cementitious Tanking)
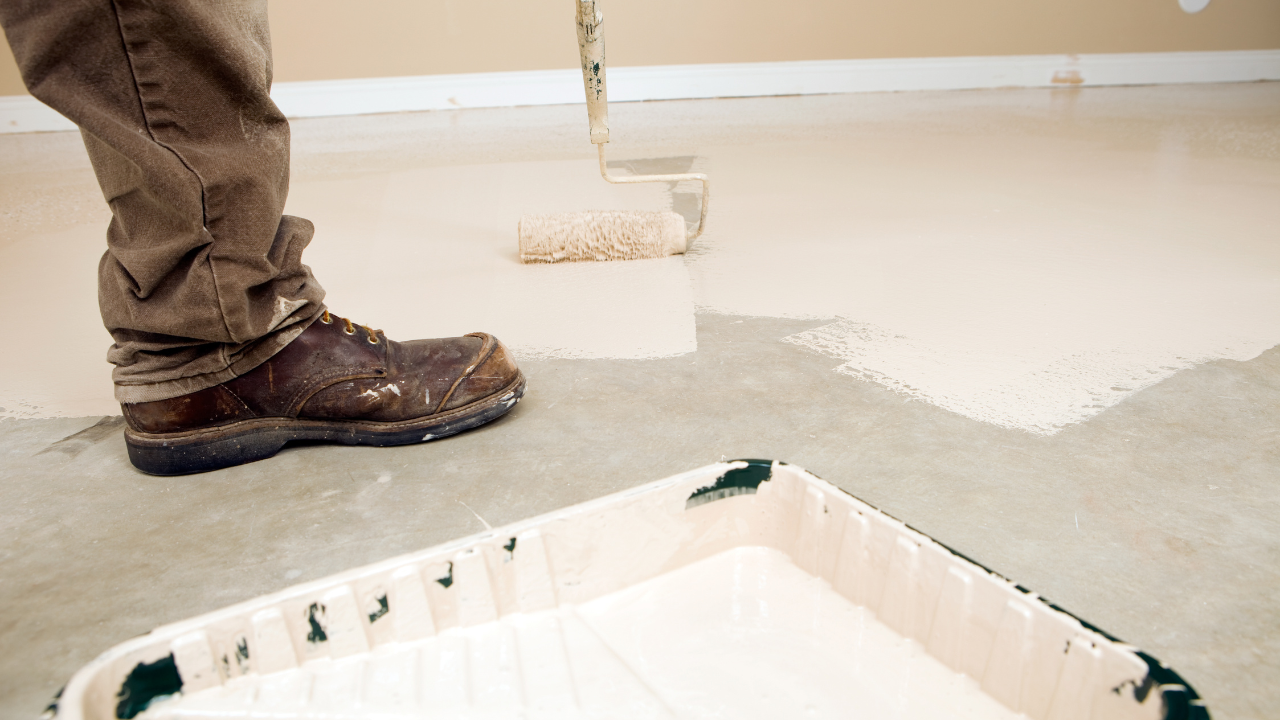
This is the classic DIY method. It involves applying a thick, waterproof slurry directly onto the inside walls and floor to form a water-resistant barrier.
Recommended products:
We used KA Tanking Slurry and found it gave a solid, gritty finish that felt reliable. It’s easy to mix, and with a couple of thick coats, our walls went from crumbly and damp to solid and sealed.
2. Cavity Drain Membrane Systems (CDM)
A more advanced approach, this method involves fixing studded plastic membranes to the walls and floors. These create an air gap behind the surface and channel any incoming water into a sump pump or drainage channel.
Recommended products:
This approach is best left to the professionals, particularly if your cellar shows signs of active leaks or significant water ingress.
What’s the Cost of Cellar Tanking in the UK?
It varies depending on the method and whether you go DIY or hire help.
Tanking Slurry:
-
DIY: Around £30–£60 per 25kg tub (covers 5–7m² with two coats)
-
Professional install: £1,500–£3,000 for an average-sized cellar (10–15m²)
Cavity Drain Membrane:
-
Materials only: £20–£30 per m²
-
Sump pump: £300–£800
-
Professional install: £5,000–£12,000+
Our total came to just under £2,200, including materials and bringing in a damp specialist to do the slurry application after we prepped the space ourselves.
Can You DIY Cellar Tanking?
You absolutely can—if you’re up for a bit of hard graft and your cellar isn’t actively leaking.
Our DIY Kit List:
You’ll need to strip the walls back to bare masonry, scrub off any loose or flaky bits, dampen the surface, and apply the slurry in two coats. Some slurries can be applied with a masonry brush, others require a trowel.
The Pay-Off: A Usable, Dry Space
After tanking, our cellar was transformed. No more damp smells, no more ruined cardboard boxes. We added shelves, a dehumidifier (just in case), and even a little utility area with our washing machine and freezer.
If you’re in London or another space-starved area, a dry cellar adds serious functional value—whether it’s storage, a wine nook, or a full-on home office.
Tips from Our Experience
Here’s what we wish we’d known before we started:
-
Ventilation is vital. Add an air brick or extractor fan. We installed a Manrose Extractor Fan from Screwfix, and it’s been great.
-
Prep properly. The slurry won’t bond to flaky paint or dust. Clean surfaces with a wire brush or drill attachment, then apply masonry cleaner.
-
It’s dusty work. Full PPE, goggles, gloves, and a mask are non-negotiables.
-
Watch for floor moisture. Tanking walls might redirect water into the floor. Consider floor sealing if this happens.

Where to Buy Cellar Tanking Products
Here’s a UK-based shortlist of stores that stock tanking and waterproofing products:
Wickes
-
Great for KA Tanking Slurry, cement, sand, and basic tools
Screwfix
-
Stocks Everbuild Aquaseal, extractor fans, PPE, and SDS drills
B&Q
-
Carries waterproofing membranes, masonry paints, and prep tools
Toolstation
-
Good for membrane kits, sump pumps, and value tools
Permagard
-
Specialist in cellar tanking and professional-grade damp proofing
How Much Does Cellar Tanking Cost in the UK?
The cellar tanking cost can vary quite a bit depending on the size of your space, the condition of the walls, the method you choose, and whether you go down the DIY route or bring in the professionals.
Here’s a breakdown to help you budget:
DIY Tanking Slurry Costs
If you’re happy to roll up your sleeves and do the job yourself, using tanking slurry is the most cost-effective option.
-
Tanking slurry: £30–£60 per 25kg tub
(Coverage: approx. 5–7m² for two coats, depending on surface absorption) -
Other materials: Brushes, scrapers, masonry cleaner, sealant
(Budget around £100–£150 for extras if you’re starting from scratch) -
Total DIY cost: £300–£800 for a small-to-medium cellar (10–15m²)
Professional Tanking Costs
If you’d prefer to have the work done professionally with basement tanking companies, expect to pay more, but you’ll benefit from guaranteed workmanship and peace of mind.
-
Cementitious tanking by a professional: £1,500–£3,000 for an average cellar
-
Cavity drain membrane system: £5,000–£12,000+
(This includes the membrane, drainage system, sump pump, and installation)
The cavity drain method tends to be more expensive because it’s more complex—it doesn’t block water, but manages it using drainage and pumping systems.
FAQs About Cellar Tanking
Q: Is tanking the same as damp proofing?
A: Not exactly. Damp proofing usually means treating rising damp in walls, while tanking is about fully sealing below-ground spaces from water ingress.
Q: How long does tanking last?
A: Professionally done tanking can last decades. DIY slurry should hold up 10–20 years if applied properly and maintained.
Q: Can I paint over tanked walls?
A: Yes, but only with breathable paints. Look for limewash or Leyland Trade Anti-Damp Paint – Screwfix.
Q: Will tanking fix mould issues?
A: It will prevent further damp and reduce mould, but existing mould must be removed first using a mould cleaner like Ronseal 3-in-1 – B&Q.
Q: Can I turn my tanked cellar into a living space?
A: Possibly—but you’ll need to meet Building Regulations for ventilation, fire safety, and insulation. Tanking alone isn’t enough for full conversion.
Tanking our cellar wasn’t glamorous—but it was incredibly satisfying. We reclaimed a musty, unusable room and turned it into something clean, functional, and dry.
Whether you’re eyeing up your own cellar for a home gym, extra storage, or a proper utility space, getting the tanking right is step one. You don’t need to spend a fortune—but you do need to do it properly. I love Kezzabeth’s blog that has a whole section with posts about renovating a cellar – well worth a read.
So, if you’re heading to Wickes or Screwfix this weekend, maybe pop a tub of tanking slurry in your trolley. Your future self will thank you (and so will your cardboard boxes)!
See more of my DIY posts here

Becky is the voice behind Life in Velvet, an organised, intentional living blog focused on practical food, calm homes, thoughtful projects, and everyday systems that make real life feel easier. A mum of 3 living in the UK, Becky writes from lived experience, sharing what works, what doesn’t, and the decisions that make family life run more smoothly.
With a background in marketing and content writing, and over a decade of blogging experience, she brings a thoughtful, structured approach to everything from baking and home projects to routines and decision-making. Life in Velvet is where planning meets creativity, with ideas designed for real homes and real life.