
Key Takeaways
- Store pattern pieces in clear zip-lock bags or large envelopes to prevent creasing and loss
- Sort patterns by garment type first, then by brand or frequency of use depending on your collection size
- Keep a simple catalogue (spreadsheet or notebook) to avoid buying duplicates
- Trace patterns onto Swedish tracing paper if you plan to make multiple sizes or versions
- Review and declutter your pattern collection every 6 to 12 months to keep it manageable
At a Glance
Best for: Anyone with more than 10 sewing patterns who’s tired of searching through piles
Not ideal for: People who only sew occasionally or own fewer than 5 patterns
Time needed: 2 to 4 hours for initial setup, 15 minutes monthly maintenance
Cost range: Free to £30 depending on storage supplies you already own
Difficulty level: Easy but requires commitment to maintain
What you need: Storage containers, labels, zip-lock bags or envelopes, marker pen
Biggest mistake to avoid: Folding pattern pieces back into original envelopes after cutting
Quick tip: Take photos of pattern envelope fronts for a visual reference catalogue
My honest take: No system works if you don’t put patterns back where they belong after each project
Introduction
If you’ve ever spent 20 minutes searching for the right pattern piece only to find it crumpled at the bottom of a bag, you’ll know why organising sewing patterns properly matters. It’s not just about tidiness. It’s about actually being able to use what you own without the frustration of hunting through piles of tissue paper!
Most advice on pattern organisation falls into two camps: elaborate systems you’ll never maintain, or vague suggestions that don’t address the real problems. This guide is different. It’s based on what actually works when you have limited space, a growing pattern collection, and a life outside your sewing room.
This post is for you if you own more than a handful of patterns and want a system that keeps them accessible, protected, and easy to find.
What makes this guide more useful than others? It focuses on practical solutions that work in real homes, addresses the specific problem of keeping pattern pieces safe after cutting, and includes honest advice about what’s worth the effort and what isn’t.

Why Pattern Organisation Matters to Keen Sewers
Sewing patterns are an investment. Even basic commercial patterns cost between £8 and £15, and independent designer patterns can run £12 to £20 or more. If you can’t find a pattern when you want it, or the pieces are damaged from poor storage, you’ve wasted that money.
There’s also the mental load. Rifling through unorganised patterns trying to find the one you want kills creative momentum. You sit down excited to start a new project, then spend half an hour searching and end up frustrated before you’ve even begun.
Proper organisation solves three specific problems. First, you can actually see what you own, which prevents buying duplicates. Second, pattern pieces stay intact and usable for years. Third, you spend less time searching and more time sewing.
The key is finding a system simple enough that you’ll actually maintain it!
Understanding the Real Problem With Pattern Storage
The biggest challenge isn’t storing unopened pattern envelopes. Those are easy. The problem starts after you’ve cut a pattern for the first time.
Pattern tissue is thin and tears easily. Once cut, pieces don’t fold neatly back into their original envelopes. If you’ve made adjustments or traced off different sizes, you might have multiple versions of the same pattern. And if you’re anything like most sewers, you’ve probably got a mix of commercial patterns, independent PDF patterns, traced patterns, and self-drafted pieces all competing for space.
Most pattern organisation advice ignores this reality. It shows you lovely photos of pristine envelopes filed neatly in boxes, but doesn’t address what happens after you’ve actually used a pattern. That’s the gap this guide fills.
Sorting Your Patterns: Three Strategies That Work
By Garment Type
This is the most intuitive system for most people. You create categories like: dresses, tops, trousers, skirts, outerwear, children’s clothes, accessories.
It works well if you typically browse your collection thinking “I want to make a dress” rather than “I want to use that Vogue pattern.” The downside is that you might have dozens of dress patterns all mixed together, making it harder to find a specific one.
Best for: larger collections (50+ patterns) where brand matters less than function.
By Brand or Designer
If you’re loyal to certain pattern companies or independent designers, organising by brand makes sense. Vogue patterns together, Tilly and the Buttons together, Sew Over It together, and so on.
This works particularly well if you know pattern brands fit you differently or if you tend to buy in batches from the same designer. The difficulty comes when you want a specific type of garment but can’t remember which brand it’s from.
Best for: collections under 50 patterns or people who strongly prefer certain designers.
By Frequency of Use
Keep your tried-and-tested favourites in one accessible location and everything else filed away separately. This is brilliant if you’re a TNT (tried and true) sewer who makes the same reliable patterns repeatedly.
The challenge is that this system requires regular reassessment. What was a favourite two years ago might not be now, and new patterns need to earn their place in the priority section.
Best for: people with established sewing wardrobes who know what patterns they actually use.
Common Mistakes and What to Do Instead
Mistake: Stuffing cut pattern pieces back into the original envelope
Better approach: Use large zip-lock bags or A4 clear plastic wallets that don’t damage the tissue
Mistake: Keeping every pattern you’ve ever bought
Better approach: Be honest about what you’ll actually make and declutter patterns that don’t suit your style or skill level anymore
Mistake: Not labelling storage clearly
Better approach: Use specific labels like “Dresses – Fitted” not just “Patterns”
Mistake: Storing patterns in damp locations
Better approach: Keep them somewhere dry as moisture makes tissue paper deteriorate and stick together
Storing Pattern Pieces: Practical Solutions
The Envelope Method (For Uncut Patterns)
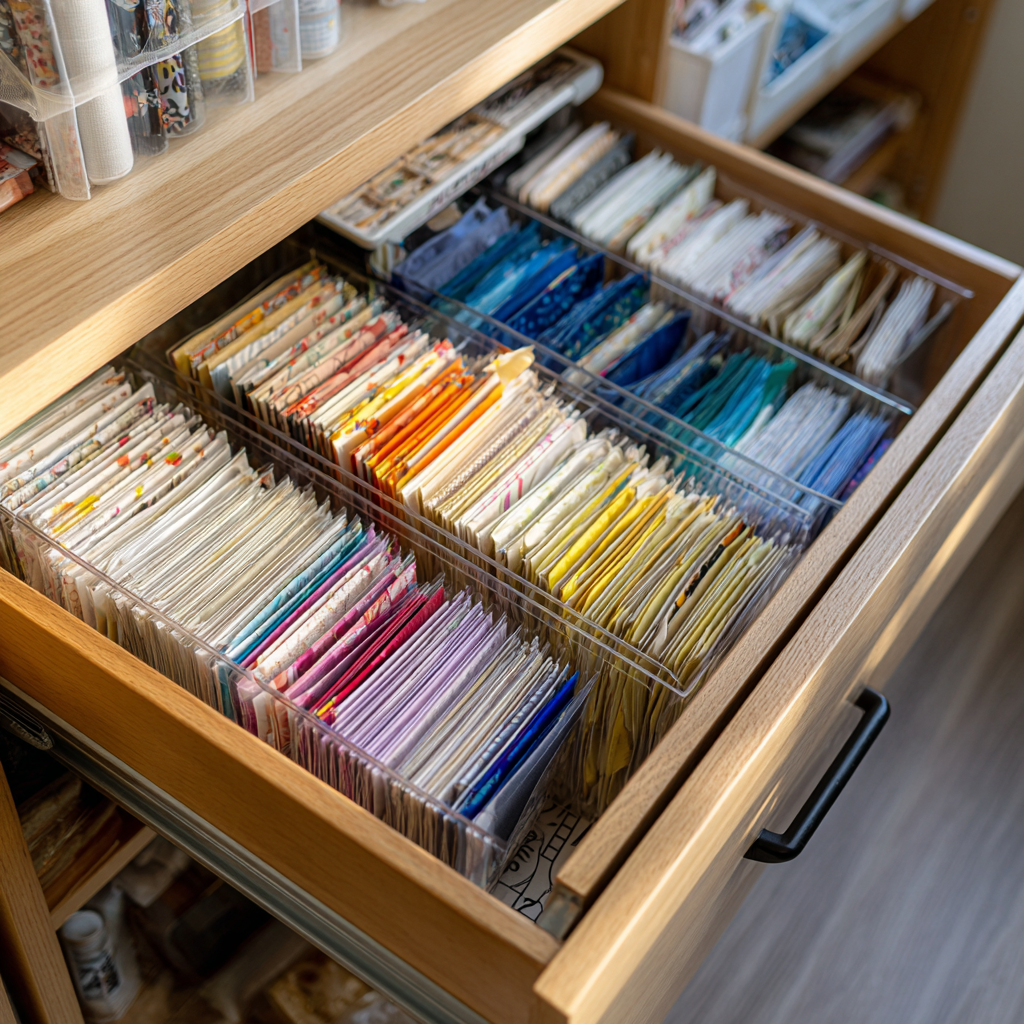
If you haven’t cut a pattern yet, the original envelope works fine. Store envelopes upright in magazine files, drawer dividers, or shallow boxes. This keeps them visible and prevents crushing.
Label the spine of magazine files clearly so you can see categories at a glance.
The Zip-Lock Bag Method (For Cut Patterns)
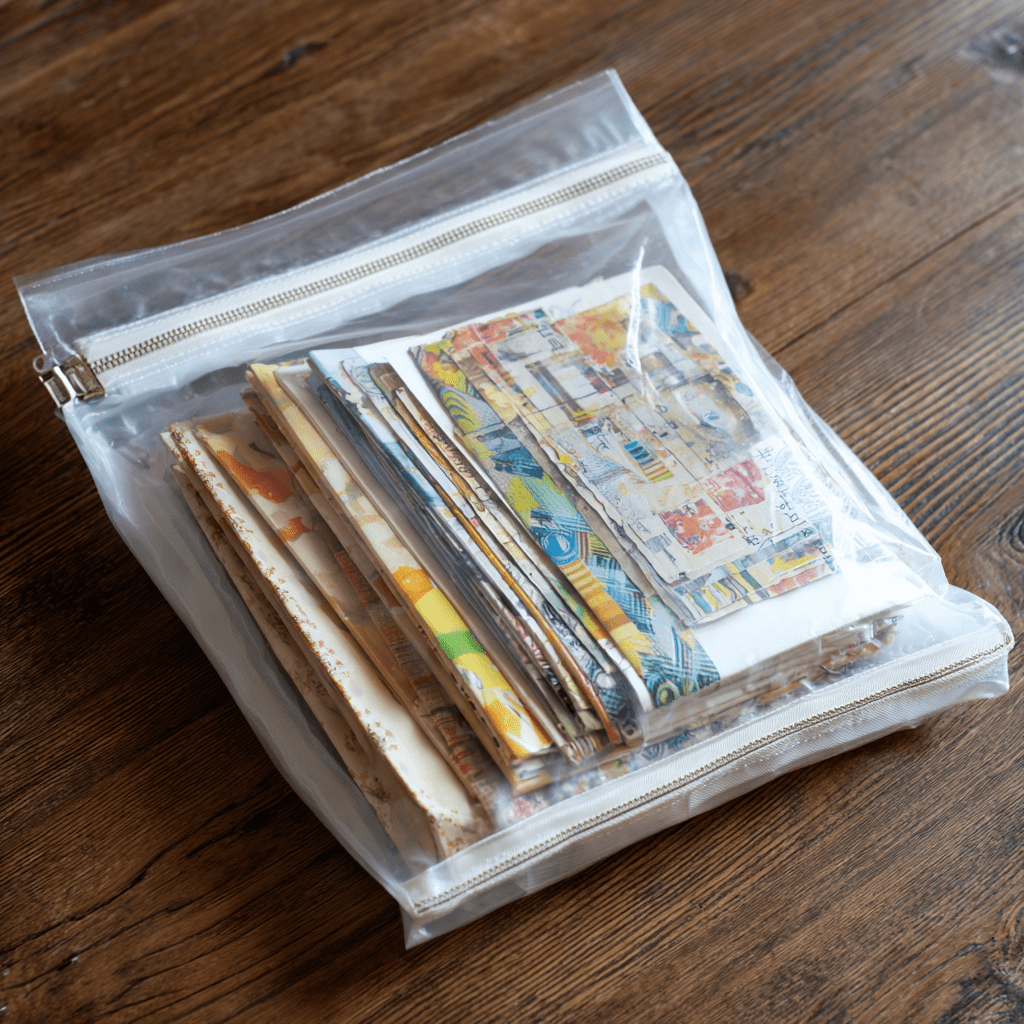
This is genuinely the most practical solution I’ve found for cut patterns. Use gallon-sized freezer bags (the stronger ones) or large zip-lock storage bags.
Put all the pieces for one pattern in one bag. Fold the original envelope and tuck it in too so you have the instructions. Write the pattern name and number on the bag with a permanent marker.
The bags protect the tissue, you can see what’s inside, and they stack neatly in drawers or boxes. Yes, it takes up more space than cramming things into envelopes, but the time saved and frustration avoided is worth it.
The Folder Method
Some people prefer large plastic folders or A4 wallets. These work well for independent patterns or self-drafted pieces. You can hole-punch the envelope front and file it with the pattern pieces, keeping everything together.
The downside is that folders take up significant shelf space and aren’t as protective as sealed bags.
Digital Pattern Organisation
If you buy PDF patterns, create a sensible file structure on your computer. Don’t just dump everything in Downloads.
Try something like: Sewing Patterns > Designer Name > Pattern Name. Keep the original PDF, the print-ready version, and any notes or modifications in the same folder.
Back up your digital patterns. Losing a hard drive means losing patterns you’ve paid for. Use cloud storage or an external drive.
Creating a Pattern Catalogue
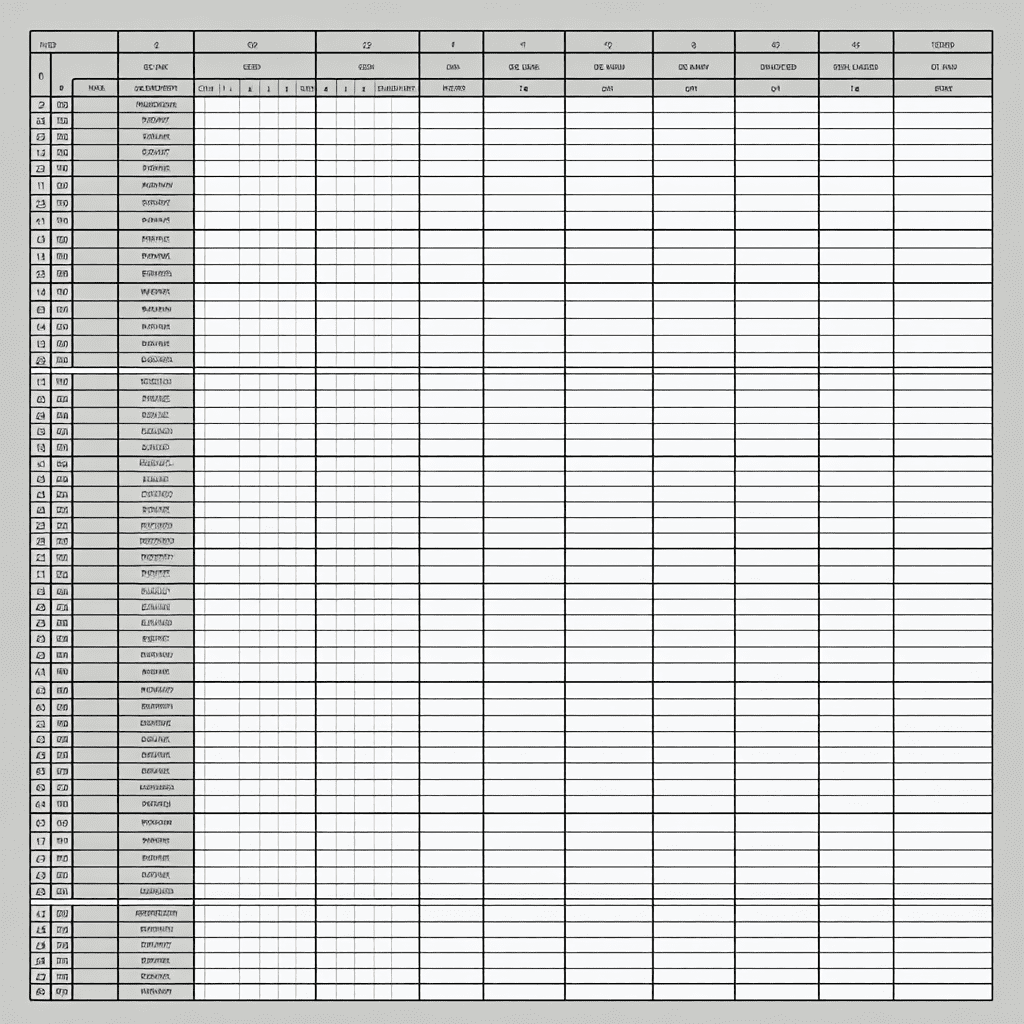
Keeping track of what you own prevents duplicate purchases and helps you remember what’s buried at the back of your storage.
A simple spreadsheet works brilliantly. Include columns for:
- Pattern brand and number
- Garment type
- Sizes included
- Fabric requirements
- Whether you’ve made it
- Notes on fit or modifications
You don’t need fancy software. Google Sheets or Excel is fine. Update it when you buy new patterns and when you make something.
Alternatively, take photos of all your pattern envelope fronts and save them in a photo album on your phone. This gives you a visual reference you can scroll through while fabric shopping.
Dealing With Pattern Pieces: To Trace or Not to Trace
This is a genuine dilemma for anyone who sews multiple sizes or wants to preserve patterns long-term.
Tracing Patterns
Pros: Original pattern stays intact, you can cut different sizes without commitment, traced copies are often easier to work with than fragile tissue
Cons: Takes time upfront, requires space to trace, you need materials like Swedish tracing paper or medical exam paper
If you plan to make a pattern multiple times or if you’re between sizes, tracing is worth it. Swedish tracing paper (Vlieseline or similar brands) is expensive but lasts for years and is much easier to work with than tissue.
Not Tracing
Pros: Faster, you can start sewing immediately
Cons: Once cut, the pattern is committed to that size, tissue deteriorates faster with use
If you’re confident about your size and don’t plan to make the same pattern repeatedly, cutting the tissue directly is fine. Just store it properly afterwards.
Storage Furniture and Containers That Actually Work
Drawer Units
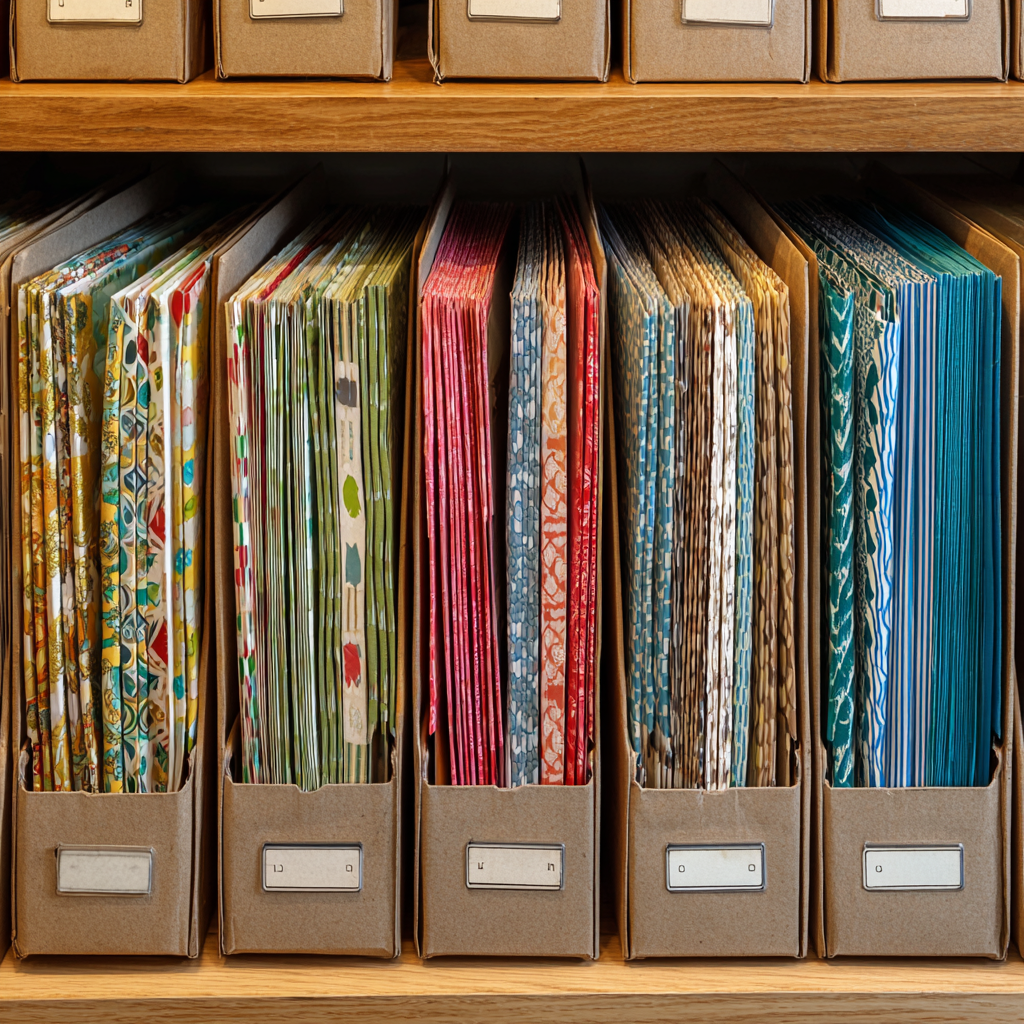
Shallow drawer units designed for craft supplies or office use are ideal. You can file patterns flat or upright, and drawers keep everything dust-free.
IKEA Alex drawer units are popular but expensive. Cheaper alternatives work just as well.
Magazine Files and Box Files
Cardboard or plastic magazine files let you store pattern envelopes upright. Label the spine clearly. They stack easily on shelves and are inexpensive.
Box files work for larger or cut patterns in bags. Choose ones with lids if you’re stacking them high to prevent dust.
Clear Storage Boxes
Transparent plastic storage boxes mean you can see contents without opening them. Particularly useful for seasonal patterns or ones you use less frequently.
Don’t stack them too high or the ones at the bottom become inaccessible. Three boxes high is the practical maximum.
Hanging Files
Some people use hanging file folders in filing cabinets. This works but takes up considerable space and isn’t suitable for patterns in bags. Better for envelope-only storage.
Maintaining Your System
Here’s the truth: no organisational system works if you don’t maintain it. Put patterns back after every project. It takes two minutes and saves hours of searching later.
Every few months, have a quick review. Are patterns still in the right categories? Have you acquired new ones that need adding to your catalogue? Are there patterns you’ll honestly never make that could be sold or donated?
I find it helpful to do this seasonally. When I’m putting away winter sewing, I reassess what I’ve actually used and what’s just taking up space.
What to Do With Patterns You Don’t Want Anymore
Don’t let guilt keep you holding onto patterns you’ll never use. If something doesn’t suit your style, skill level, or body shape, it’s just clutter.
Sell patterns in good condition on eBay, Vinted, or in sewing Facebook groups. Even used patterns sell reasonably well.
Donate to charity shops, community sewing groups, or local colleges and schools that teach textiles.
Recycle damaged or very outdated patterns. Some tissue paper can go in paper recycling, though you’ll need to check local guidelines.
Quick Decision Guide for Choosing Your System
If you own fewer than 20 patterns: Keep it simple. Envelopes in magazine files sorted by garment type.
If you own 20 to 50 patterns: Add zip-lock bags for cut patterns. Create a basic spreadsheet catalogue. Sort by garment type or brand, whichever makes more sense for how you shop and sew.
If you own 50 to 100+ patterns: Invest in drawer units or dedicated storage. Use both garment type and brand categories. Keep frequently used patterns separately. Maintain a detailed catalogue with photos.
If you sew mostly PDF patterns: Organise computer files meticulously. Print only what you’re making soon. Store printed PDF patterns the same way as commercial patterns.
Frequently Asked Questions
How long do sewing patterns last if stored properly?
Commercial patterns can last decades if kept dry, flat, and away from direct sunlight. Tissue paper becomes more fragile over time but remains usable. Traced patterns on Swedish tracing paper or similar materials last even longer and handle repeated use better than tissue.
Should I keep pattern instructions or can I throw them away?
Keep them. Even if you’ve made a pattern before, you might forget construction details or want to reference the original yardage requirements. If space is tight, photograph the instruction sheets and store digitally, but I find having the paper version whilst sewing is still more convenient.
What’s the best way to store large patterns like coats or curtains?
Extra-large zip-lock bags exist for precisely this purpose, or use large clear plastic storage bags from hardware stores. Alternatively, roll large patterns loosely rather than folding them, then secure with a rubber band and label clearly. Store rolled patterns in a large box or drawer to prevent them getting crushed.
Can I store patterns in the loft or garage?
Not ideal. Lofts get too hot in summer which can make tissue paper brittle, and garages are often damp which causes mould and deterioration. If these are your only options, use sealed plastic boxes and check patterns regularly for damage. A cupboard or drawer inside your home is much better.
How do I organise patterns I’ve drafted myself?
Treat them the same as commercial patterns. Trace onto proper pattern paper or Swedish tracing paper rather than newspaper or cheap paper which deteriorates quickly. Label clearly with garment type, date drafted, and any size or fit information. Store in zip-lock bags with photos or sketches of the finished design attached.
Is it worth investing in pattern storage furniture?
If you sew regularly and own more than 30 patterns, yes. Proper storage protects your investment and makes sewing more enjoyable because you’re not constantly frustrated by disorganisation. Start with affordable options like magazine files or basic drawer units and upgrade if your collection grows.
Recommended Products for Pattern Storage
Clear zip-lock storage bags (available from Lakeland or Amazon) are genuinely useful for cut patterns. Look for ones marked as freezer bags or heavy-duty as they’re less likely to split.
Swedish tracing paper is worth buying if you plan to trace patterns regularly. Brands like Prym or Vlieseline are available from most haberdashery suppliers.
Magazine files from IKEA, WHSmith, or similar are cheap and stackable. Go for plastic rather than cardboard if you want them to last.
Label makers make life easier but aren’t essential. A good permanent marker does the job just as well.
Final Thoughts
Organising sewing patterns isn’t complicated, but it does require making decisions about what works for your space and sewing habits. The system that works for someone with unlimited craft room storage won’t necessarily work for someone sewing in a corner of the bedroom.
Start simple. Sort what you have, get cut patterns into protective bags, and create some kind of basic catalogue. You can always refine your system later as your collection grows or your needs change.
The goal isn’t Instagram-perfect storage. It’s being able to find what you need quickly so you spend more time sewing and less time searching!
See more posts about Intentional Projects, Crafts and Home Organisation!

Becky is the voice behind Life in Velvet, an organised, intentional living blog focused on practical food, calm homes, thoughtful projects, and everyday systems that make real life feel easier. A mum of 3 living in the UK, Becky writes from lived experience, sharing what works, what doesn’t, and the decisions that make family life run more smoothly.
With a background in marketing and content writing, and over a decade of blogging experience, she brings a thoughtful, structured approach to everything from baking and home projects to routines and decision-making. Life in Velvet is where planning meets creativity, with ideas designed for real homes and real life.