
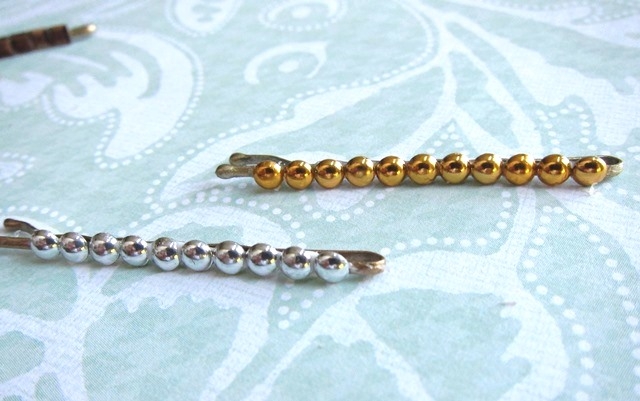
I have been in a hair rut and looking for some ideas to switch things up. I had a bunch of plain bobby pins laying around, so I decided to add some pretty DIY Embellished Bobby Pins similar to Emily’s project on Cupcakes and Cashmere.
I had these little rhinestones and beads left over from a couple of attempts at making jewellery (epic fail.)
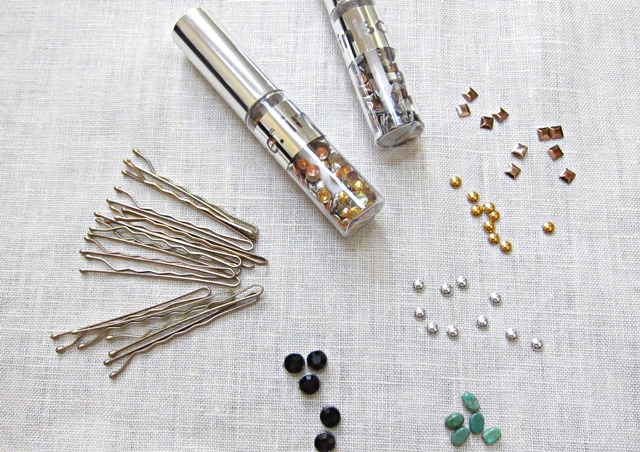
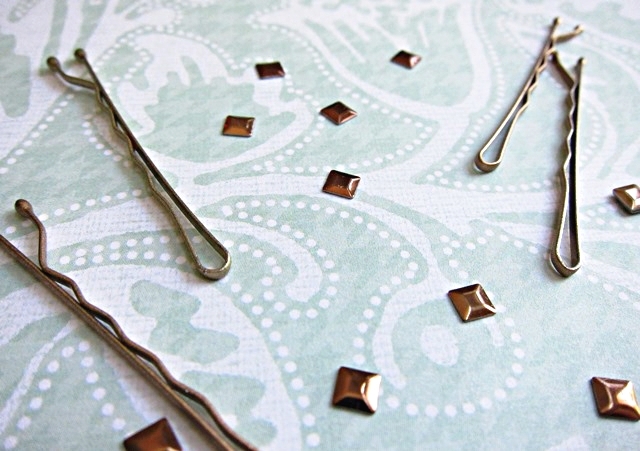
This is a great project because it’s fun and only requires you to buy one or two things from Michaels. The only thing I didn’t have is Tacky Glue. The Fast Grab type worked great for this project. It dries very quickly and holds well.
I applied a thin line of glue onto the flat side of each bobby pin. I then placed the rhinestones and beads in a row. I used tweezers to place some of the smaller ones, which made the process really easy and fast.
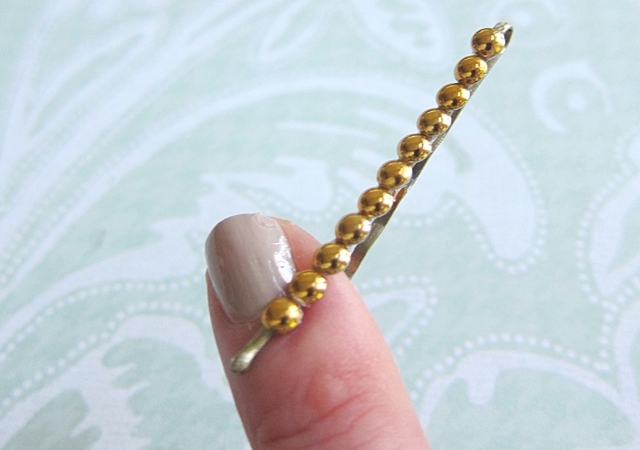
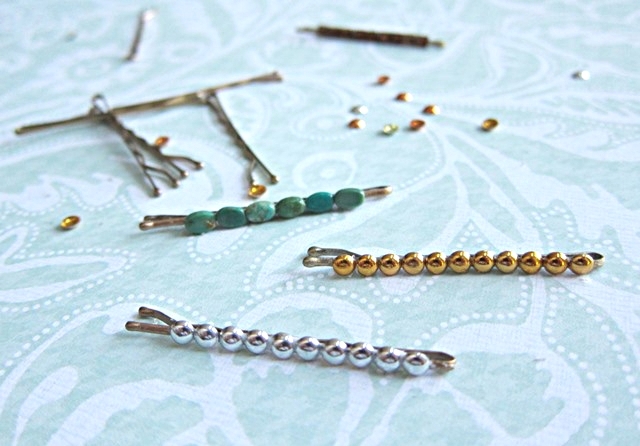
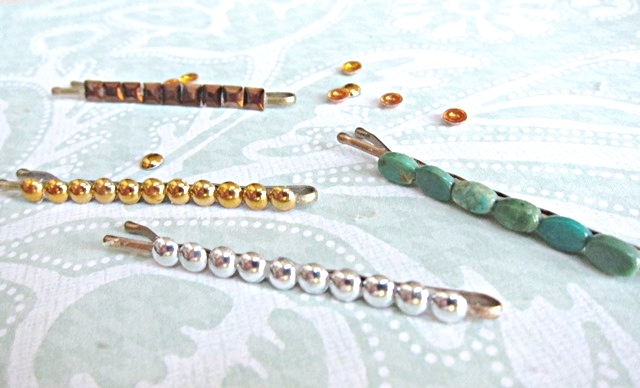
I’m excited to try out my new look with these DIY Embellished Bobby Pins this week!
DIY Embellished Bobby Pins – Frequently Asked Questions
What materials can I use to embellish bobby pins?
Popular materials include:
-
Rhinestones and beads
-
Buttons and fabric flowers
-
Mini faux pearls
-
Charms or small trinkets
-
Felt shapes, ribbons, or sequins
Just make sure they’re lightweight and small enough to sit comfortably on the pin.
What kind of glue works best for attaching embellishments?
Use a strong, quick-drying adhesive like:
-
E6000 (industrial strength, great for metals and plastics)
-
Hot glue (good for fabric and felt, but may peel off metal over time)
-
Superglue (bonds well but dries fast—work quickly)
Should I use plain bobby pins or decorative ones as a base?
Plain, flat bobby pins are best for DIY projects because:
-
They provide a smooth surface for gluing.
-
You can fully customize them.
Decorative ones are fine if you’re just adding small extras.
How do I keep embellishments from falling off over time?
-
Clean the metal pin before gluing (rubbing alcohol helps remove oils).
-
Use a strong adhesive and let it fully cure (typically 24–72 hours for maximum hold).
-
Avoid soaking the pins in water or excessive heat.
Can I paint bobby pins too?
Yes! Use:
-
Nail polish (easy, quick, many colours)
-
Acrylic paint (seal with clear varnish or top coat)
-
Spray paint (use in a well-ventilated area)
Let them dry completely before adding embellishments.
Are DIY embellished bobby pins safe for kids to make?
Yes, with supervision! For younger children:
-
Use craft glue (non-toxic) instead of superglue.
-
Provide soft embellishments like felt, pom-poms, or foam stickers.
-
Skip small items that could be a choking hazard.
How do I stop the embellishments from snagging my hair?
-
Avoid gluing items near the open end of the pin.
-
Stick to smooth, rounded embellishments.
-
Position decorations on the outer side only.
Can I sell DIY embellished bobby pins?
Yes! They’re popular at craft fairs, on Etsy, and as gifts. Just make sure:
-
The pins are sturdy and safe to use.
-
You use high-quality adhesive.
-
You consider packaging for presentation and protection.
See some more of my craft posts here

Becky is the voice behind Life in Velvet, an organised, intentional living blog focused on practical food, calm homes, thoughtful projects, and everyday systems that make real life feel easier. A mum of 3 living in the UK, Becky writes from lived experience, sharing what works, what doesn’t, and the decisions that make family life run more smoothly.
With a background in marketing and content writing, and over a decade of blogging experience, she brings a thoughtful, structured approach to everything from baking and home projects to routines and decision-making. Life in Velvet is where planning meets creativity, with ideas designed for real homes and real life.