
Key Takeaways
- Quick & Easy: This air fryer bread pudding is ready in just 20 minutes from start to finish – perfect for busy weeknights or when unexpected guests pop round!
- Budget-Friendly: Transform stale bread into a restaurant-quality dessert that costs pennies to make. No waste, all taste!
- Customisable: Whether you love chocolate chips, raisins, or a boozy bourbon sauce, this recipe adapts to whatever you fancy (or have in your cupboards).
- Perfect Texture: The air fryer creates a gorgeous golden, slightly crispy top while keeping the inside wonderfully soft, custardy, and comforting.
- Family-Friendly: Easy enough for kids to help make, and delicious enough that even my pickiest eater asks for seconds!
Introduction: Why I’m Obsessed with Air Fryer Bread Pudding
let me tell you about my latest kitchen obsession. You know when you’re staring at a bag of stale bread thinking “I really should make something with this before it goes properly dodgy?” Well, that was me last Tuesday. The kids had gone through their sandwich phase and moved onto wraps (as they do), leaving me with half a loaf of slightly sad-looking white bread.
Enter: air fryer bread pudding. Game. Changer.
I’ll be honest with you – I grew up in Boston where “bread pudding” usually meant that dense, super-sweet dessert you’d get at restaurants. When I moved to the UK, I discovered bread and butter pudding, which is a bit different but equally lovely. This recipe is sort of a gorgeous hybrid of both, with the ease of air frying thrown in for good measure.
The best bit? Start to finish, you’re looking at about 20 minutes. Twenty minutes! That’s less time than it takes me to get all four kids to agree on a film to watch. And honestly, the air fryer does most of the work whilst you’re sorting out the chaos that is teatime with a houseful of children and pets.
In this post, I’m going to walk you through everything you need to know about making air fryer bread pudding – from which bread works best (spoiler: even that sad, forgotten loaf in the back of the cupboard), to how to make it fancy enough for Sunday dinner or simple enough for a Wednesday night treat. I’ll also share my tried-and-tested tips for getting it perfect every time, plus loads of variations so you never get bored.

What Exactly Is Air Fryer Bread Pudding?
Before we get stuck into the recipe, let’s chat about what bread pudding actually is, because I’ve noticed there’s a bit of confusion between the American version I grew up with and the British bread and butter pudding I’ve come to love here.
The Bread Pudding Family Tree
Traditional Bread Pudding (American-style): This is what I knew growing up in Boston. It’s typically made by soaking chunks of bread in a sweet, spiced custard mixture with loads of eggs, milk, sugar, and often cinnamon or nutmeg. Sometimes there’s fruit (raisins are classic), sometimes chocolate chips, and it’s usually served with a sauce – bourbon sauce, rum sauce, or caramel. It’s rich, it’s indulgent, and it’s absolutely gorgeous.
Bread and Butter Pudding (British-style): This is what my British friends and neighbours introduced me to when we moved here. It’s made by buttering slices of bread, layering them in a dish with dried fruit (usually sultanas or raisins), then pouring over a lighter custard mixture. It’s typically a bit more refined and less dense than American bread pudding.
Air Fryer Bread Pudding (Our Version): This beauty combines the best of both worlds! We’re using the chunky bread method from American bread pudding, but keeping things a bit lighter and quicker thanks to the air fryer. You get that gorgeous golden, slightly crispy top (hello, air fryer magic!) whilst the inside stays soft, custardy, and absolutely divine.
The air fryer is brilliant for this because it cooks primarily from the top using hot circulating air, which gives you that restaurant-quality golden brown top without heating up your entire kitchen. Trust me, in the summer when it’s already boiling, the last thing you want is the oven on for an hour!
Why Make Bread Pudding in an Air Fryer?
Look, I love my oven. But I also have four kids, multiple pets, and a life that doesn’t always allow for an hour of baking time. Here’s why the air fryer version has become my go-to:
Speed
Traditional bread pudding can take 45-60 minutes in the oven. Air fryer bread pudding? 15-20 minutes max. That’s faster than ordering takeaway!
Energy Efficiency
With energy prices what they are, not having to heat up the whole oven is a massive win. The air fryer uses a fraction of the electricity, which means more money for, well, literally anything else.
No Heating Up the Kitchen
On those rare warm days we get in the UK, or in the summer when it’s actually hot, the air fryer won’t turn your kitchen into a sauna. Been there, regretted it.
Perfect Texture Every Time
The air fryer’s top-down heating creates an incredibly consistent golden crust whilst keeping the interior perfectly custardy. No soggy middles or burnt tops – just perfection.
Portion Control
Most air fryer bread puddings are made in smaller dishes or ramekins, which means perfect portions. No one’s going back for thirds and regretting it later (okay, I still do sometimes, but at least it’s a bit more controlled).
Less Washing Up
Fewer dishes to clean = more time for literally anything else. As a mum of four, this alone makes it worth it!
The Best Bread for Air Fryer Bread Pudding
This is where we get to the fun part – and where you can really use up what you’ve got. Here’s the thing: bread pudding was invented as a way to use up stale bread, so don’t stress about having the “perfect” loaf.
My Top Bread Choices:
Everyday White Bread or Sandwich Loaf (What I Usually Use) Honestly? Standard supermarket white bread works brilliantly. It’s what I usually have in, it soaks up the custard beautifully, and the kids don’t complain about “weird bread.” If it’s a day or two old and getting a bit stale, even better! Just cube it up and you’re good to go.
Brioche (For Special Occasions) This is my fancy choice when I’m feeling extra or have guests coming. Brioche is buttery and rich already, so it makes an absolutely incredible bread pudding. A bit pricier, but worth it for a special treat.
Challah (Weekend Vibes) Similar to brioche but often easier to find and slightly less sweet. It’s got that lovely soft texture that works beautifully.
French Bread or Baguette If you’ve got a leftover baguette that’s gone a bit hard (classic in our house after a weekend BBQ), this works a treat. You might need to let it soak in the custard for an extra few minutes to soften up.
Texas Toast or Thick-Sliced Bread The thick slices hold up really well and give you lovely chunky pieces of pudding. One of my favourite options when I can find it.
Burger Buns or Hot Dog Rolls Don’t laugh! After a summer of BBQs, I always have these lying about. They actually make fantastic bread pudding because they’re already a bit sweet and soft.
Breads to Avoid:
Very Seedy or Grainy Bread: The texture doesn’t work as well, and it can taste a bit odd in a sweet pudding.
Super Crusty Sourdough: It doesn’t have enough time to soften properly in the air fryer, and you’ll end up with hard bits. (Save that gorgeous sourdough for proper toast!)
Pro Tip from a Mum of Four:
I often buy an extra loaf when it’s on special offer and let it go stale on purpose. Stick it in a bag on the counter for 2-3 days, and you’ve got perfect bread pudding bread. Planned staleness – it’s a thing!
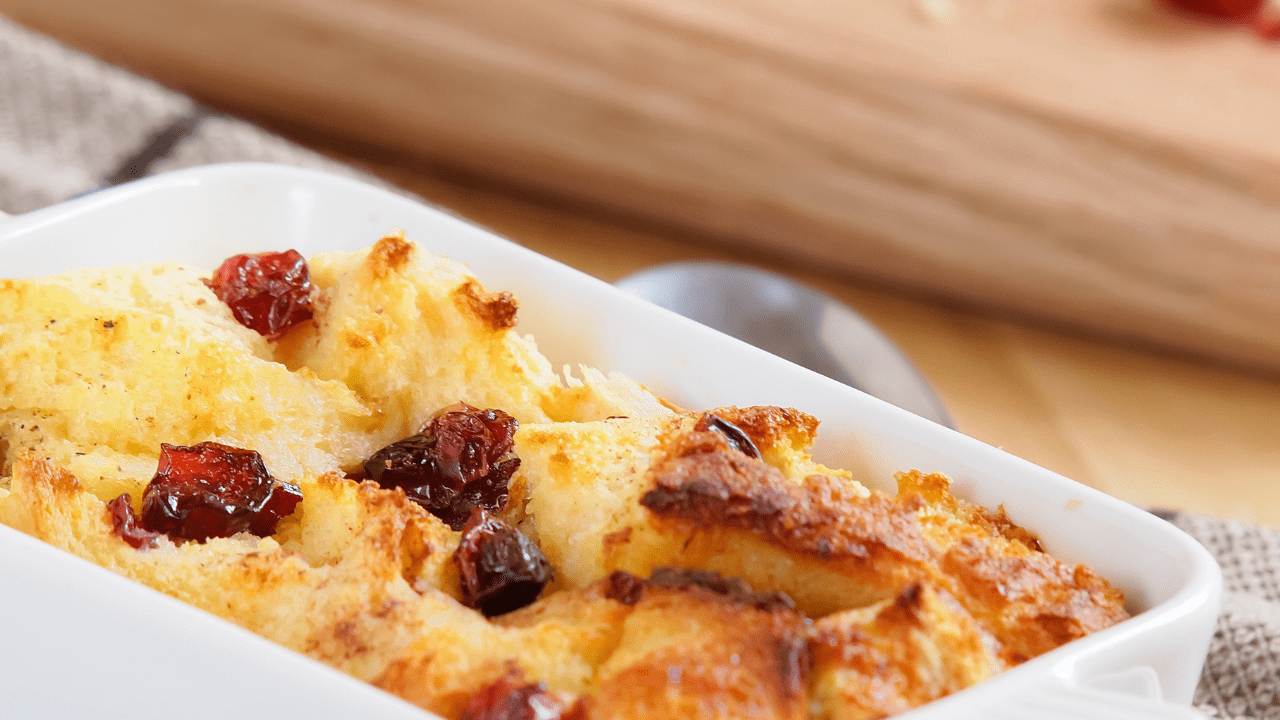
Air Fryer Bread Pudding Recipe
Right, let’s get to the actual recipe! I’ve written this out in both UK and US measurements because old habits die hard, and I know some of you prefer cups whilst others (like me these days) are all about the metric system.
Ingredients
For the Custard:
- 2 large eggs
- 240ml (1 cup) whole milk
- 60ml (¼ cup) double cream (you can use all milk if you prefer, but the cream makes it extra lush)
- 75g (⅓ cup / 5 tablespoons) granulated sugar
- 2 tablespoons melted butter
- 1 teaspoon vanilla extract
- 1 teaspoon ground cinnamon (optional, but highly recommended)
- Pinch of salt
For the Pudding:
- 200g (about 6-7 slices) day-old bread, cubed into 2cm (¾-inch) pieces
- 50g (⅓ cup) raisins or sultanas (optional)
- Extra sugar for sprinkling on top (about 1-2 tablespoons)
Optional Add-ins (Choose Your Adventure!):
- 50g (⅓ cup) chocolate chips (milk, dark, or white – go wild!)
- 40g (¼ cup) chopped walnuts or pecans
- 2 tablespoons dried cranberries
- 1 tablespoon bourbon or rum (for the grown-ups!)
- ½ teaspoon ground nutmeg
- Zest of 1 orange
Equipment Needed:
- Air fryer (I use a 5.5L model, but most sizes work)
- 15cm (6-inch) round cake tin or oven-safe dish that fits in your air fryer
- Alternatively: 4 small ramekins (about 175ml / 6 oz each)
- Mixing bowl
- Whisk
- Measuring cups and spoons
Step-by-Step Instructions
Step 1: Prep Your Bread (5 minutes)
First things first – cube up your bread. I aim for about 2cm (¾-inch) cubes, but honestly, don’t stress about perfect measurements. The kids help me with this bit, and their “cubes” are more like abstract shapes, but it all works out in the end!
If your bread isn’t stale yet, you can pop it in the air fryer at 150°C (300°F) for about 3-4 minutes to dry it out a bit. Stale bread is better because it soaks up more custard without falling apart.
Mum Tip: This is a great job for kids aged 6+. Give them child-safe scissors and let them snip away. It’s oddly satisfying and keeps them busy whilst you sort the rest!
Step 2: Make the Custard (3 minutes)
In a large mixing bowl, crack your eggs and give them a good whisk until they’re nicely combined. You want them beaten but not frothy – we’re not making meringue here!
Add your milk, cream, sugar, vanilla extract, cinnamon, and a pinch of salt. Whisk it all together until the sugar is mostly dissolved. You’ll know it’s ready when it looks smooth and slightly pale yellow.
Here’s a crucial bit: melt your butter (I just pop it in the microwave for 20 seconds), and whilst it’s still hot, slowly drizzle it into your custard mixture whilst whisking constantly. This is important! If you just dump cold butter in with cold milk, it’ll clump up and go lumpy. The slow drizzle method keeps everything smooth and gorgeous.
Kitchen Disaster Prevention: I once forgot this step and ended up with little butter blobs in my pudding. It still tasted fine, but it looked a bit weird. Learn from my mistakes!
Step 3: Combine Bread and Custard (2 minutes)
There are two ways to do this, depending on what kind of day you’re having:
Method A – The Gentle Way: Put your bread cubes in the bowl with the custard and gently fold them together, making sure every piece gets coated. Let it sit for about 5 minutes so the bread really soaks up that lovely custard.
Method B – The Chaos Way (my usual method): Spray your tin or ramekins with cooking spray. Layer half your bread cubes in the bottom, sprinkle with half your raisins (or whatever add-ins you’re using), pour over half the custard. Repeat with remaining bread, raisins, and custard. Use the back of a spoon to gently press everything down so it’s all soaking in that liquid.
Both methods work! Method B is better if you want nice layers and even distribution of fruit. Method A is quicker and easier for weeknight chaos.
Step 4: The Magic Sugar Topping
This step is optional but highly recommended if you want that gorgeous caramelized, slightly crunchy top. Sprinkle 1-2 tablespoons of sugar evenly over the top of your pudding. As it cooks, this will create a lovely golden crust that’s absolutely divine.
Pro Tip: You can use demerara sugar for even more crunch and a deeper caramel flavour!
Step 5: Air Fry to Perfection (15-20 minutes)
Preheat your air fryer to 165°C (330°F). Most air fryers don’t actually need preheating, but I find it helps with even cooking.
Carefully place your dish or ramekins in the air fryer basket. If you’re using ramekins, you might be able to fit all four, but don’t overcrowd them. Air needs to circulate!
Cook for 15-20 minutes. You’re looking for:
- A deep golden brown top
- A slight jiggle in the middle (it’ll continue to set as it cools)
- A knife or toothpick inserted in the centre comes out mostly clean (a few moist crumbs are fine)
Timing Notes:
- One 6-inch dish: 18-20 minutes
- Four small ramekins: 12-15 minutes
- Check at the minimum time and add more if needed
Step 6: Rest and Serve (5 minutes)
This is the hardest part – waiting! Let your bread pudding rest for about 5 minutes before serving. This lets it set up properly and makes it easier to serve without it falling apart.
During this time, I usually make a quick cuppa and try to keep the kids from diving in immediately. Good luck with that!
Serving Suggestions That’ll Knock Your Socks Off
Right, here’s where we can really have some fun. Air fryer bread pudding is delicious on its own, but with the right accompaniments? It’s next-level gorgeous.
Classic Combinations:
The Traditional British: Serve with proper custard (Bird’s custard is perfectly acceptable in this house – no judgment!) or pouring cream. Absolutely divine.
The American Dream: Top with a scoop of vanilla ice cream that melts into all the nooks and crannies. The contrast of hot and cold is chef’s kiss.
The Fancy Option: Drizzle with salted caramel sauce or chocolate sauce. I keep a jar of ready-made caramel in the cupboard for exactly these moments.
My Personal Favourites:
The Weekend Special: Warm bread pudding with vanilla ice cream, a drizzle of honey, and a sprinkle of flaky sea salt. Trust me on this one – the salt brings out all the flavours.
The Boozy Grown-Up Version: Make a quick bourbon butter sauce (butter + sugar + bourbon heated together) and pour it over. This is what I make when the kids are in bed and I want a proper treat.
The Breakfast Twist: Serve it with Greek yogurt and fresh berries. Suddenly it’s breakfast! (This is how I justify pudding at 8am on weekends.)
The Chocolate Lover: Add chocolate chips to the pudding, then serve with more melted chocolate drizzled on top. Because if you’re going to do chocolate, you might as well GO for it.
Make It Pretty:
- Dust with icing sugar (powdered sugar) just before serving
- Add fresh berries on the side
- A sprig of mint makes it look dead fancy
- Whipped cream with a sprinkle of cinnamon on top
Variations to Try (Because Variety Is the Spice of Life!)
One of the brilliant things about this recipe is how adaptable it is. Here are some of my favourite variations:
Seasonal Twists:
Autumn Apple Cinnamon: Add diced apples (about 1 medium apple, peeled and chopped), extra cinnamon, and a pinch of nutmeg. Divine with cream!
Winter Orange Chocolate: Add orange zest and chocolate chips. Tastes like those Terry’s Chocolate Oranges but better.
Spring Berry Delight: Fold in fresh or frozen berries (blueberries, raspberries, or a mix). The berries get all jammy and delicious.
Summer Tropical: Use coconut milk instead of regular milk, add some desiccated coconut and dried pineapple. Bit unusual but absolutely gorgeous!
Dietary Adjustments:
Dairy-Free/Vegan: Use plant milk (oat milk works brilliantly), vegan butter, and skip the eggs – use egg replacer or make a “chia egg” (1 tablespoon chia seeds + 3 tablespoons water per egg, let sit for 5 minutes).
Lower Sugar: Reduce sugar to 50g (¼ cup) and rely on the natural sweetness from the vanilla and any fruit you add.
Gluten-Free: Use gluten-free bread. Honestly, this is one recipe where gluten-free bread actually works really well because it’s meant to be soft and custardy anyway!
Flavour Boosters:
Almond Joy: Add coconut, chocolate chips, and almonds. Tastes like the candy bar but in pudding form!
Banana Bread Pudding: Mash in a ripe banana with the custard, add walnuts. Banana bread meets bread pudding – what’s not to love?
Lemon Poppy Seed: Add lemon zest, a tablespoon of lemon juice, and a teaspoon of poppy seeds. Lovely and fresh!
Sticky Toffee Pudding Style: Add chopped dates, use brown sugar instead of white, and serve with toffee sauce. Absolutely indulgent.
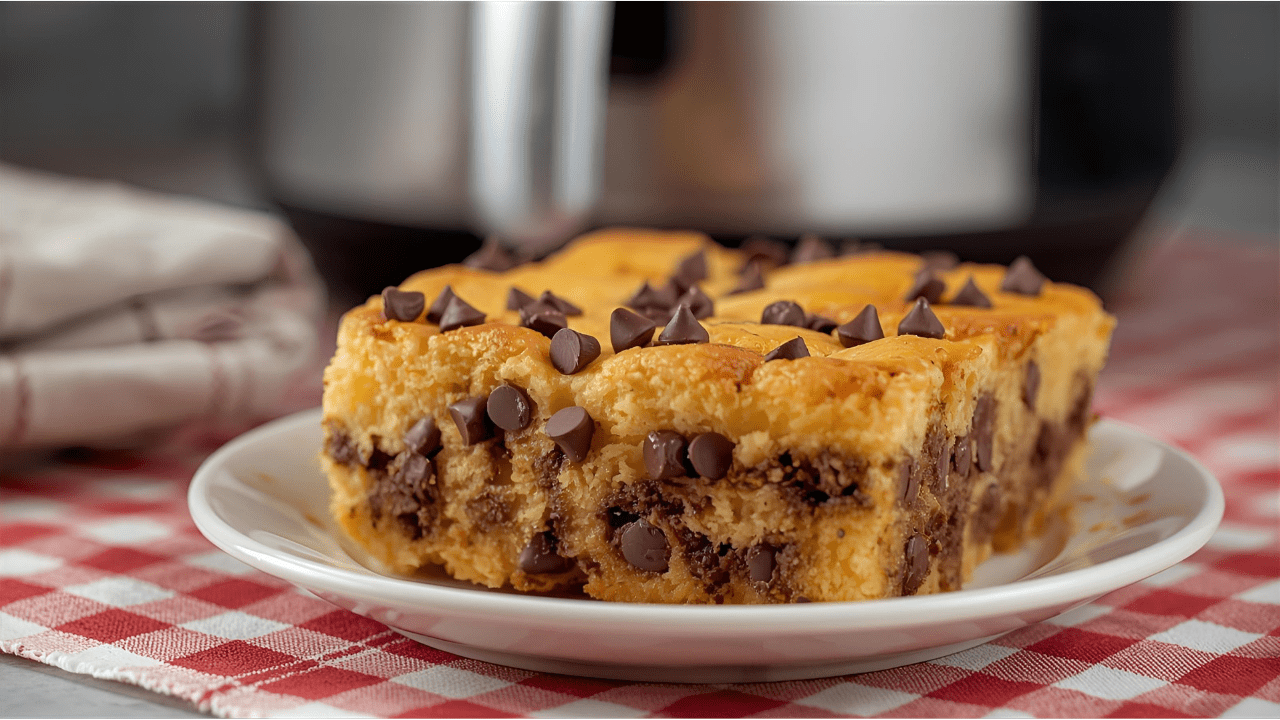
Tips for Perfect Air Fryer Bread Pudding Every Time
After making this approximately 47 times (give or take), I’ve learned a few tricks that make all the difference:
Before You Start:
- Check Your Dish Fits: Not all dishes fit in all air fryers! Measure your air fryer basket before you start. I learned this the hard way with a dish that was literally 1cm too wide. Nightmare.
- Spray That Dish: Don’t skip greasing your dish! Use cooking spray, butter, or oil. Otherwise, you’ll be chipping bread pudding off the bottom for days.
- Room Temperature Eggs: If you remember, take your eggs out of the fridge 30 minutes before making this. Room temp eggs mix more easily into the custard.
During Cooking:
- Don’t Overfill: Leave about 1cm (½ inch) space at the top of your dish. The pudding will puff up as it cooks, and you don’t want it overflowing into your air fryer.
- Check for Doneness Properly: The top should be deep golden and set, but the middle can still have a slight jiggle (like jelly/Jell-O). It’ll continue to set as it cools. If you overcook it, it’ll be dry and rubbery.
- Rotate Halfway? Some air fryers have hot spots. If yours does, rotate your dish 180° halfway through cooking for even browning.
After Cooking:
- The Rest Is Essential: Let it sit for at least 5 minutes. I know it smells amazing and you want to dive in, but trust me – it needs this time to set properly.
- Reheat Like a Pro: If you’re reheating leftovers, do it in the air fryer at 150°C (300°F) for 5-7 minutes. It’ll crisp up the top again whilst warming the inside.
Family-Friendly Tips:
- Make It Fun for Kids: Let them choose the add-ins (within reason – my 7-year-old once suggested gummy bears, which I vetoed). When kids help make it, they’re more likely to eat it!
- Portion Control: Individual ramekins are brilliant for kids because they each get their own little pudding, and you can customise them (one with chocolate chips, one without raisins, etc.).
Troubleshooting Common Problems
Even with the best recipe, sometimes things go a bit wonky. Here’s how to fix the most common issues:
Problem: My pudding is too soggy and won’t set.
Likely causes:
- Too much liquid
- Bread too fresh and soft
- Didn’t cook long enough
Solutions:
- Use staler bread next time (or dry it out in the air fryer first)
- Cook for an extra 3-5 minutes
- Make sure you’re measuring liquids accurately
Problem: The top is burning before the middle is cooked.
Likely causes:
- Temperature too high
- Pudding too close to the heating element
Solutions:
- Lower temperature to 150°C (300°F) and cook longer
- Cover the top loosely with foil if it’s browning too quickly
- Use a smaller, deeper dish so there’s more space above
Problem: It’s too dry and rubbery.
Likely causes:
- Overcooked
- Not enough custard
- Bread too dense
Solutions:
- Check for doneness earlier next time
- Increase custard by 25%
- Make sure bread is well-soaked before cooking
Problem: It tastes bland.
Likely causes:
- Not enough sugar or flavouring
- Forgot the salt (salt enhances sweet flavours!)
- Needs add-ins
Solutions:
- Increase vanilla to 2 teaspoons
- Add more cinnamon or other spices
- Don’t skip the pinch of salt
- Jazz it up with chocolate chips, fruit, or nuts
Problem: It stuck to the dish and is a nightmare to clean.
Likely causes:
- Didn’t grease the dish well enough
- Caramelised sugar stuck to bottom
Solutions:
- Spray MORE than you think you need
- Line with parchment paper (but make sure it doesn’t blow around in the air fryer)
- Soak the dish in hot soapy water for 30 minutes before scrubbing
Storage and Make-Ahead Instructions
Because sometimes you want to prep ahead or you’ve got leftovers (though in my house, leftovers are rare!):
Storage:
Room Temperature: Don’t! Bread pudding contains dairy and eggs, so it needs to be refrigerated within 2 hours of cooking.
Refrigerator: Store in an airtight container for up to 3-4 days. Individual portions in containers make perfect grab-and-go treats!
Freezer: Wrap individual portions tightly in cling film, then put in a freezer bag. Freeze for up to 3 months. Label them with the date – trust me, you’ll forget otherwise!
Reheating:
From the Fridge:
- Air fryer: 150°C (300°F) for 5-7 minutes
- Microwave: 30-60 seconds on medium power (though this won’t crisp the top)
From Frozen:
- Thaw in fridge overnight, then reheat as above
- Or microwave from frozen for 2-3 minutes on 50% power, then crisp in air fryer
Make-Ahead Tips:
Option 1 – Fully Prep: Assemble the entire pudding in your dish, cover tightly with cling film, and refrigerate for up to 24 hours. When ready to cook, let it sit at room temperature for 15 minutes, then cook as directed.
Option 2 – Prep Components: Cube the bread and store in an airtight container. Make the custard mixture and store separately in the fridge. Combine when ready to cook.
Option 3 – Cook and Store: Make it fully, let it cool, then refrigerate. Reheat portions as needed throughout the week. This is my weekday breakfast secret weapon!
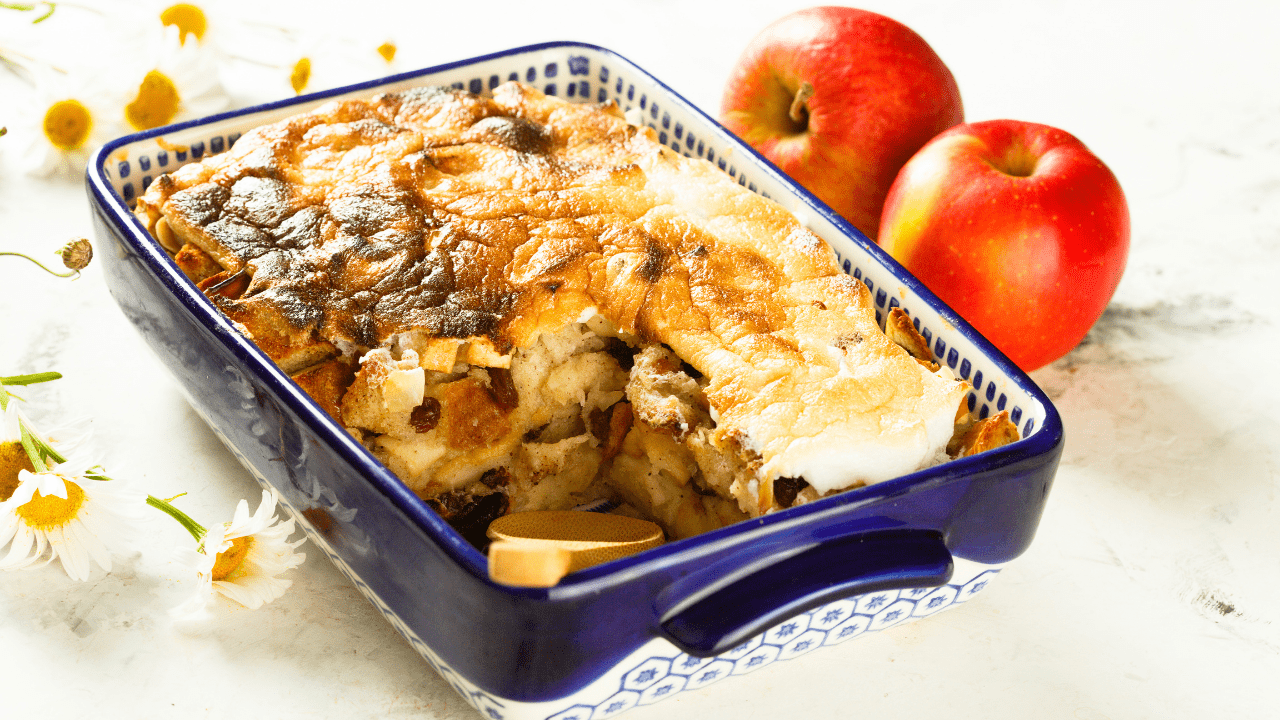
Frequently Asked Questions
Can I make air fryer bread pudding without eggs?
Yes! You can use egg replacer, or make “chia eggs” (1 tablespoon chia seeds mixed with 3 tablespoons water per egg – let sit for 5 minutes until gloopy). The texture will be slightly different, but still delicious. You can also use aquafaba (chickpea liquid) – use 3 tablespoons per egg.
What’s the difference between bread pudding and bread and butter pudding?
Great question! Bread pudding (American-style) typically uses cubed bread mixed with a rich custard. Bread and butter pudding (British-style) uses buttered bread slices layered in a dish. This recipe is more of a hybrid – we use cubed bread for convenience, but the custard ratio is lighter like a traditional British pudding.
Can I use any type of air fryer for this recipe?
Yes! This works in basket-style air fryers, oven-style air fryers, and even air fryer toaster ovens. Just make sure your dish fits with room for air to circulate. Cooking times might vary slightly between models, so check for doneness rather than relying solely on time.
My bread pudding is done on top but raw in the middle. What do I do?
Cover it loosely with foil and continue cooking at a slightly lower temperature (150°C/300°F) for another 5-10 minutes. This prevents the top from burning whilst the middle finishes cooking. This is more common with deeper dishes or very dense bread.
Can I double the recipe?
Absolutely! Just make sure your dish fits in your air fryer, or cook in batches. Larger, fuller dishes will need an extra 5-10 minutes of cooking time. You can also make two smaller batches instead of one large one.
Is bread pudding supposed to be jiggly?
Yes! A slight jiggle in the centre when it first comes out of the air fryer is perfect. It’ll continue to set as it cools. If it’s completely solid straight away, it might be overcooked. Think of it like a slightly set custard – that’s the texture you’re after.
Can kids help make this?
Definitely! This is actually a great recipe for kids to help with. They can:
- Tear or cut the bread into cubes (age 6+)
- Whisk the custard (age 5+)
- Add mix-ins (all ages with supervision)
- Spray the dish with cooking spray (age 8+)
Just keep them away from the hot air fryer and the melted butter!
How do I know when it’s done?
Look for these signs:
- Deep golden brown top (but not burnt)
- Slight jiggle in the centre when you gently shake the dish
- A knife or toothpick inserted comes out mostly clean (a few moist crumbs are fine)
- The edges should look set and might be pulling away slightly from the sides
Can I make this in a regular oven instead?
Yes! Preheat your oven to 180°C (350°F). Bake in a greased dish for 30-40 minutes, or until set and golden. The air fryer is faster and more energy-efficient, but the oven works if you don’t have an air fryer.
The Science Behind Why This Works (For the Curious!)
You know I can’t help myself – I love understanding why recipes work! Here’s what’s happening behind the scenes:
The Custard Magic
When eggs are heated, their proteins unwind and form new bonds, creating that gorgeous custardy texture. The milk and cream provide moisture and richness, whilst the sugar not only sweetens but also helps with browning and keeping the custard tender.
Bread’s Special Role
Stale bread is actually better than fresh because it’s lost moisture, which means it can soak up more custard without falling apart. The bread’s structure (all those little air pockets) holds the custard in place, creating that perfect soft-but-not-mushy texture.
Air Fryer Advantages
The air fryer’s rapid air circulation creates convection heat, which cooks the pudding quickly and evenly. The top-down heating is perfect for creating that golden crust whilst keeping the bottom from getting soggy. It’s like having a super-powered grill and oven in one!
The Maillard Reaction
That gorgeous golden-brown top? That’s the Maillard reaction – a chemical reaction between amino acids and sugars that creates hundreds of flavour compounds. This is why bread pudding tastes so much better than just eggy bread – that caramelization adds depth and complexity.
According to the BBC Good Food guide on baking science, understanding these reactions helps you become a better baker because you know what you’re looking for and why!
Budget Breakdown: How Much Does This Really Cost?
As a mum of four, I’m always thinking about cost. Here’s roughly what you’re spending (UK supermarket prices as of 2025):
- Stale bread (6 slices): £0.50 (or free if using up leftovers!)
- 2 eggs: £0.40
- Milk and cream: £0.60
- Sugar: £0.15
- Butter: £0.20
- Vanilla extract: £0.15
- Cinnamon: £0.10
- Raisins (optional): £0.50
Total cost: £2.60 for 4 servings = £0.65 per serving
Compare that to a single serving of pudding from a restaurant (£6-8) or even a shop-bought dessert (£2-3 per serving), and you’re saving serious money!
Pro tip: Keep an eye out for reduced bread at the supermarket. I’ve gotten fancy brioche for 50p that would normally be £2+ simply because it’s a day old. Perfect for bread pudding!
Why I Love This Recipe as a Busy Mum
Right, I’m going to get a bit sentimental here, but this recipe has genuinely changed our weeknight dessert game. Here’s why:
It Uses Up Leftovers: I hate food waste, and this is the perfect way to use that sad bread no one wants to eat fresh. Feels good to reduce waste!
It’s Flexible: Someone doesn’t like raisins? Leave them out. Someone’s obsessed with chocolate? Add more chips. Need it dairy-free? Easy substitutions. This recipe bends to fit our family’s ever-changing preferences.
Kids Actually Help: At ages 5, 7, 9, and 11, I’ve got a full range of abilities. This recipe has jobs for everyone, which means 20 minutes of them working together (mostly) peacefully. Miracle!
It’s Proper Comfort Food: After a long day of school runs, work, dog walks, and general chaos, sitting down to warm bread pudding feels like a hug. Sometimes that’s exactly what we all need.
No One Knows It’s Leftovers: When the kids’ friends come over, they think I’ve made them something special. Little do they know it’s literally yesterday’s sandwich bread!
Final Thoughts and Your Next Steps
If you’ve made it this far, congratulations! You now know absolutely everything there is to know about air fryer bread pudding. Honestly, you could probably teach a masterclass at this point!
Here’s what I want you to do: try the basic recipe first. Get a feel for how it works in your specific air fryer with your family’s preferences. Then start experimenting! The beauty of this recipe is that it’s nearly impossible to completely ruin (believe me, I’ve tried), and even the “failures” usually still taste pretty good.
A few last thoughts:
Don’t overthink it. Yes, I’ve given you loads of information, but at its core, this is just bread + custard + heat = delicious. You’ve got this!
Trust your instincts. If it looks done, it probably is. If something seems off, adjust it. You know your air fryer better than any recipe can.
Make it your own. This is your recipe now. Change it, adapt it, make it work for your family. That’s what cooking is all about.
Share the love. If you make this and love it (which you will!), share it with friends, family, or drop me a comment below. I love hearing how people have made this recipe their own!
Right, I’m off to make another batch because writing this has made me absolutely crave bread pudding. That’s the test of a good recipe, isn’t it? When describing it makes you want to eat it immediately!
Happy air frying, and may your bread pudding always have the perfect golden top and custardy middle!
Liked this post? See more of my Air Fryer Recipes and Baking Posts!
Easy Air Fryer Vegan Chocolate Cake
Delicious Air Fryer Pumpkin Cake
Easy Air Fryer Victoria Sponge Recipe
Delicious Air Fryer Brownies
How to Cook Sausages in the Air Fryer

Becky is the voice behind Life in Velvet, an organised, intentional living blog focused on practical food, calm homes, thoughtful projects, and everyday systems that make real life feel easier. A mum of 3 living in the UK, Becky writes from lived experience, sharing what works, what doesn’t, and the decisions that make family life run more smoothly.
With a background in marketing and content writing, and over a decade of blogging experience, she brings a thoughtful, structured approach to everything from baking and home projects to routines and decision-making. Life in Velvet is where planning meets creativity, with ideas designed for real homes and real life.