When it comes to home design, most of us think about walls, floors, and furniture first. Ceilings, though, often get overlooked. A plain flat ceiling can fade into the background, but a thoughtfully textured ceiling adds instant character and warmth to a room. The good news? You don’t need a huge budget to make your ceiling a feature! With the right approach, affordable textured ceiling ideas can bring style and dimension to your home without draining your wallet!
Here I take a look at just some of the budget-friendly ways to add texture overhead, from subtle DIY finishes to clever design hacks. Whether you’re updating a dated popcorn ceiling or just want to give your living room a little extra personality, these textured ceiling design ideas are hopefully inspiring and accessible.
Why Choose a Textured Ceiling?
Before we take a look at some of the ideas, it’s worth asking: why texture at all?
-
Adds depth and visual interest – A textured ceiling breaks up flat surfaces, making rooms feel more dynamic.
-
Conceals imperfections – If your ceiling has cracks, stains, or uneven plastering, a textured finish can disguise flaws.
-
Boosts coziness – Texture softens a space, especially in large or minimalist rooms.
-
Style versatility – From rustic charm to modern chic, textured ceiling designs ideas fit nearly any aesthetic.
And importantly for budget-conscious homeowners, texture can make a big impact without major structural changes or costly materials.
Affordable Textured Ceiling Ideas
1. Painted Texture with Simple Tools
One of the easiest budget-friendly textured ceiling ideas is to create a pattern with paint. Instead of just rolling on a flat coat, you can use simple household tools to create texture.
-
Sponge painting – Dab a slightly damp sponge into paint and press it gently across the ceiling. It creates a mottled, cloud-like finish.
-
Rag rolling – Roll a soft rag dipped in paint across the surface for a subtle, marbled texture.
-
Brush patterns – Use a stiff-bristle brush to create crosshatch, swirl, or wave designs.
Paint is affordable, and these techniques require only basic supplies you may already have at home.
2. Knockdown Texture
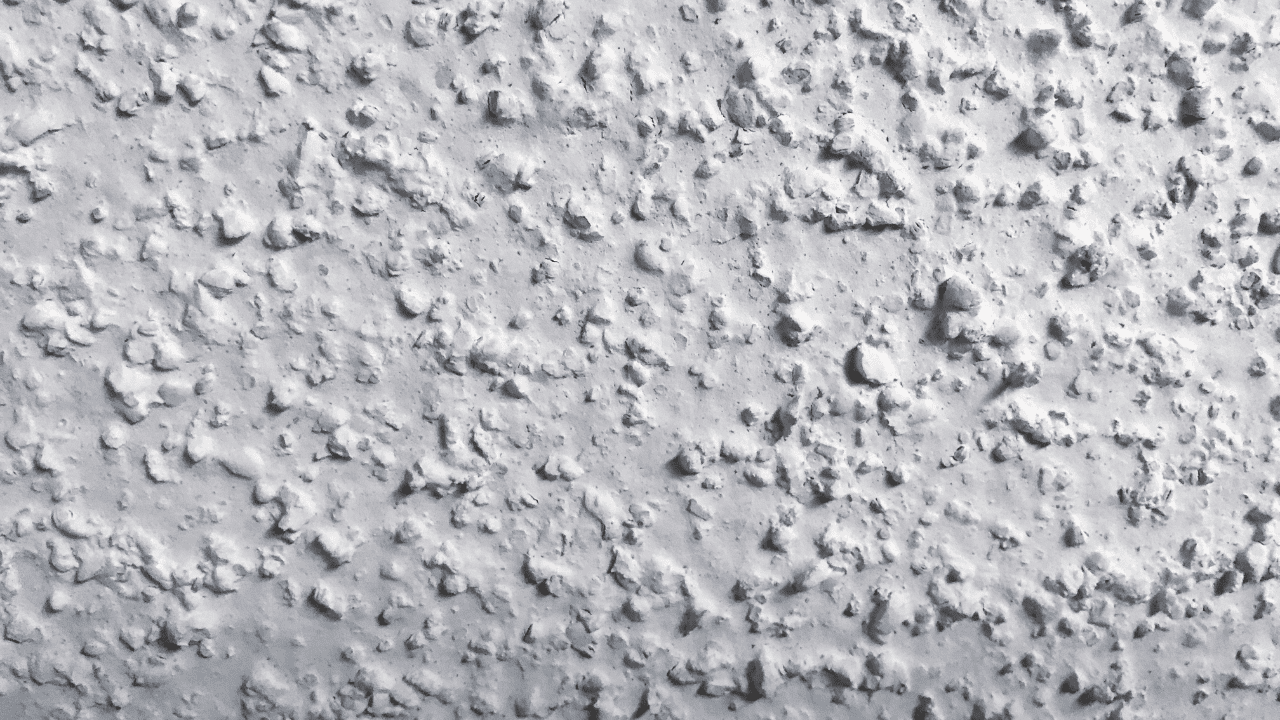
A classic choice for textured ceilings, the knockdown finish is versatile and forgiving. It’s created by spraying joint compound onto the ceiling and then “knocking it down” with a trowel, leaving a mottled, flattened pattern.
Why it works on a budget: joint compound is inexpensive, and you don’t need professional skills to get a good result. Plus, it hides imperfections really well.
3. Stamped Roller Effects
Special texture rollers allow you to roll on joint compound in repeating patterns, anything from swirls to geometric designs. This technique gives a decorative, wallpaper-like effect overhead but costs far less than actually applying ceiling wallpaper.
If you want to get creative, you can even make your own roller by wrapping string or fabric around a regular paint roller for a custom look.
4. Stenciled Ceiling Designs
Stencils aren’t just for walls. You can apply a raised stencil design with joint compound to add texture and pattern to your ceiling. Think floral motifs, geometric borders, or subtle repeating designs.
Using a stencil keeps the look controlled and professional, while still being a very affordable DIY project.

5. Plaster Swirls and Hand-Troweled Patterns
Plaster swirls were popular in mid-century homes, but they’re making a comeback. You can achieve the effect by applying a thin coat of joint compound and swirling it with a trowel or brush.
Other hand-troweled finishes include:
-
Skip trowel – light, irregular strokes for a rustic vibe.
-
Rosebud – circular, petal-like textures made with a brush.
Hand-applied textures are unique, meaning no two ceilings will look exactly the same – perfect for adding personality.
6. Beadboard or Faux Plank Ceilings
Wood paneling doesn’t have to be expensive. Affordable beadboard panels or faux planks (often made of MDF or lightweight PVC) can be nailed or glued to the ceiling to create a charming cottage feel.
Paint them white for a crisp farmhouse look, or go with a darker stain for warmth. It’s one of the more timeless textured ceiling design ideas that works beautifully in kitchens, bathrooms, or bedrooms.
7. Fabric or Wallpaper Accents
If plaster or joint compound feels too messy, another low-cost option is fabric or wallpaper. While wallpapering a ceiling can sound intimidating, peel-and-stick options make it much easier, and budget friendly.
-
Textured wallpaper – Think grasscloth-inspired designs or embossed patterns.
-
Fabric draping – Lightweight fabric panels can be stapled or tacked to the ceiling for a soft, romantic effect.
These options add both texture and color, giving you a chance to tie the ceiling into your overall décor.
8. Faux Tin Tiles
Real tin ceiling tiles can be pricey, but affordable faux alternatives are available in PVC, styrofoam, or lightweight metal-look panels. They mimic vintage tin ceilings but at a fraction of the cost.
Faux tin tiles are perfect if you love vintage or industrial design. Many can even be painted to match your scheme.
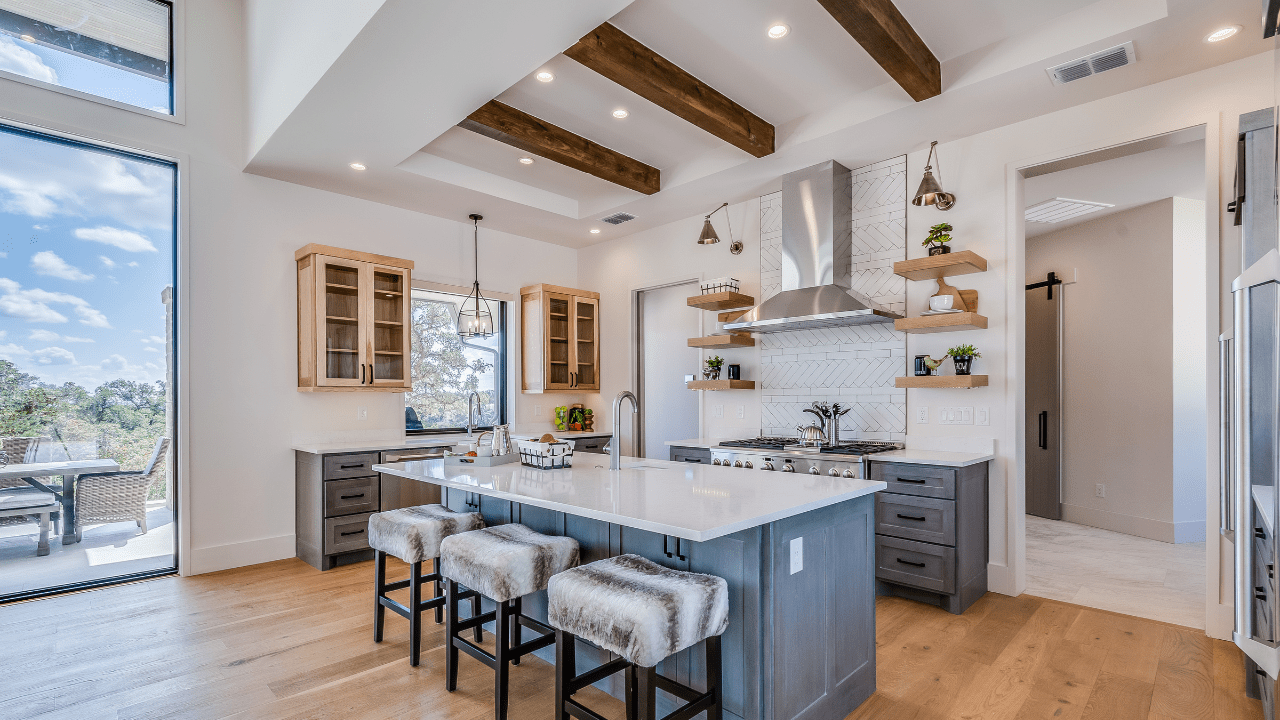
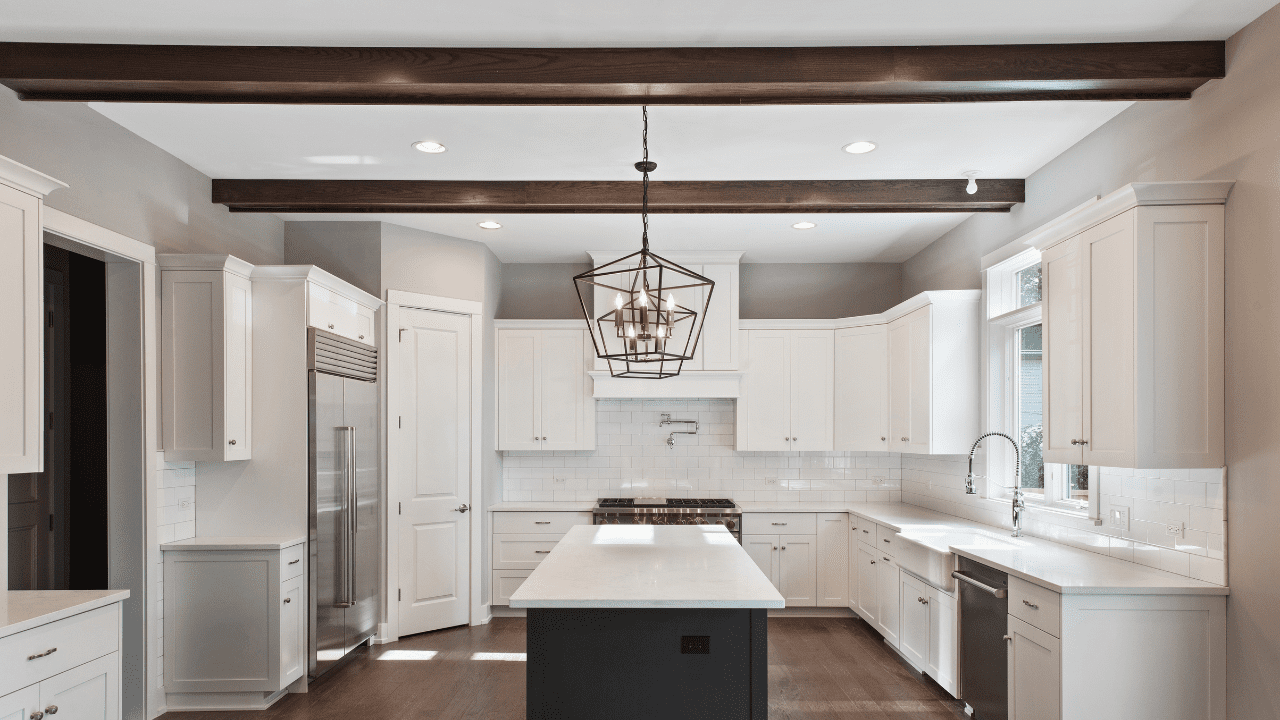
9. Painted-On Faux Beams
Wood beams are a classic way to add texture and character overhead, but installing real beams can get expensive fast. The affordable workaround? Faux beams.
Some homeowners use lightweight foam beams that are easy to install, while others create the illusion with paint. Even a simple darker painted stripe across the ceiling can suggest the structure of beams without the cost.
10. Budget-Friendly Coffered Ceiling Look
Coffered ceilings add instant luxury, but custom carpentry can run thousands. A more affordable alternative is to use inexpensive molding or trim pieces to create a grid pattern on the ceiling. Once painted, it gives the illusion of a coffered ceiling without the high price tag.
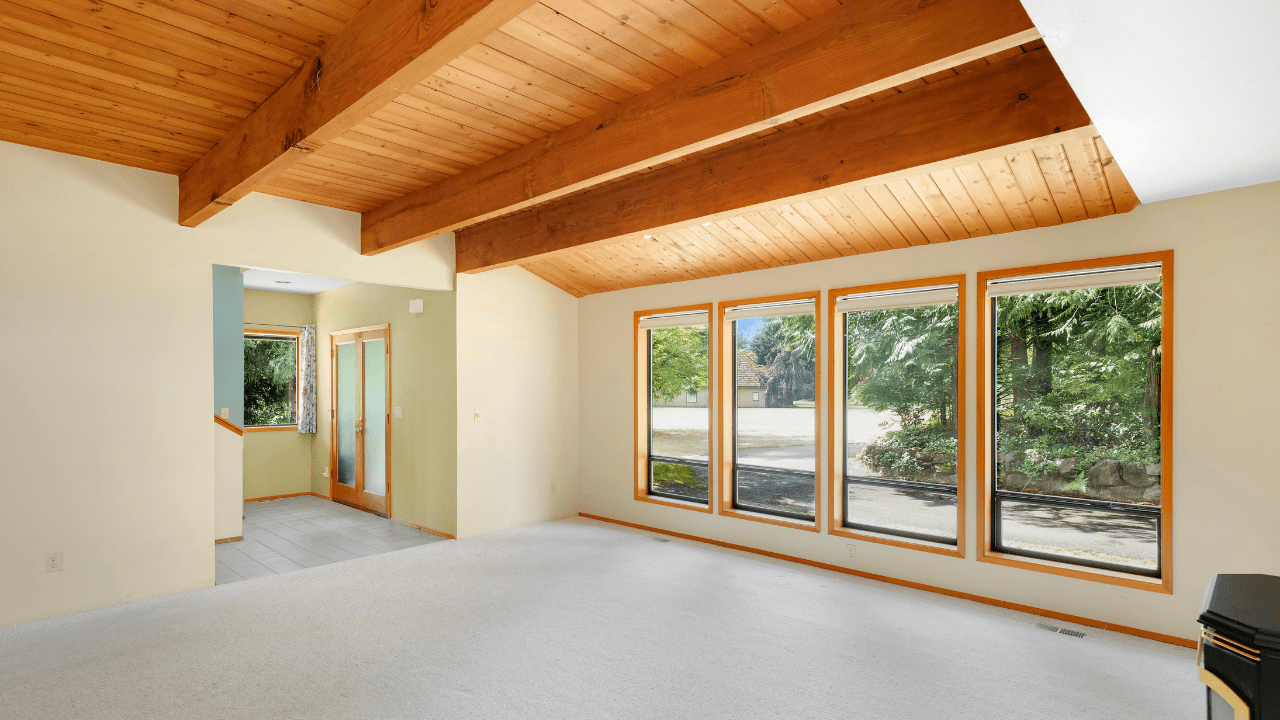
11. Popcorn Ceiling… But Modern
Popcorn ceilings have a bad reputation, but they don’t have to be dated. If you’re dealing with an existing popcorn finish, consider refreshing it with a coat of bright white paint. Or, if you’re feeling creative, paint it a soft pastel or bold shade to turn it into a feature instead of something to hide.
12. Textured Ceiling Panels
Peel-and-stick ceiling panels come in a variety of textures, from 3D geometric shapes to subtle embossed designs. They’re lightweight, affordable, and DIY-friendly. Best of all, they can usually be applied right over existing ceilings.
This option is particularly appealing for renters, since many peel-and-stick panels are removable.
Tips for Keeping Textured Ceiling Projects Budget-Friendly
-
DIY when possible – Many textured ceiling ideas are achievable with just joint compound, a roller, or a trowel.
-
Use existing imperfections – If your ceiling already has bumps or unevenness, lean into it with a texture that disguises flaws instead of fighting them.
-
Shop smart – Look for peel-and-stick tiles, panels, or wallpapers online; they’re often much cheaper than specialty store versions.
-
Start small – Try texturing a hallway, powder room, or accent section before committing to a whole living room.
Styling Your Room Around a Textured Ceiling
Once you’ve added texture overhead, think about how it fits with the rest of your space.
-
Lighting – A textured ceiling looks best when it’s properly lit. Consider a statement chandelier or recessed lighting that highlights the surface.
-
Wall color – Light walls with a textured ceiling keep things airy, while darker walls with a textured ceiling create a cozy cocoon.
-
Furniture and décor – Let your ceiling guide your design choices. A rustic swirl finish pairs beautifully with farmhouse décor, while faux tin tiles complement industrial or vintage interiors.
Affordable Textured Ceiling Design Ideas by Room
-
Living room – Coffered-style trim, beadboard, or faux beams for a welcoming focal point.
-
Bedroom – Fabric draping or soft swirl plaster for a romantic feel.
-
Kitchen – Faux tin tiles or beadboard for vintage charm.
-
Bathroom – Peel-and-stick panels (moisture resistant) for an easy upgrade.
-
Hallway/entryway – Painted stencil designs for a unique first impression.
Your ceiling doesn’t have to be an afterthought. With affordable textured ceiling ideas, you can turn that “fifth wall” into a true design feature without spending a fortune. From paint techniques to peel-and-stick panels, there are countless textured ceiling design ideas to explore that suit every budget, style, and skill level.
The beauty of texture is that it adds character, hides imperfections, and instantly elevates a space. All it takes is a little creativity and some elbow grease to create a ceiling that feels special!
FAQs About Affordable Textured Ceilings
1. What is the cheapest way to add texture to a ceiling?
The most budget-friendly option is using joint compound with a roller, brush, or trowel to create patterns. Simple sponge or rag painting techniques with regular paint are also very inexpensive.
2. Can I cover a popcorn ceiling without removing it?
Yes! Many homeowners choose to cover popcorn ceilings with peel-and-stick panels, beadboard, or faux tin tiles instead of scraping it off. Painting is another quick refresh option.
3. Are textured ceilings still in style?
Absolutely. While heavy popcorn textures feel dated, lighter, more intentional textures (like knockdown, swirls, or faux beams) are very much on trend.
4. Can renters try textured ceiling design ideas?
Yes, as long as you stick with removable options like peel-and-stick panels, wallpaper, or fabric draping. Always check your lease before making changes.
5. Do textured ceilings make rooms look smaller?
Heavier textures can sometimes lower the perceived height of a ceiling, but subtle designs or light paint colors will keep the space feeling open.
6. How do I clean a textured ceiling?
Use a vacuum with a soft brush attachment or a microfiber duster. For painted finishes, a slightly damp sponge can help with spots, but avoid soaking the ceiling.
7. Can I DIY a coffered ceiling look on a budget?
Yes! Use lightweight trim or molding to create a grid pattern and paint it all one color. It gives the illusion of a coffered ceiling without custom carpentry costs.
See more of my home and DIY-related posts here

Becky is the voice behind Life in Velvet, an organised, intentional living blog focused on practical food, calm homes, thoughtful projects, and everyday systems that make real life feel easier. A mum of 3 living in the UK, Becky writes from lived experience, sharing what works, what doesn’t, and the decisions that make family life run more smoothly.
With a background in marketing and content writing, and over a decade of blogging experience, she brings a thoughtful, structured approach to everything from baking and home projects to routines and decision-making. Life in Velvet is where planning meets creativity, with ideas designed for real homes and real life.