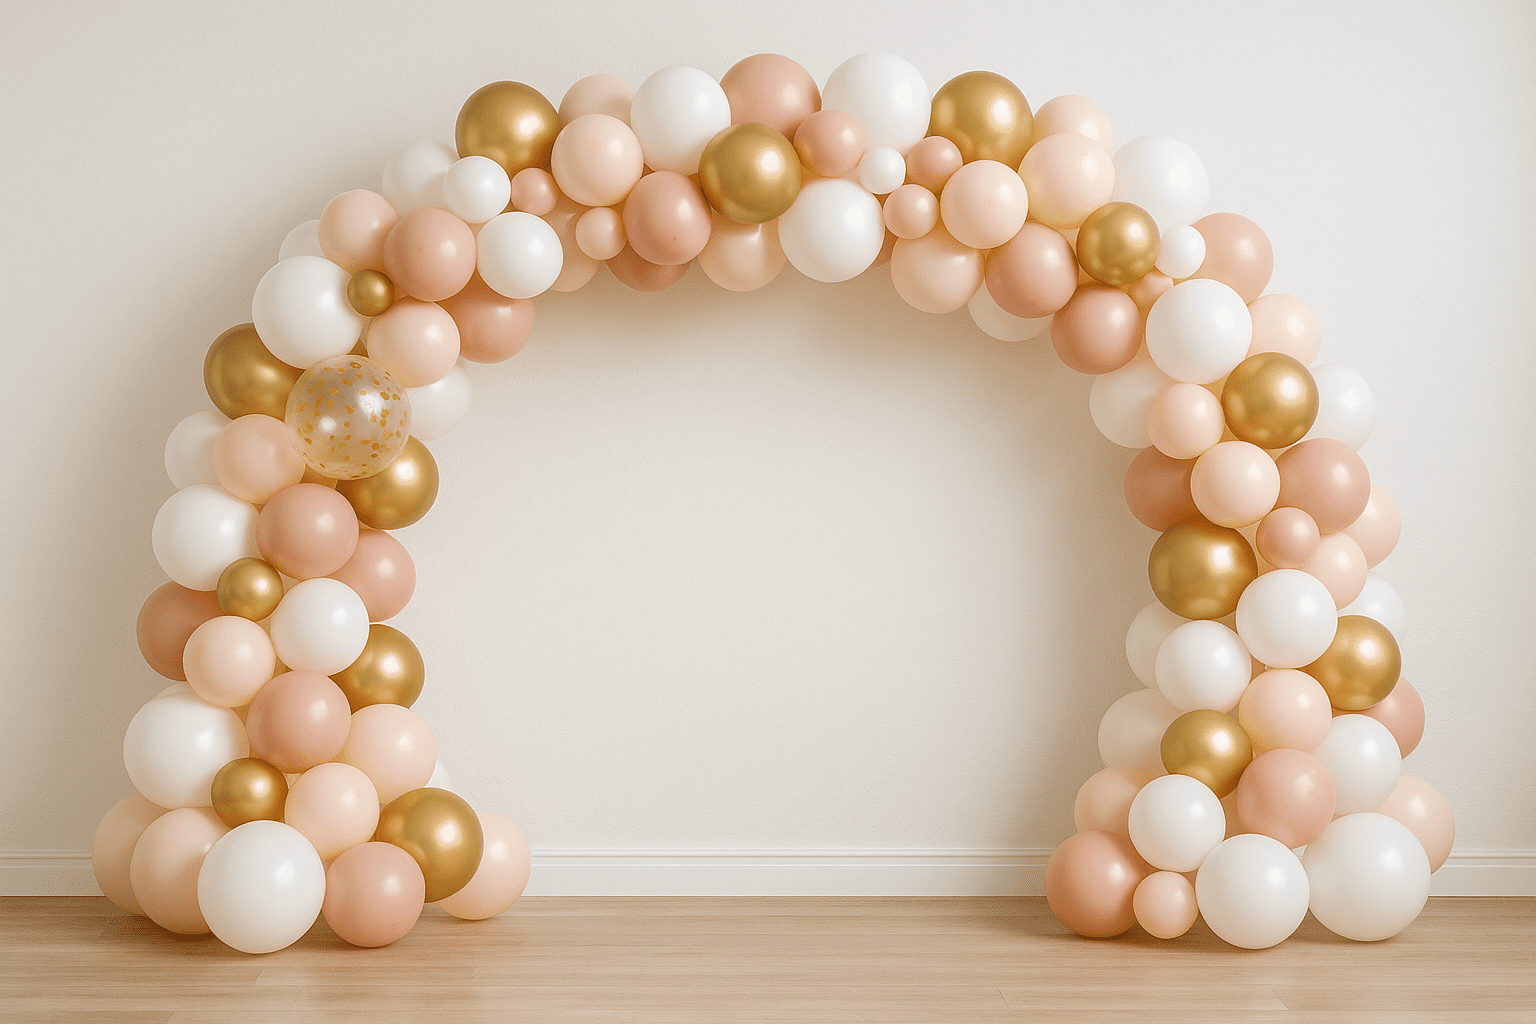

Let’s be honest—balloon arches are everywhere right now. From Pinterest-perfect birthday parties to baby showers and weddings, a balloon arch is the ultimate “wow” moment. But while they look impressive, they can feel a bit intimidating when you’re staring at a big pile of deflated balloons and wondering what you’ve signed up for.
Don’t panic – I’ve been there! I promise that once you know how to assemble a balloon arch (and you’ve got a cuppa in hand), it’s honestly not that hard. It’s just about knowing the right steps, having a bit of patience, and maybe bribing a family member to help.
Here, I’ll walk you through how to assemble a balloon arch from start to finish. whether it’s your first attempt or your fifth. I’ll also link to some of my favourite balloon-related blog posts like 10 Creative Themes for Balloon Bouquets and How to Add Extras to Balloon Bouquets (Tassels, Confetti, Personalisation & More) to give you even more inspiration. Plus, I’ve included a handy FAQs section at the bottom to help you with all those little niggling questions.
Ready? Let’s get blowing!
What You’ll Need to Assemble a Balloon Arch
Before we get stuck into the how-to part, here’s what you’ll need:
-
Balloons – obviously! I’d recommend a mix of sizes and colours (think 5″, 10″, and 12″ for variety).
-
Balloon arch strip/tape – this is a clear plastic strip with evenly spaced holes.
-
Balloon pump – hand or electric, whatever saves your lungs!
-
Glue dots or sticky tabs – for adding extra clusters.
-
Fishing line or string – for securing the arch in place.
-
Command hooks, nails or a balloon stand/frame – depending on where you’re displaying it.
Optional extras (but highly recommended for that chef’s kiss finish):
-
Foil balloons, confetti balloons, orbs – you can decide which balloons to use in my best balloons and which to use blog post here.
-
Eucalyptus sprigs or faux flowers
-
Tassels or ribbon streamers
Step-by-Step: How to Assemble a Balloon Arch
Right, here’s how to assemble a balloon arch the easy (and relatively stress-free) way.
Step 1: Blow Up Your Balloons
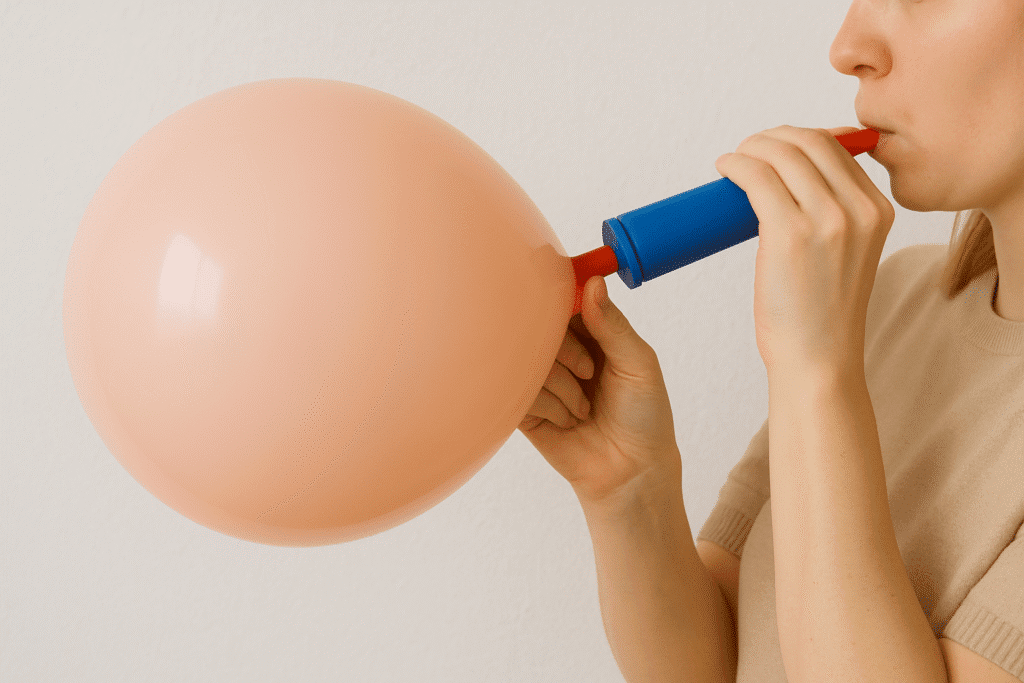
I won’t lie—this is the most time-consuming part. If you’ve got an electric pump, it’s your new best friend. Aim for around 70–100 balloons depending on the size of your arch. Mix up the colours and sizes as you go. I like to blow up a batch, lay them out on the floor, and group them in piles by colour.
Pro tip: Don’t overinflate! Slightly underfilled balloons are less likely to pop and are easier to shape.
Step 2: Attach Balloons to the Balloon Strip
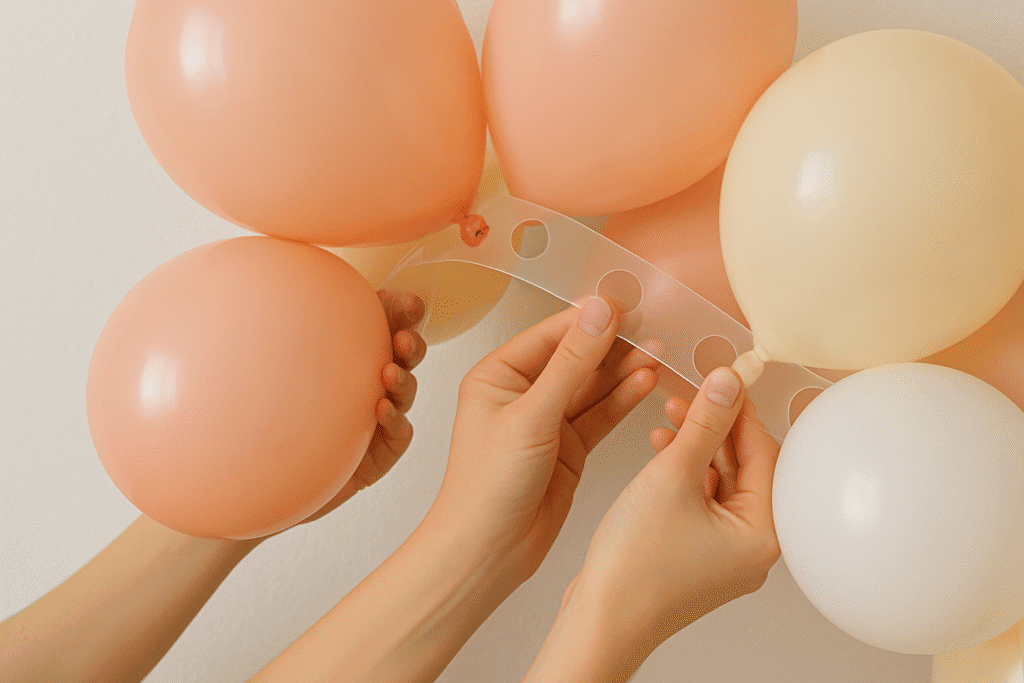
Now, grab your balloon arch strip. Starting at one end, push the tied end of each balloon through the pre-punched holes. Alternate the direction each balloon faces for a fuller look, and mix up your sizes and colours as you go. This part gets quite satisfying!
Keep going until your strip is as full as you want it—most people use around 60–80 balloons, but there’s no hard rule.
Step 3: Hang Your Arch

Now it’s time to put that beauty up! You’ve got a few options:
-
Command hooks – great for indoor arches or sticking above doorways.
-
Fishing line or string – perfect if you’re attaching it between two fixed points.
-
A freestanding balloon frame – ideal for outdoor setups or if you don’t want to stick anything to your walls.
Secure both ends of the strip in place, and gently curve your arch into shape. You can go for a classic rainbow curve, a half-moon, or even a more organic, asymmetric shape. Just adjust as needed and step back every so often to check the balance.
Step 4: Fill in the Gaps

This is where the magic happens. Use glue dots to add smaller balloons to any bare spots and create extra clusters. This gives your arch a lovely full, textured look. I like to group tiny 5″ balloons in trios and nestle them between the bigger ones.
At this point, you can also add your finishing touches—think confetti balloons, foil stars, florals, or tassels.
Tips for Success (a.k.a Things I Learned the Hard Way)
-
Start the day before if you’re prepping for a party. You’ll thank yourself.
-
Keep a colour scheme in mind—too many colours can look chaotic.
-
Use quality balloons – cheap ones pop easily and look dull.
-
Store balloons inside until the event – extreme heat or cold can mess with them.
-
Get help – everything’s easier with a second pair of hands and someone to pass you snacks.
How Do You Assemble a Balloon Arch Without a Strip?
No balloon tape? No problem! You can make a DIY version using fishing line or string. Just tie the balloons together in pairs, twist into quads, and thread them onto your line, twisting to secure each bunch. It’s a bit fiddlier, but it works—and it’s budget-friendly too.
I’ve also used glue dots to build mini balloon arches straight onto walls or tabletops (great for smaller setups or cake tables!).
Balloon Arch Inspiration (Because Sometimes You Just Need a Mood Board)
Need ideas for your colour scheme or theme? Check out my blog post on 10 Creative Themes for Balloon Bouquets — it’s full of inspo that you can totally steal for your arch.
Some quick favourites:
-
Boho neutrals – beige, blush, white, with pampas grass
-
Rainbow party – vibrant ROYGBIV with confetti balloons
-
Safari vibes – gold, green, and animal print balloons
-
Pastel dream – pink, mint, lilac, lemon with metallics
-
Under the Sea – blues, purples, pearl white with bubble orbs
FAQs: How to Assemble a Balloon Arch
How do you assemble a balloon arch for beginners?
If it’s your first time, keep it simple! Use a balloon strip, stick to 2–3 colours, and aim for a small-to-medium arch. Follow the steps above, and you’ll soon feel like a pro.
Can I make a balloon arch the night before?
Yes, and you should! Balloons will easily last 1–2 days indoors. Just store them in a cool, dry place. You can even inflate your balloons two days ahead and assemble the arch the night before your event.
How do you keep a balloon arch up?
Command hooks and fishing line are your friends! Make sure the hooks are well-secured, especially if the arch is heavy. If you’re outside, use weights or tie-downs to stop it from blowing away. I have a great post here about how to help your balloons stop deflating so quickly.
What’s the best way to transport a balloon arch?
If you need to move it, consider assembling it in sections. Large arches are tricky to fit in cars! Alternatively, inflate and prep all your balloons, then assemble on-site using the balloon strip or frame.
Can I add extras like flowers or lights?
Absolutely! That’s the fun bit. Use wire or glue dots to attach faux florals, greenery, fairy lights, or tassels.
So there you have it—how to assemble a balloon arch without stress, swearing, or popped balloons (okay, maybe one or two…). Once you’ve done it once, it gets easier every time—and you’ll be amazed how professional it looks.
Whether you’re going full glam for a big birthday bash or creating a cute corner for a baby shower, balloon arches are the ultimate party upgrade.
See more balloon related posts here!

Becky is the voice behind Life in Velvet, an organised, intentional living blog focused on practical food, calm homes, thoughtful projects, and everyday systems that make real life feel easier. A mum of 3 living in the UK, Becky writes from lived experience, sharing what works, what doesn’t, and the decisions that make family life run more smoothly.
With a background in marketing and content writing, and over a decade of blogging experience, she brings a thoughtful, structured approach to everything from baking and home projects to routines and decision-making. Life in Velvet is where planning meets creativity, with ideas designed for real homes and real life.