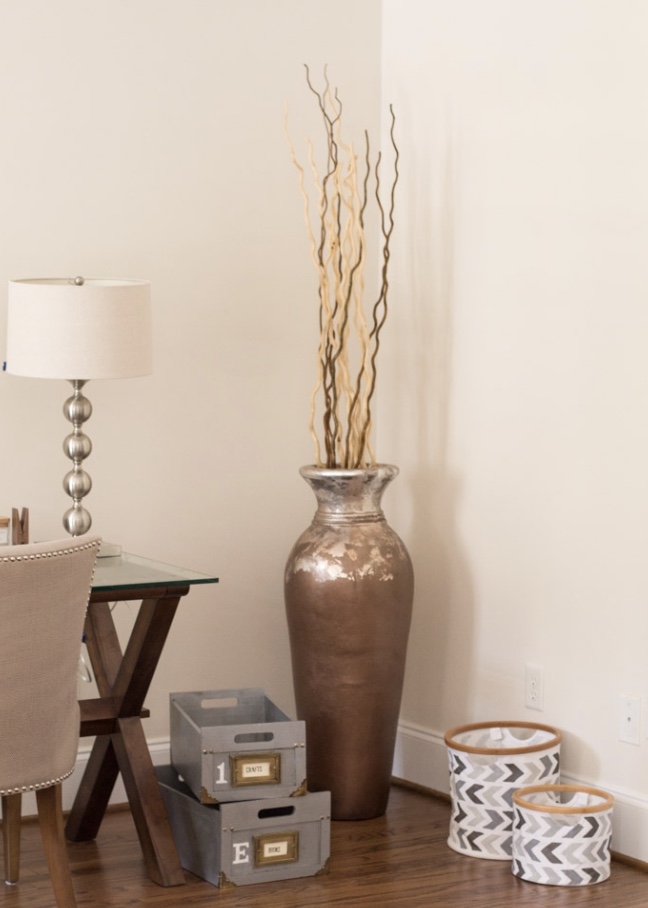
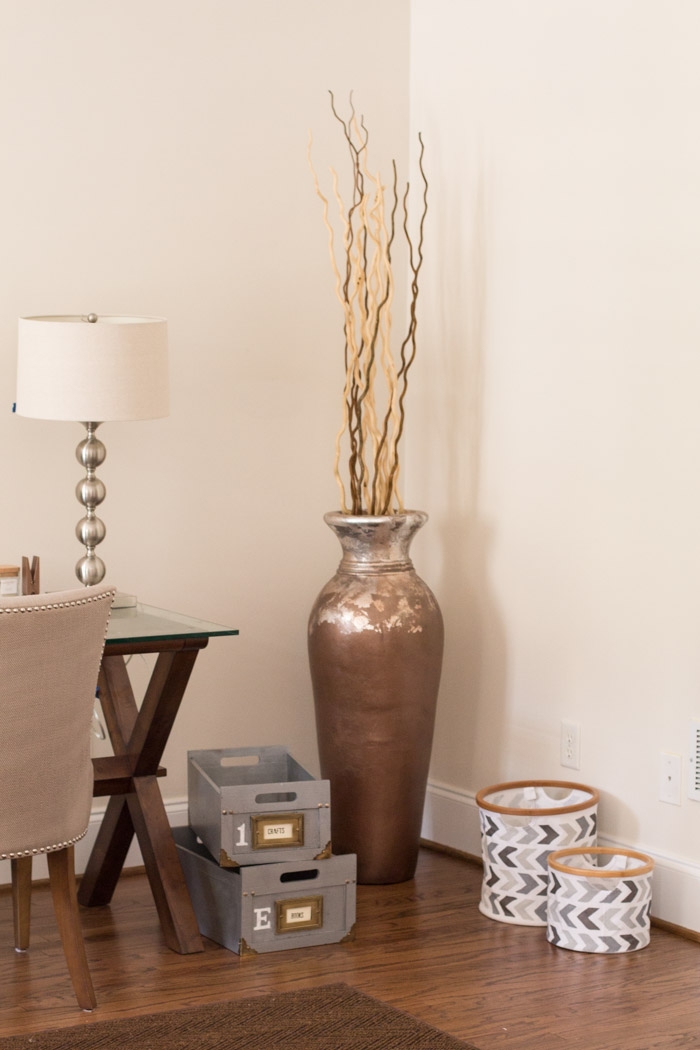
Looking for an easy yet striking way to update a tired or outdated vase? A metallic makeover using silver leaf and spray paint can transform your vase into a chic, eye-catching piece of décor with minimal effort. This simple DIY project not only breathes new life into a boring old vase but also adds a touch of glamour to your home. Whether you have a dull, chipped vase or one that’s simply lost its charm, the silver leaf and spray paint technique is an affordable way to give it a stylish upgrade.
On the blog today, I’ll walk you through the steps to achieve a stunning metallic finish, share helpful tips for a flawless finish, and answer some frequently asked questions along the way.
What You’ll Need:
Before you start, make sure you have the following materials on hand:
-
Vase: Choose one that you’d like to makeover, whether it’s a glass, ceramic, or metal vase.
-
Silver Leaf: Available in sheets or flakes, silver leaf gives your vase a luxurious metallic finish.
-
Spray Paint: Choose a high-quality metallic spray paint in silver or another metallic shade of your choice.
-
Adhesive: Gold or silver leaf adhesive (also known as sizing) to ensure the leaf sticks.
-
Soft Paintbrush: To apply the adhesive and for any final touch-ups.
-
Clear Gloss Sealer: A protective finish to seal your silver leaf and spray paint.
-
Cotton Gloves: To handle the silver leaf without transferring oils from your hands.
-
Craft Knife: To trim any excess silver leaf if necessary.
-
Painter’s Tape or Plastic Sheet: To protect areas you don’t want to paint.
Step 1: Prepare the Vase
Start by cleaning your vase thoroughly to remove any dust, dirt, or grease. Use warm, soapy water and a soft cloth to wipe it down. For ceramic or glass vases, ensure the surface is completely dry before proceeding. If your vase is painted, you may want to lightly sand it to ensure the paint and adhesive adhere well.
Step 2: Apply the Adhesive
Once the vase is clean and dry, apply a thin, even layer of the silver leaf adhesive to the areas where you want to apply the silver leaf. Use a soft paintbrush to spread the adhesive smoothly, making sure it’s evenly coated. Be mindful not to use too much, as this can cause the silver leaf to stick unevenly. Allow the adhesive to dry for about 15 to 20 minutes, or until it becomes tacky to the touch. This is a critical step for getting the best results, as the adhesive needs to be tacky for the leaf to adhere properly.
Step 3: Apply the Silver Leaf
Once the adhesive is tacky, it’s time to apply the silver leaf. Gently take a sheet of silver leaf with your gloved hands, as oils from your skin can interfere with the adhesion. Place the leaf on the vase, pressing it down gently with your fingers. Don’t worry about covering the entire surface at once. The beauty of silver leaf lies in its ability to be applied in layers, creating a distressed or textured effect.
If you’re using silver leaf flakes, use a soft paintbrush to pick them up and gently apply them to the vase, dabbing and pressing them into the adhesive. Overlap the edges of the silver leaf to ensure there are no gaps.
Once the surface is covered in silver leaf, allow it to dry for an hour or so.
Step 4: Trim and Smooth the Silver Leaf
After the silver leaf is completely dry, use a soft paintbrush or a craft knife to trim away any excess. You can gently brush off any loose flakes of silver leaf, leaving behind a smooth, metallic surface. If there are any edges or seams where the leaf isn’t perfectly adhered, you can apply a bit more adhesive and silver leaf to cover those areas. Take your time with this step to ensure an even and flawless finish.
Step 5: Spray Paint the Vase
Once you’re satisfied with the silver leaf application, it’s time to bring in the spray paint. Hold the can of spray paint about 6 to 8 inches from the vase and apply a light, even coat. Use long, sweeping motions to avoid drips or uneven spots. Apply multiple light coats, allowing each layer to dry before adding the next. This helps ensure a smooth and consistent finish. Be careful not to spray too much paint at once, as this could smudge the silver leaf.
For a subtle touch, you can also use a different metallic spray paint shade like gold or copper to add dimension to your vase. The spray paint will not only give a glossy sheen but also act as a protective layer for the silver leaf.
Step 6: Seal the Vase
Once the spray paint is dry and you’re happy with the result, it’s time to apply a clear gloss sealer. This step is crucial to protect the silver leaf and the paint from chipping or fading over time. Use a spray sealer designed for use on metallic finishes, and apply a thin, even coat. Allow it to dry completely before handling the vase.
Step 7: Display Your Beautifully Made-Over Vase
Now that your vase has been transformed, it’s time to display it! Fill it with fresh flowers, pampas grass, or simply leave it as a statement piece on your mantelpiece or coffee table. The striking metallic finish will complement any décor and add a touch of elegance to your space.
Tips for a Successful Makeover
-
Choose the Right Vase: A simple, clean vase works best for this makeover. Avoid vases with intricate designs or textures that may make it difficult to apply the silver leaf and spray paint evenly.
-
Work in a Well-Ventilated Area: When using spray paint, ensure you’re working in a well-ventilated space to avoid inhaling fumes. Consider working outside or in a garage with the door open.
-
Be Patient: Allow each layer of adhesive, silver leaf, spray paint, and sealer to dry fully before moving on to the next step. Rushing can result in uneven coverage or smudging.
-
Use Painter’s Tape: If you want to create specific patterns or lines, use painter’s tape to mask off areas you want to leave unpainted or free of silver leaf.
FAQs for your Metallic Vase Makeover
1. Can I use any type of adhesive for the silver leaf?
Yes, but it’s recommended to use a special silver leaf adhesive (sizing), as it is designed to give the best adhesion for leaf products. Other adhesives might not work as effectively.
2. How long will this metallic vase makeover last?
With the proper sealer, the silver leaf and spray paint finish should last a long time, though you may need to touch it up over time if it gets chipped or scratched.
3. Can I use gold leaf instead of silver leaf?
Absolutely! Gold leaf is a popular alternative and adds a warm, luxurious finish to your vase. You can even mix gold and silver leaf for a more eclectic look.
4. Can I apply silver leaf to other items, like furniture?
Yes, you can use the silver leaf technique on various surfaces like picture frames, candle holders, and even furniture. Just ensure the surface is prepped properly and sealed afterward to protect the finish.
5. Is silver leaf expensive?
Silver leaf is relatively affordable, especially compared to other decorative finishes. A pack of silver leaf sheets can go a long way, making it a cost-effective way to update multiple items in your home.
A metallic vase makeover using silver leaf and spray paint is a simple yet effective way to elevate the style of any room. Whether you’re new to DIY or an experienced crafter, this project is easy to tackle and yields stunning results. Enjoy the process of transforming an ordinary vase into a gorgeous statement piece for your home.
See some more of my craft posts here

Becky is the voice behind Life in Velvet, an organised, intentional living blog focused on practical food, calm homes, thoughtful projects, and everyday systems that make real life feel easier. A mum of 3 living in the UK, Becky writes from lived experience, sharing what works, what doesn’t, and the decisions that make family life run more smoothly.
With a background in marketing and content writing, and over a decade of blogging experience, she brings a thoughtful, structured approach to everything from baking and home projects to routines and decision-making. Life in Velvet is where planning meets creativity, with ideas designed for real homes and real life.